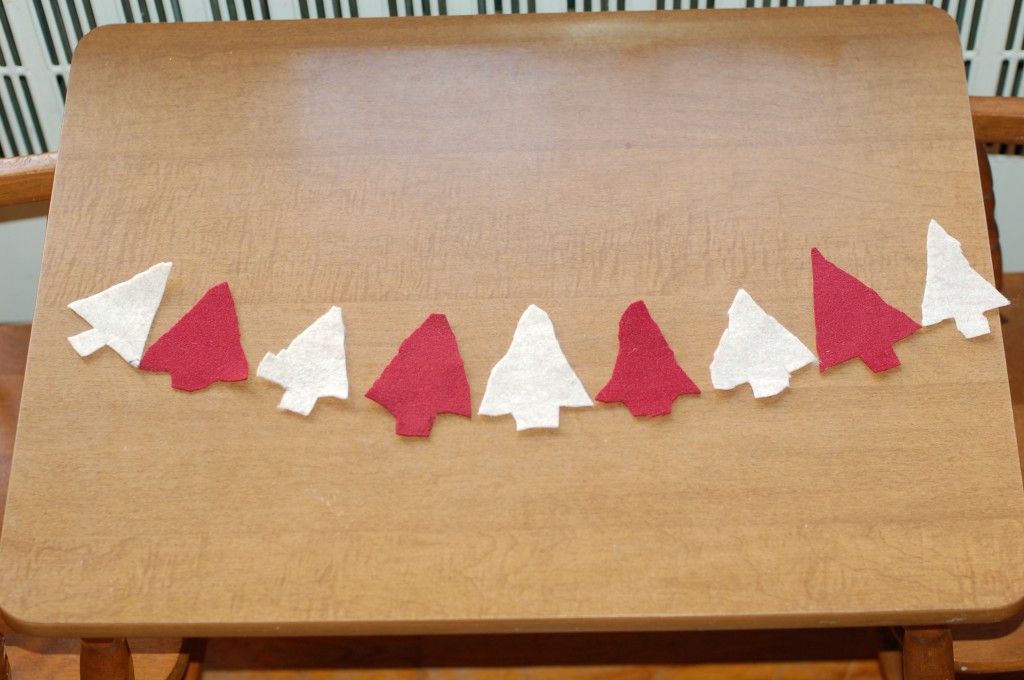
My middle daughter laid her trees out to determine the pattern she wanted the garland to have.
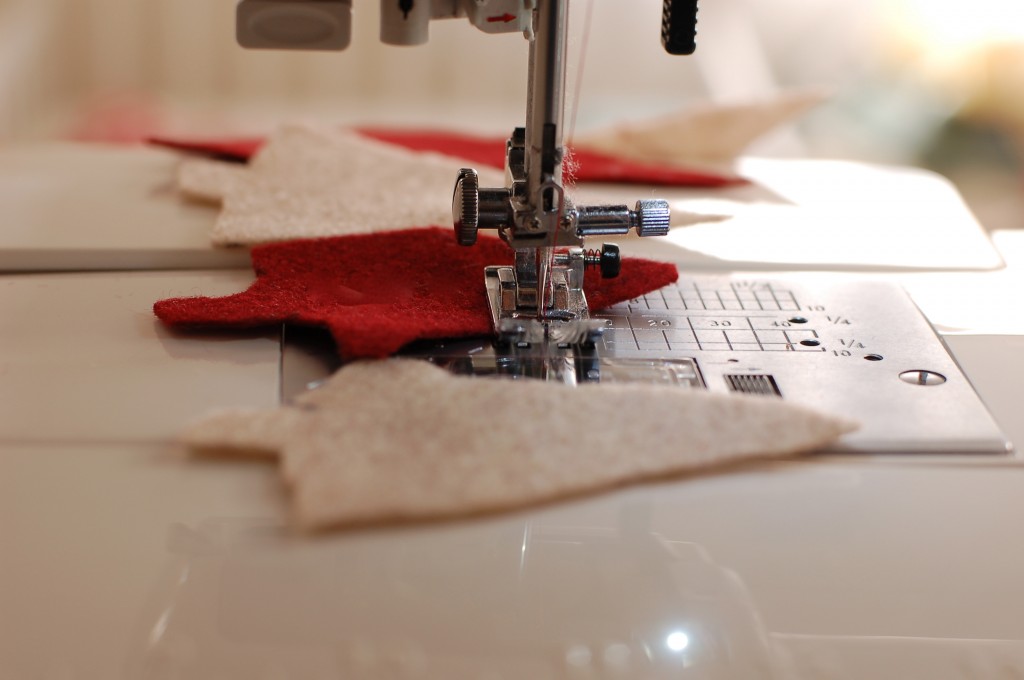
Then I got sewing, on my machine. Yarn and an old fashion needle could do the trick too. But I love sewing these, so this project was partly for me. A tip when sewing felted banners is to raise the number tension on your machine settings to about 6 (usually I sew at 4-5 on my machine). And make the stitches setting wider than you usually use. Otherwise when the thread is not actually sewing through any of the felt, and is between the tree tops, it breaks easily. A young child with some moderate sewing experience could handle sewing this project on a machine. But my seven-year-old probably would have gotten a bit frustrated when the thread broke several times.
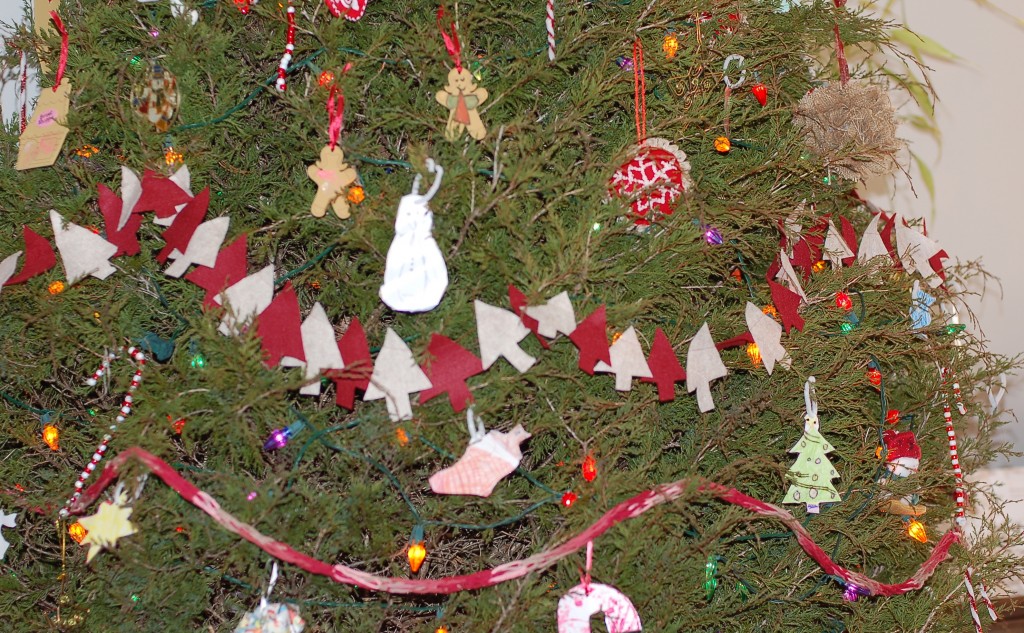
When finished hang it on your tree! Or use it as a banner. Or hang it on your chandler. I love doing that with felt banners on birthdays.
To recap our week of crafts so far, here are links to the other posts on our ornaments for our homemade Christmas tree. There was upcycled burlap balls, finger knitting garland, ornaments made from stencils, and candy canes from beads and pipe cleaners. Still to come is photos from tree stumps. Then I’ll be on to sharing my birthday girl who turned five this week, and teacher gifts.
