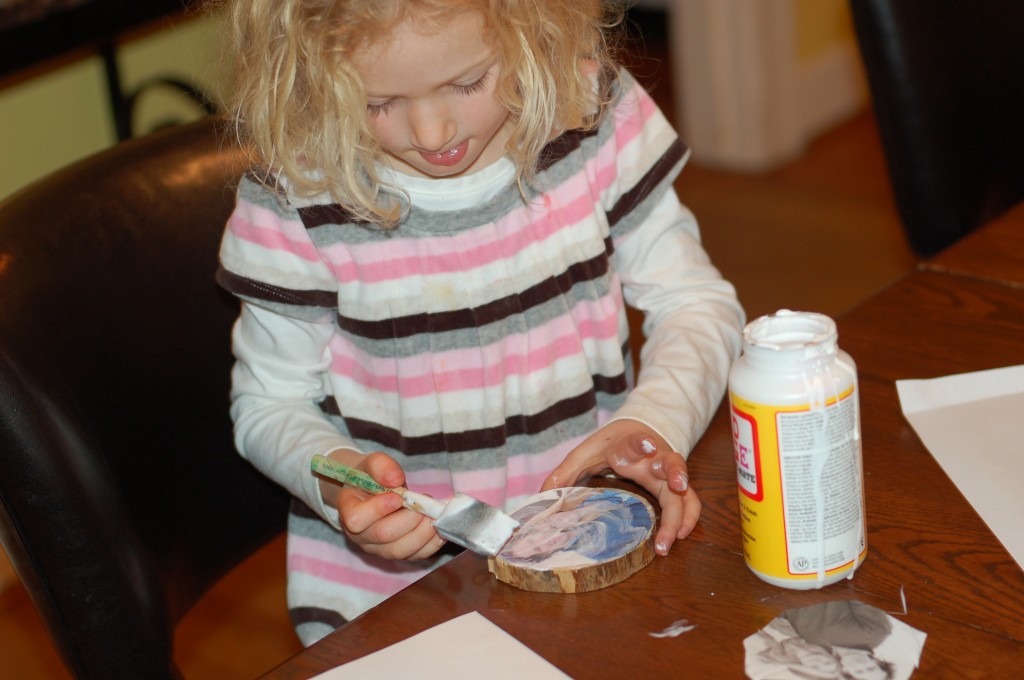
At home I let the pieces dry out for a couple days until we got around to using them. Then I sanded our four pieces of round cedar wood with an electric sander, and let the girls finish them off using regular sand paper. Next the girls chose pictures on my computer they wanted to print. We cut them out in circles just smaller than the slices of tree trunk and used Mod Podge to glue them on.
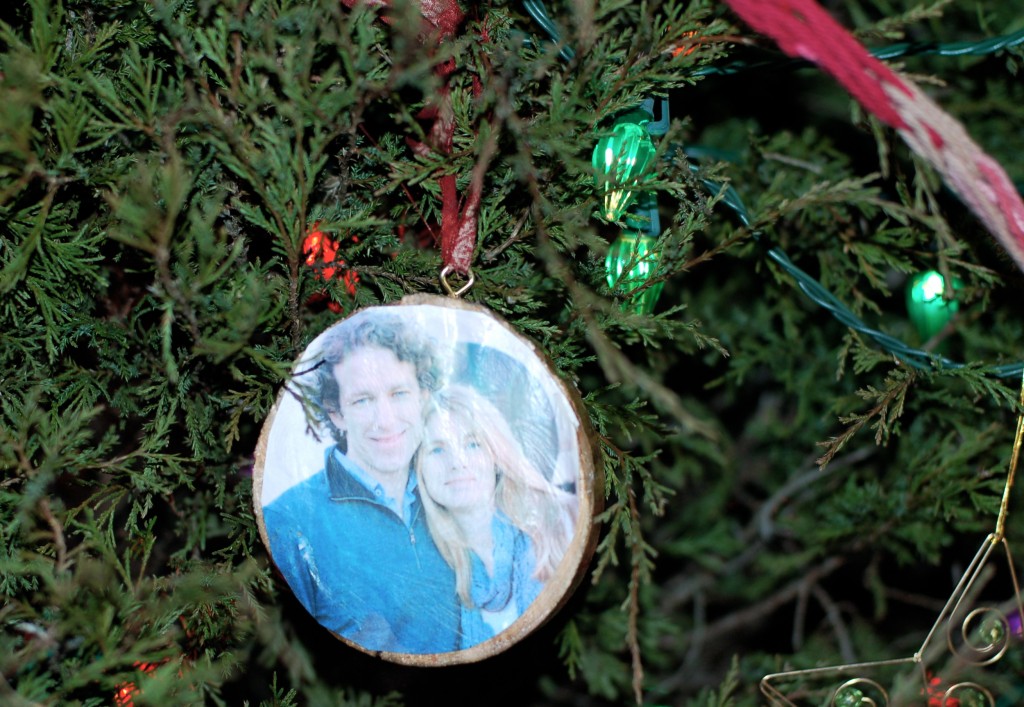
The color turned out a little muted from using plain printer paper and the ink of a standard printer. But I like the vintage look it has. To hang the ornament I screwed a small eye hook into the wood and made a hanging loop from a narrow piece of fabric left over from previous project.
For a glossier look have photos machine printed, cover the wood (and photo) in polyurethane and use a fancy ribbon instead of frayed fabric.
But we were going for the homemade, easy, no chemical route – with the project being done at the dinning room table while I was cooking dinner. Because that’s the kid way and pretty much the way we roll.
My sweet middle daughter chose to a photo of mom and dad for her ornament.
To read more about our week of crafting ornaments for our locally grown, cut down Christmas tree – check our crafts we did over the course of one week, while making attempts to go about the season slowly and more mindful than the mega, consumerism that happens around us.
Here’s the links to the crafts: felt tree garland, upcycled burlap balls, finger knitting garland, ornaments made from stencils, and candy canes from beads and pipe cleaners.

