I bought a new comforter to make it. But you could also make one using an old one you have at home.
Friday morning I headed out to buy a sleeping bag, hoping to find some cute Pottery Barn knock off versions. But I was left with the options of Tinkerbell, Cars or something plain blue for camping. I needed a plan B, and fast.
This is what happened next….
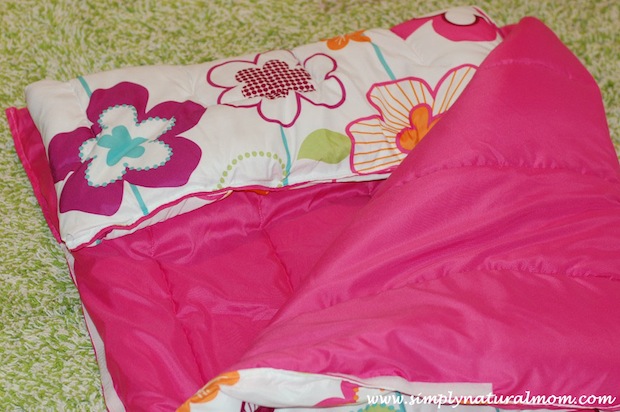
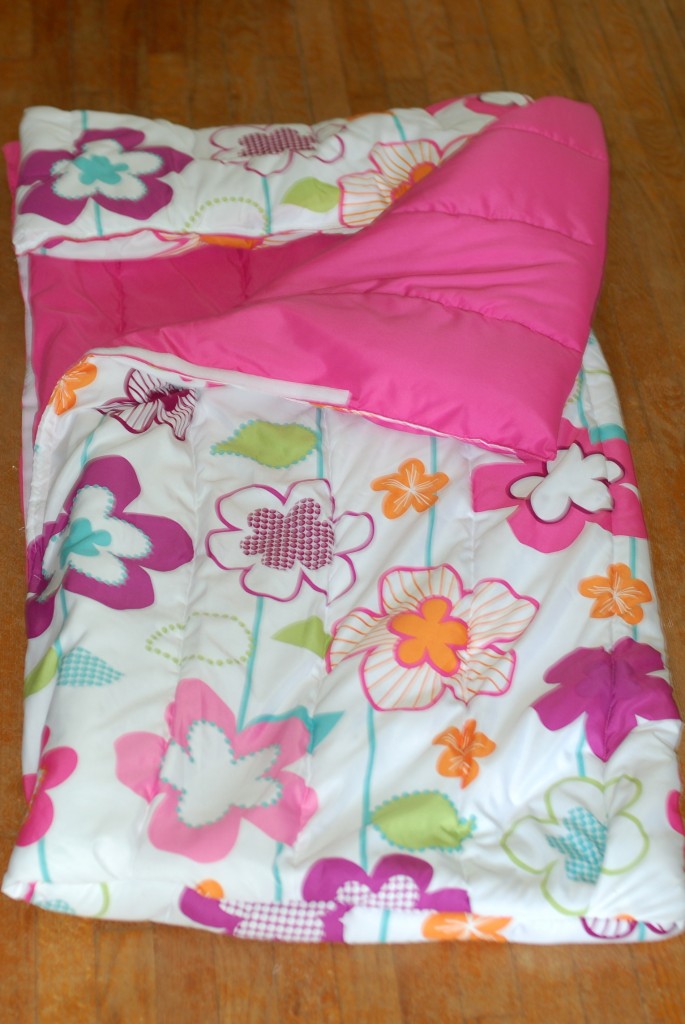
I bought an extra-long twin-size comforter for $35 that came with a matching sham. Exta-long sizes are commonly made for dorm room beds. And since we live in a university town, they are easy to find here. I folded the comforter lengthwise, sewed up one side and used velcro to close the top.
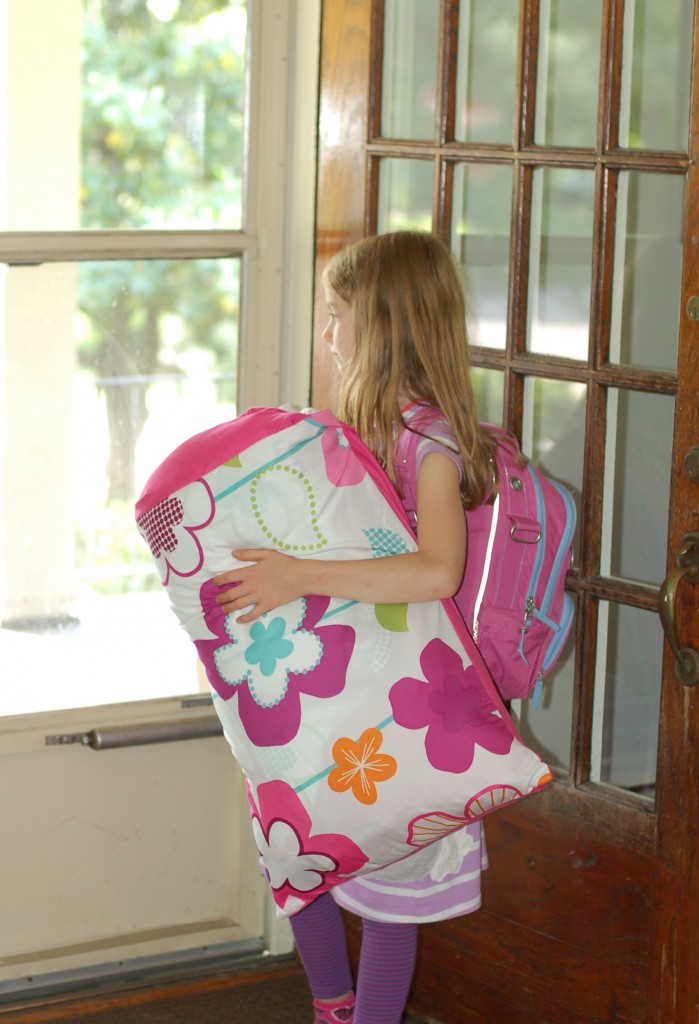
Since the comforter was extra long, there was enough length that I folded over the top and sewed it down to give it a “tucked-in” look with the backing providing and extra pop of color and fun. And I was able to cut enough off the bottom to make a matching pillow. It all folded up and fit in the matching sham to head to the party.
I sewed it up while my toddler napped – after I wrapped up this doll dress and matching skirt project for the birthday girl. I felt like a sewing rockstar!
And now, so you can feel like one too, here is a brief tutorial.
How-to sew a simple sleepover sleeping bag.
If it’s new, first wash the comforter. Once dry, lie it on the floor and fold it over in half. I folded the top down too, because the backside was a different color and I had the length to play with since it was an extra-long comforter.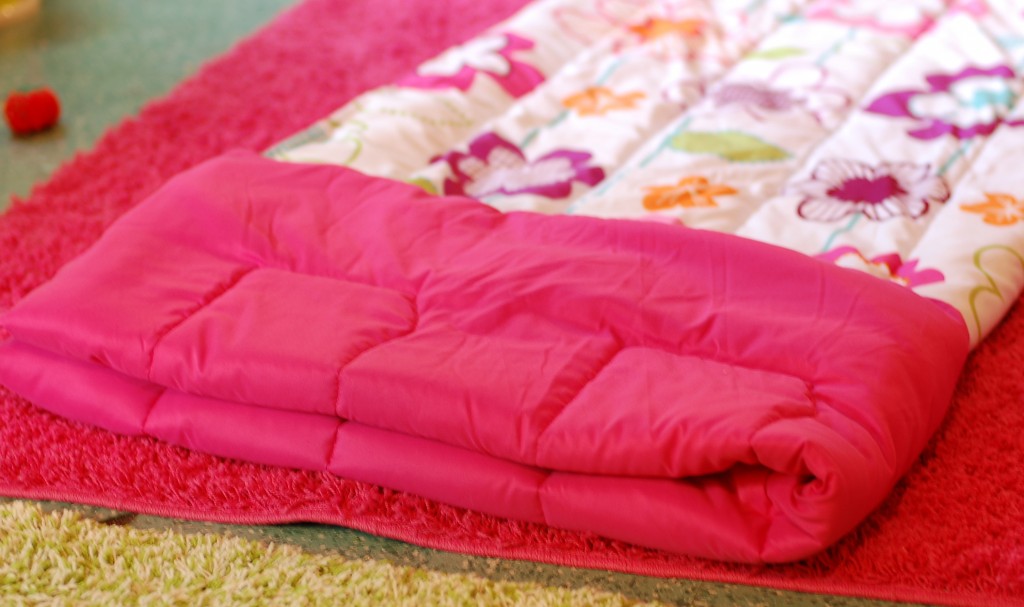
Sew down the folded over side for it to stay put.
Next pin along the edges of the unfolded side to sew them together, from top to bottom. Also pin on the velcro, putting it along the top half of the comforter. For this part I just used the fabric and could avoid sewing over any of the polyester filling in the comforter. 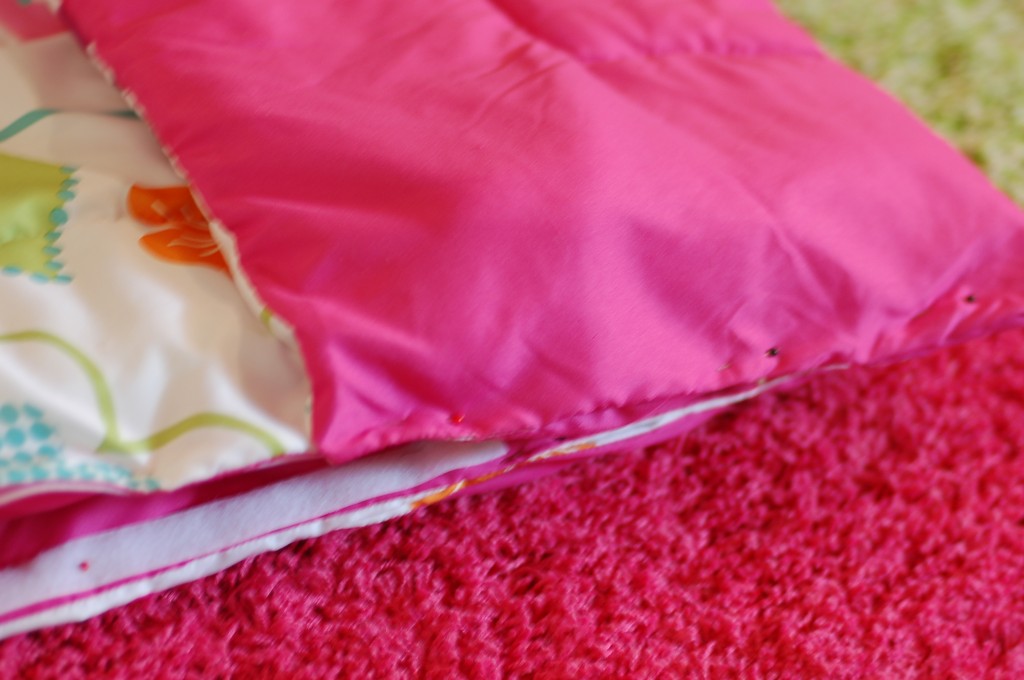
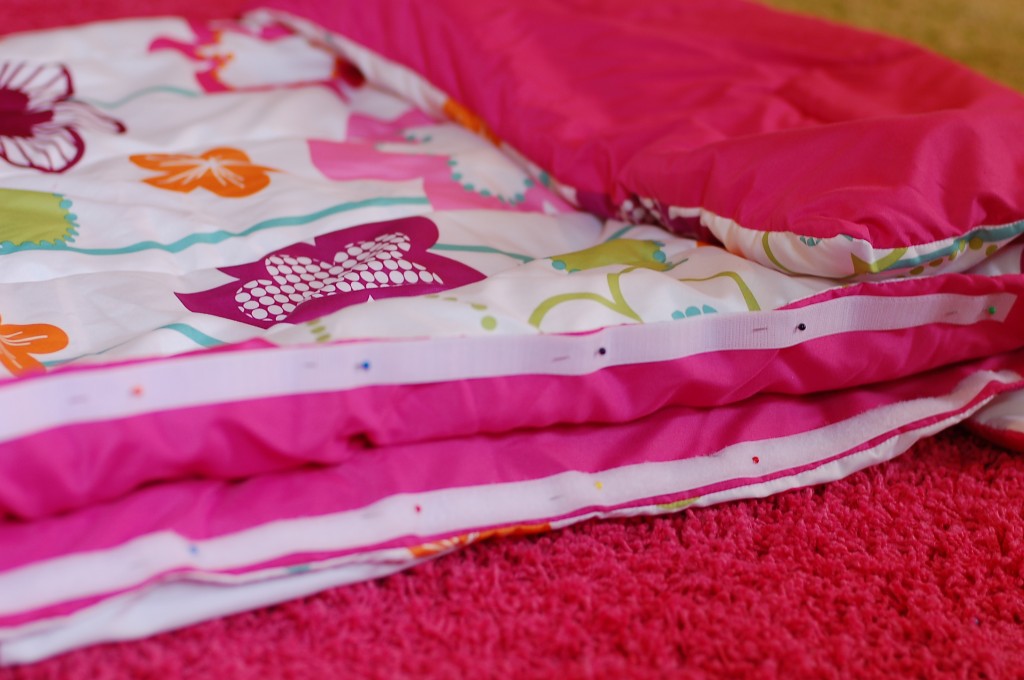
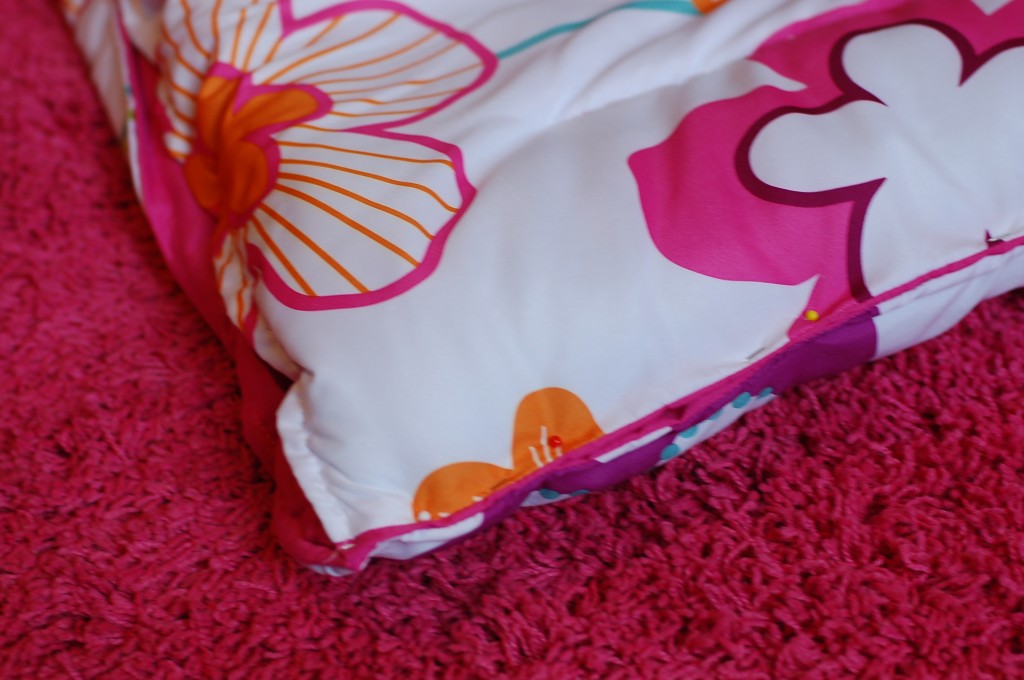
Sew together, leaving a neat edge.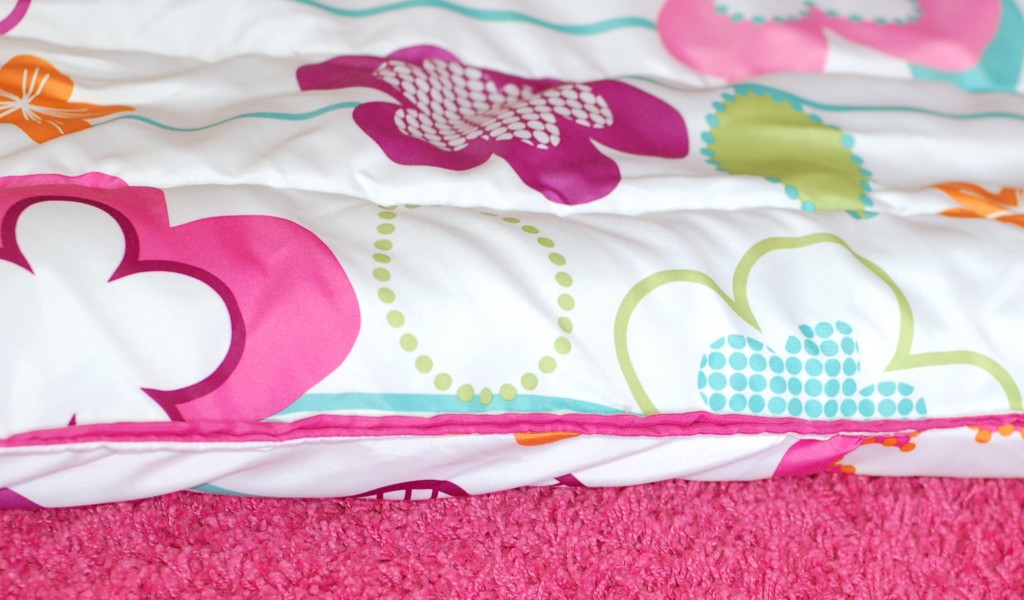
Next turn the sleeping bag inside out and measure how long you want the bag to be. Most children’s size sleeping bags are 56″ long. Use a fabric pen to draw a line across. Sew across it, with the bag inside out. Then about an inch over toward the bottom of the bag, sew another line across. Then cut the end of the bag off in-between the two sewn lines. This will keep all the stuffing intact. The small bottom part will be your pillow.
Sewing through this much stuffing, it is almost necessary to have a quilting sewing machine with a big enough opening to squeeze all the fabric though, like this. 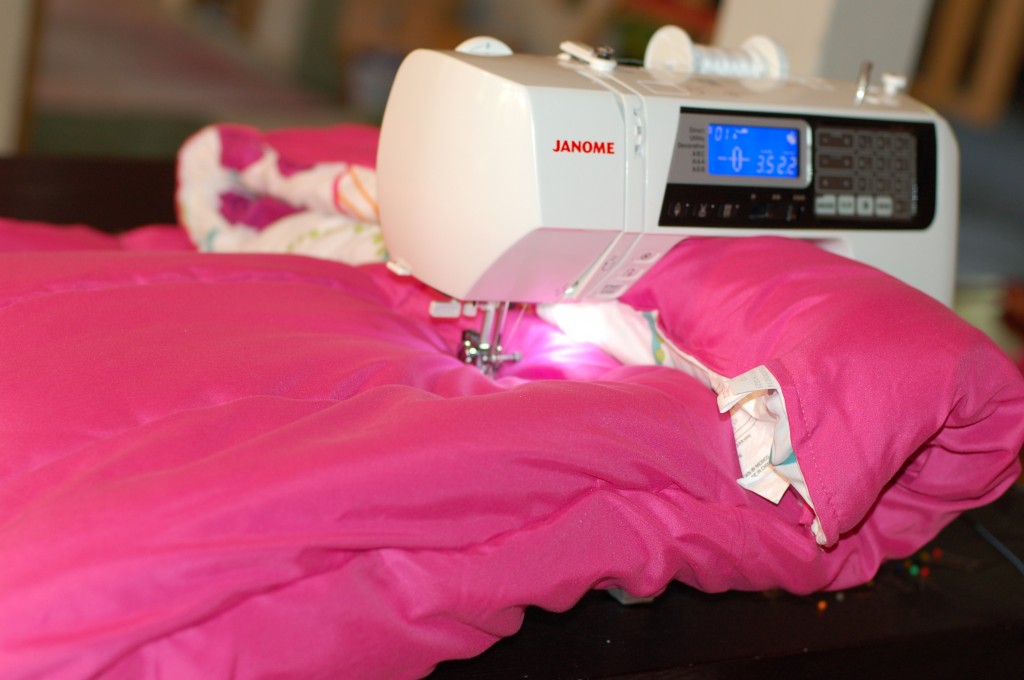
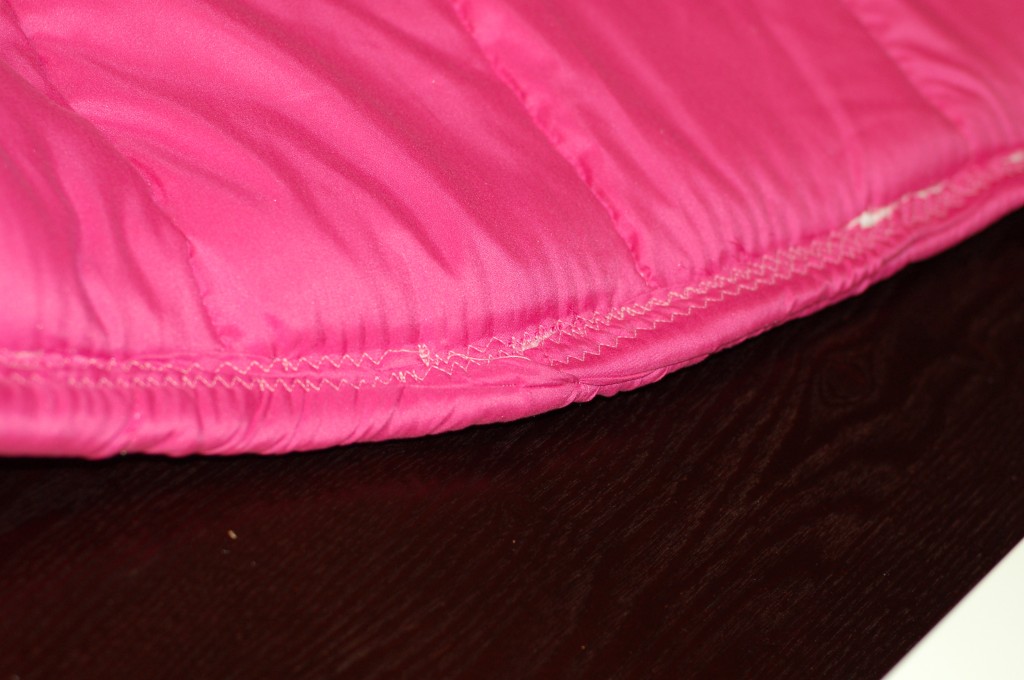
With the bag still inside out, finish off the edges by folding them over and sewing a zig-zag stitch – over and and over again. It won’t look neat. But it will be inside the bag and will not be seen.
Follow the same method for the pillow. Then turn it right side out and sew the top edge across like we did the sides of the bag. 