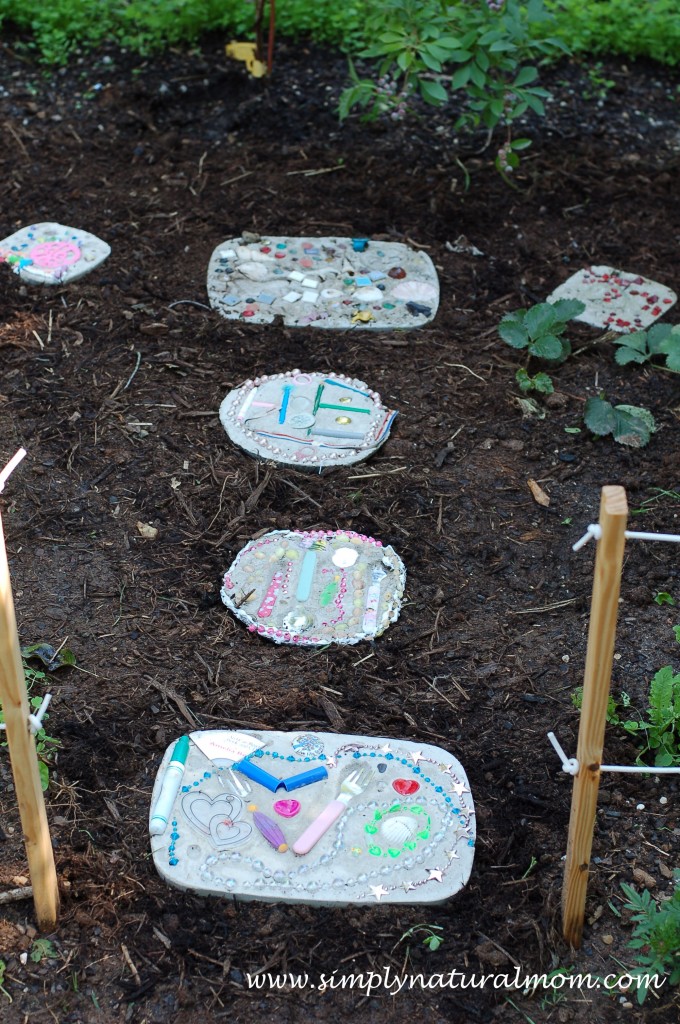
My girls really enjoy this project and they have for several years. All ages can participate. My toddler had fun doing it too this year, for her first time. Most recently, we made this stepping stones to go in our Sweet Times Berry Patch.
There’s not much to making these stepping stones. But here’s a list of steps and materials to get you started.
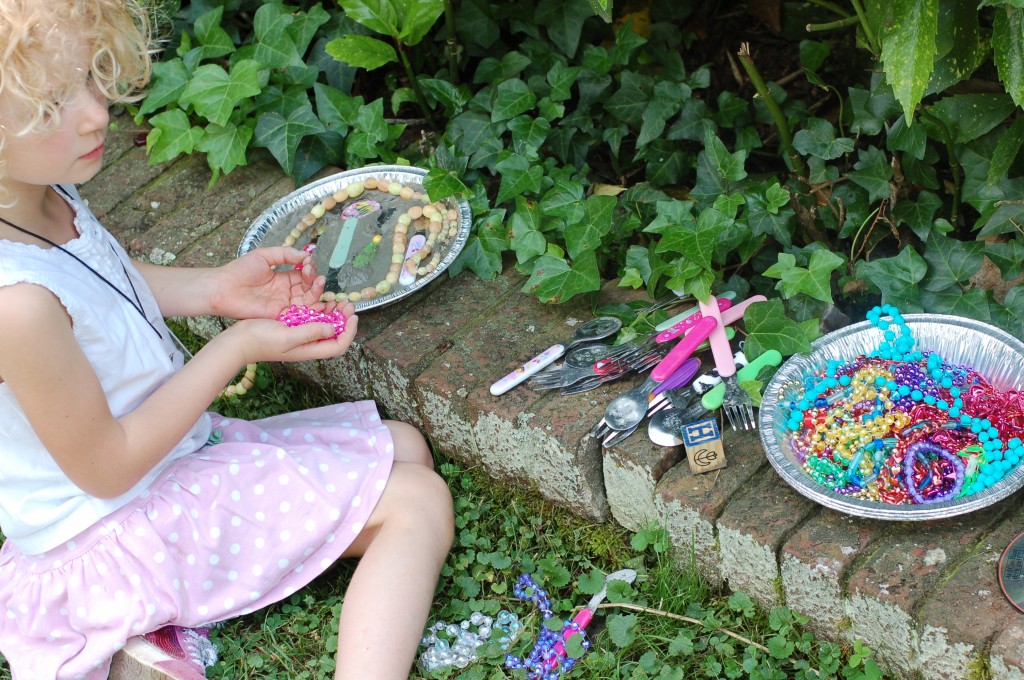
- Designate a container to start saving broken and old items that would be okay for stepping on when lied flat. Metal items like forks can be hammered flat.
- Create a place to collect old pie tins, plastic takeout containers and anything of that sort that comes your way. These will be your molds.
- Pick up a bag of ready to mix mortar on your next trip to the hardware store. And have it handy.
- Get an old spoon, bowl, bucket or pot either from you kitchen, a salvage store or a neighbor. And hold on to it till you need it.
- In all, your stash can be stored and reused time and time again, when the inspiration strikes.
- On a sunny day pull everything outside. Let the kids sort through items they want to use on their stone and pick their container to put it in.
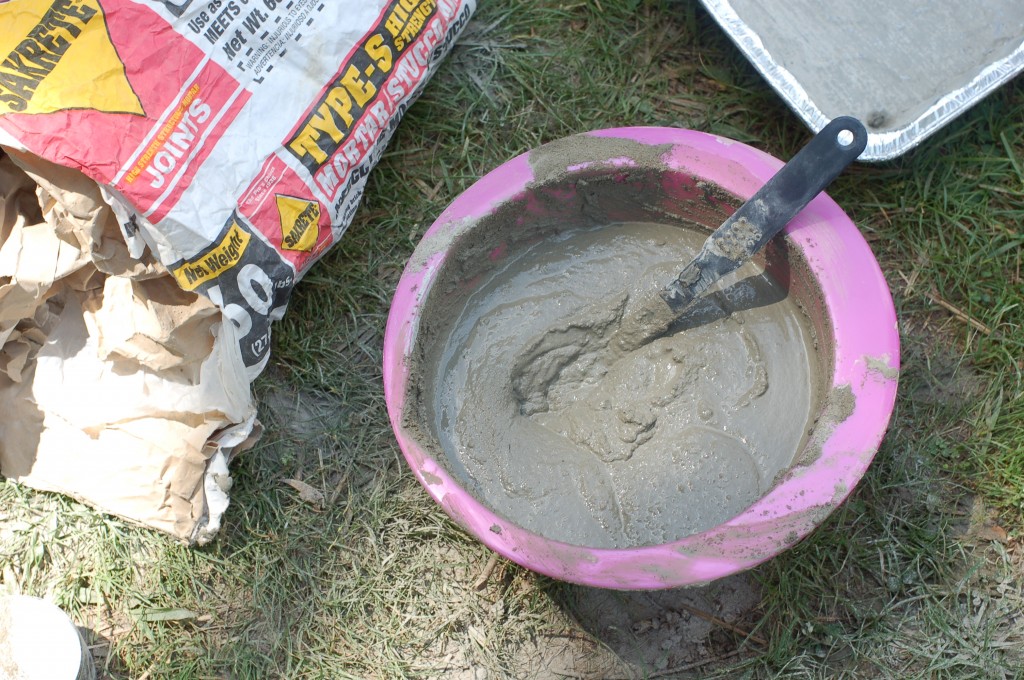
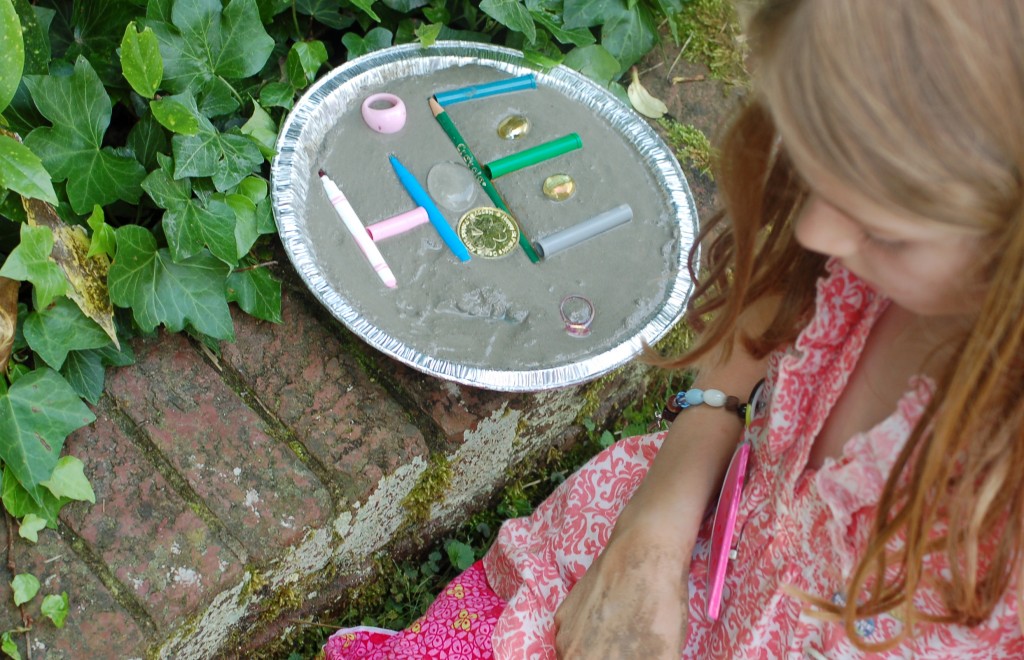
- For mixing the mortar, I eye ball it. See picture below for a guess of the consistency, about like brownie mixture. I start with a few scoops of the mix, add water and adjust from there by adding more or less water and mix. Too little water and the mix is sandy and slightly harder to push down the items into the stone. They do sink some during the drying time so don’t push too hard! If the mix is too watery, heavy items can sink too far down where you can’t see them. Either way they dry fine – in about 24-48 hours. My advice is to just try it. You can always add more mix or more water till you think it’s good. And to error on the watery side versus the dry side, because cracking can occur and items can come loose when mixture is too sandy. Since it’s not a quick drying material, time is on your side while you tweak it to the right consistency. For an easier, more expensive but fool proof mixture, you can buy a box of the mix that normally come with mosaic stepping stone kits. I have used the Milestones brand when I have a 40 percent off coupon for Jo-Anne’s craft store. It does work nicely. On the other hand my girls will usually make two-four of these stones at one time and a big bag is better to have on hand because it lasts A LONG time.
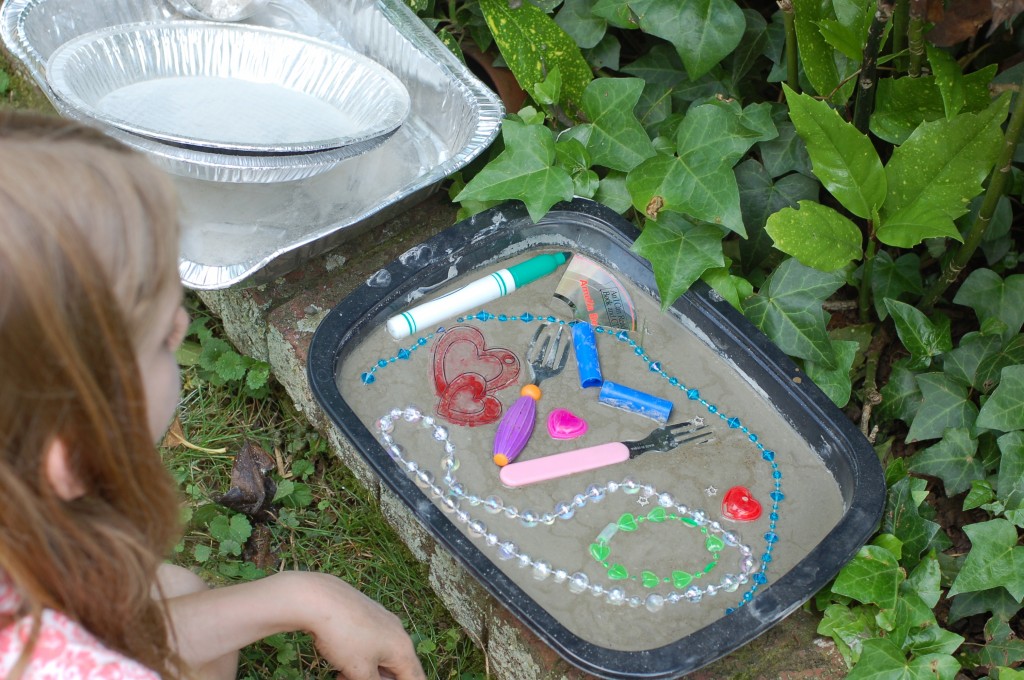
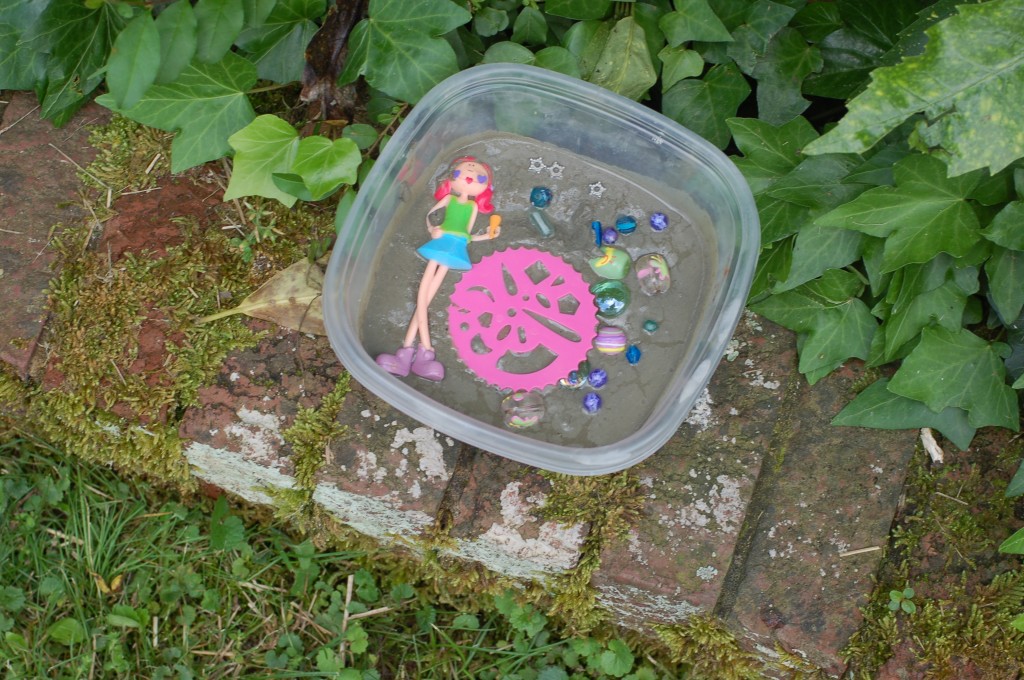
- Once mixed, pour into molds and have kids start decorating. Let dry for 24-48 hours before placing in your garden or pathway.
I love this idea! Great fun for kiddos…and mommies!
Thank Amy. I think they are fun to make too. Which is probably why we make so many of them!
What a cute idea! We had bought a bag of concrete to do this a while back, but I got all overwhelmed when trying to figure out what to use as a mold, how to mix the concrete, etc. In fact, the bag of concrete has been riding around in my car because I was going to donate it. I think I need to drag it back to the garage. I love how you just wing it. I’m all about that. I need to try these!
That’s funny about you having the concrete in your trunk Tmuffin! You should just go for it. There is nothing to lose.
The study also demonstrates people benefit more by emphasizing
eating the right food than eating less food. Here
we are really not referring to fat from greasy junk food, but healthy
essential fat. No form of medical implants are utilized and
none of the stomach is removed inside the gastric imbrications, which ‘s still in a
position to lessen the stomach size, as well as in turn help
the patient to limit food intake.