Our family really, actually likes eating hard boiled eggs. We slice them, salt and pepper them, make egg sandwiches out of them, have deviled eggs, and my girls eat them up like apples – bitting into them whole. We gobble them up!
We also really like farm fresh eggs. If you’ve never had eggs from a fresh, local farm where the chickens run free, I highly recommend seeking them out from farmers’ markets and co-op grocery stores. You’ll notice the difference right away, with the taste, color and texture. The taste is supreme.
Not wanting to use artificial dyes on our organic eggs, this Easter I decided to try making our own natural food coloring – creating an eatable centerpiece for our Easter table out of naturally dyed eggs and alfalfa sprouts.
When I Googled some recipes online for natural egg dyes, it resulted in a whole host of complicating recipes using herbs and spices and flowers that I had never heard of and didn’t want put the energy (or money) into buying. I had to find ways to use what we have, or what we easily have available to us. Some of the recipes in my search had up to five ingredients per color. YIKES. If I was going to do this it had to be less complicated.
The most expensive thing I used to make our dyes was a frozen package of organic blueberries. After I strained them I put what was left of the mashed berries into a batch of smoothies. The blueberries worked great for coloring the eggs, giving them a more rich blue color than I expected. All the other ingredients I used were items found in my kitchen.
Here’s how we made our Natural Egg Dyes
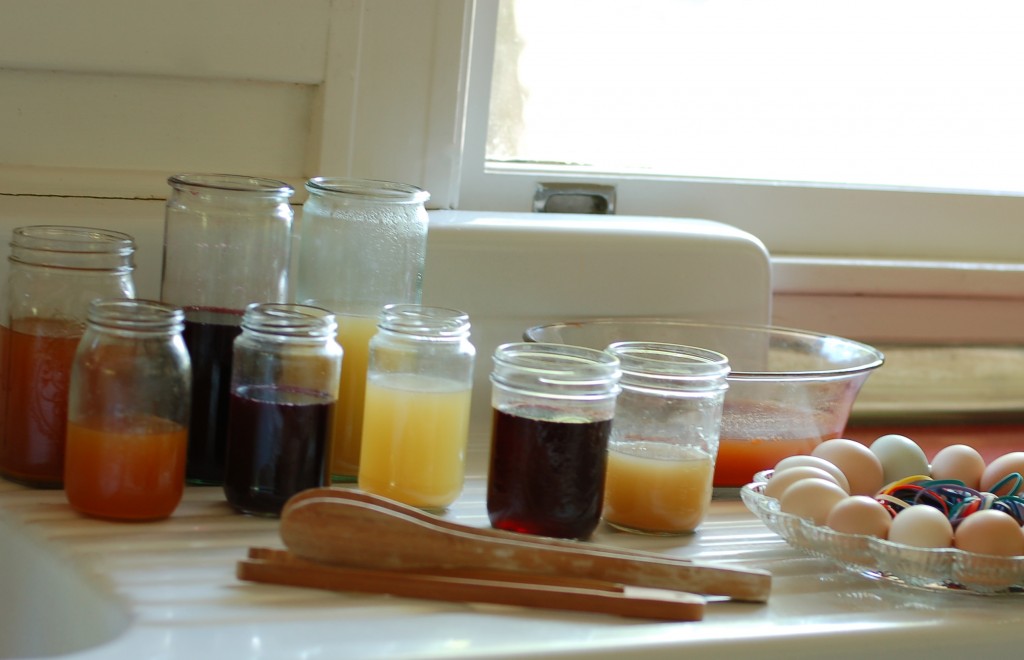
For each color I boiled about four cups of water, with the following ingredients for each specific color. I eye-balled the amounts based on the color results I was getting.
Blue – One whole bag of frozen blueberries
Pinkish/red – One chopped beet
Green – Fresh ground coriander seeds, green apple peels and spanish. I did a second batch with just spinach and colander seeds. The apple peels made a big difference and the first batch was much more effective.
Yellow – Dried curry – which was worked great!
Orange – Dried turmeric and onion peels – which didn’t work so great. The dye was dark. But afterwards the eggs just looked like brown eggs in their original state.
After each batch boiled long enough that I was pleased with the color, I strained the liquid twice – once by pouring the dye from the pot through a big mesh strainer with the dye going into a bowl with a pouring spout. Then again with a smaller hand-held strainer while pouring the dye into the jars used for egg dying. Once cooled I added two tablespoons of vinegar to each dye jar.
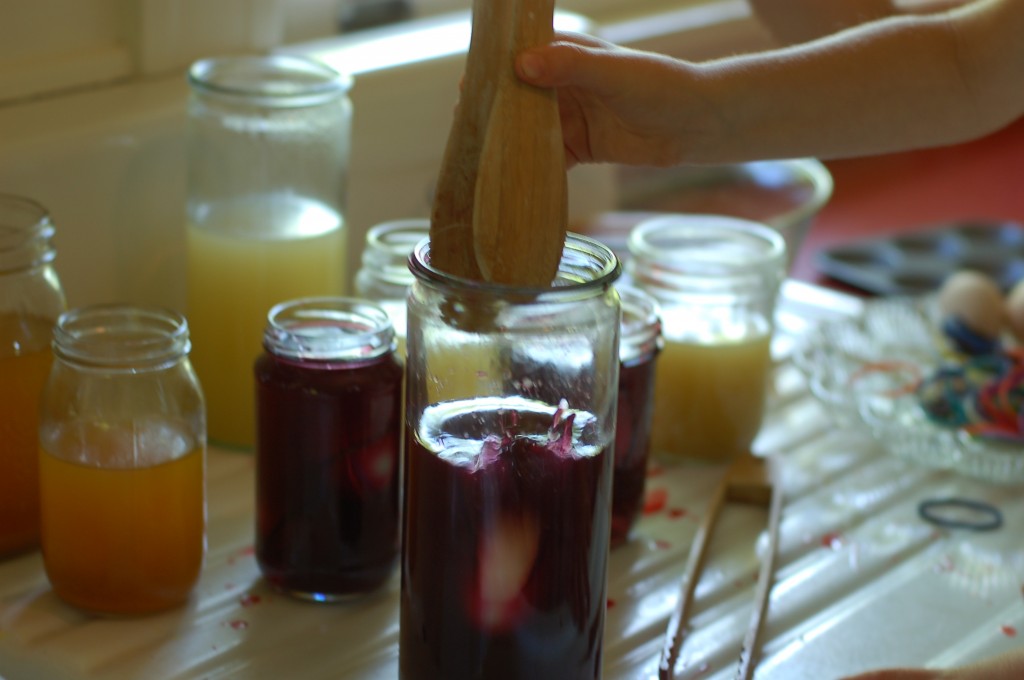
The key to using natural dyes is to let them soak for a long time. To do this I put the colors in tall jars and used enough of them to hold all our hard boiled eggs at one time. Versus having to take them out for other eggs to have a turn in the dye. We let them soak all during the time we made pizza and ate dinner.
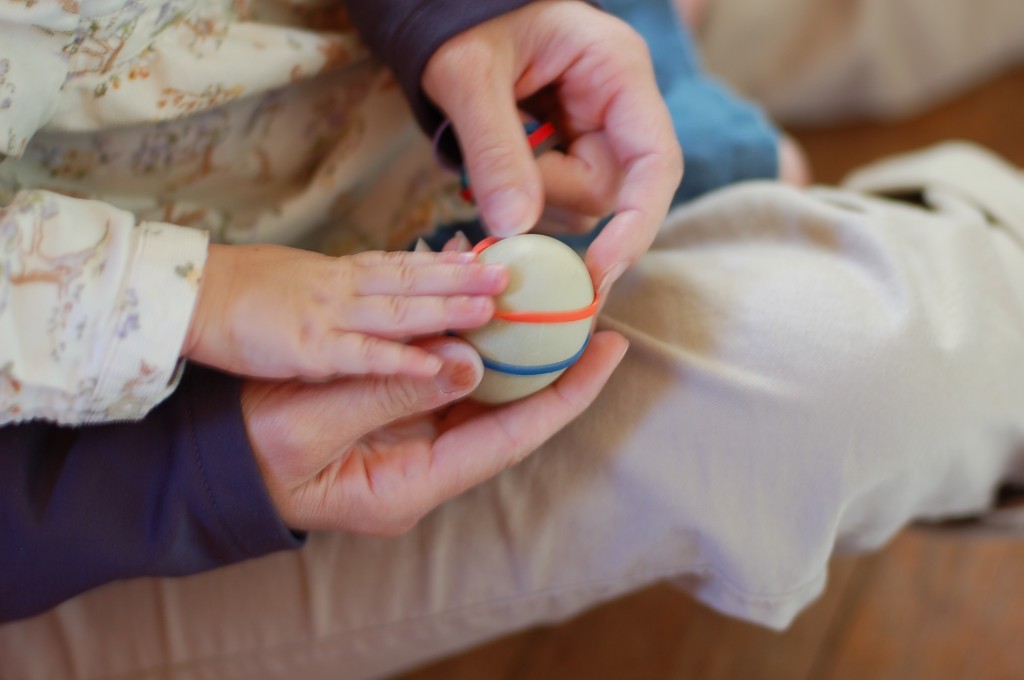
To add some decoration to the eggs, the children wrapped the eggs in rubber bands before dying them. They really liked this, even the littlest of hands helped! Other lines you see on the eggs were from the wooden tongs used to get the eggs in and out of the jars. Next time we’ll just get our fingers dirty, and get the eggs out when we dump out the dye.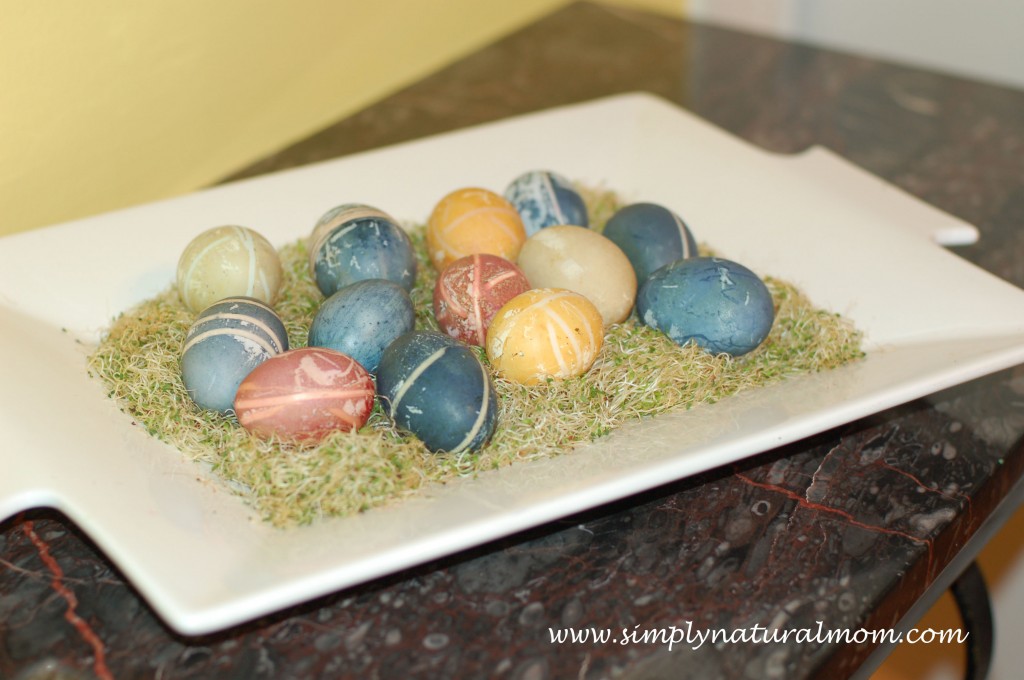
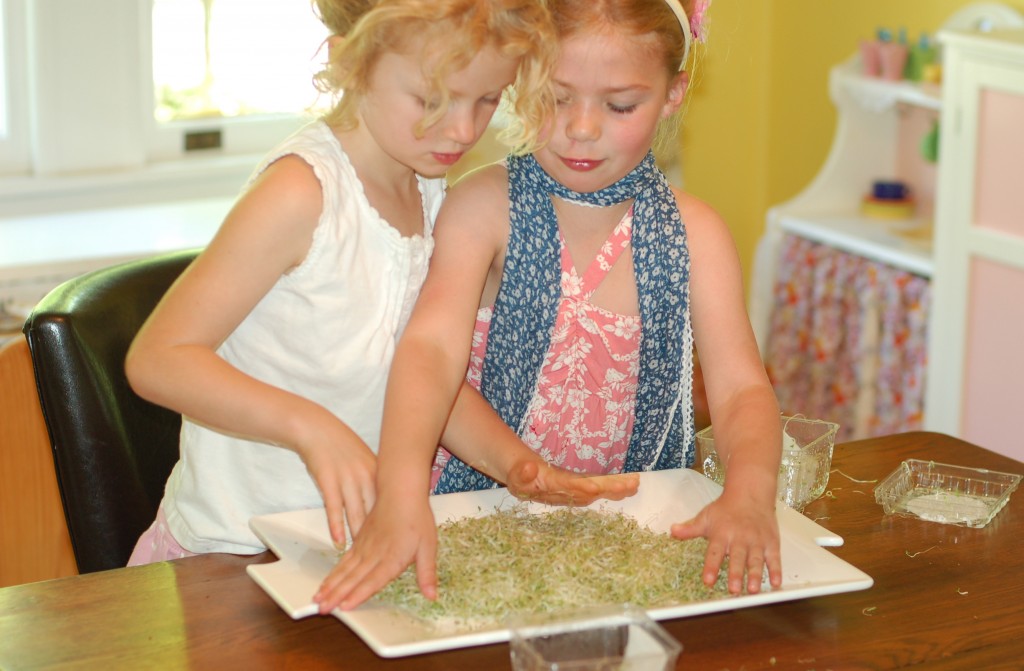
To use the eggs as an Easter centerpiece I originally sprouted wheatgrass on the white platter we used. But I made the mistake of putting it outside to get sun and it got rained on, and all buggy. SO – lesson learned is to keep your sprouted wheatgrass indoors. Therefore we resorted to spreading two containers of alfalfa sprouts on our white plate.
Overall this project was fun and will inspire me to do more experimentation with natural food dyes, for baking in the future.
And we will happily gobble up our yummy Easter Eggs, right from the table’s eatable centerpiece.
Happy Easter everyone!