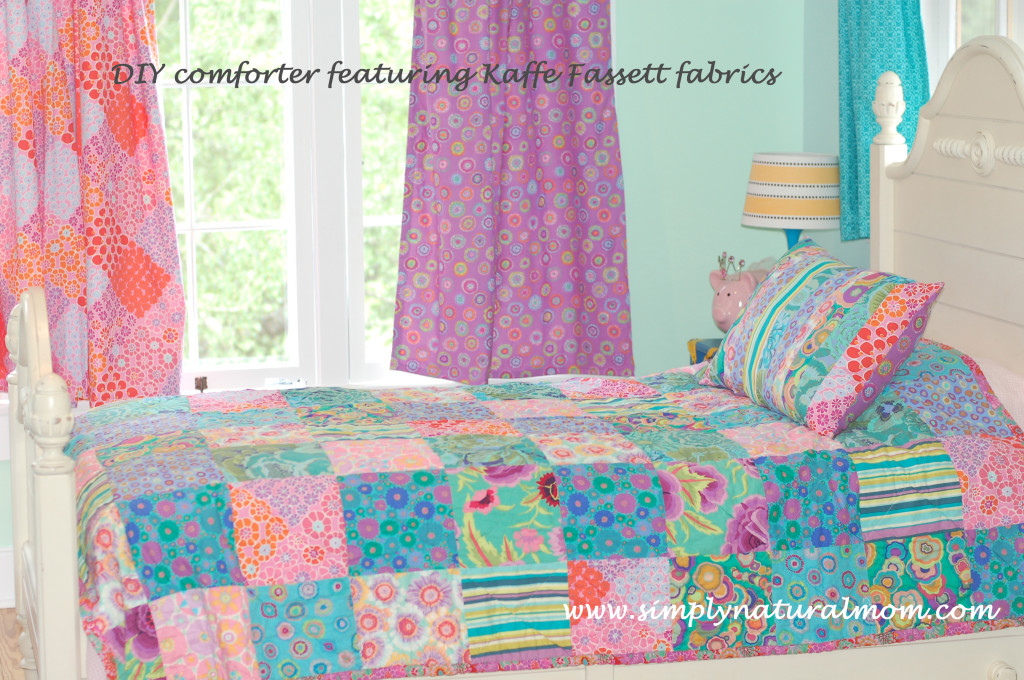
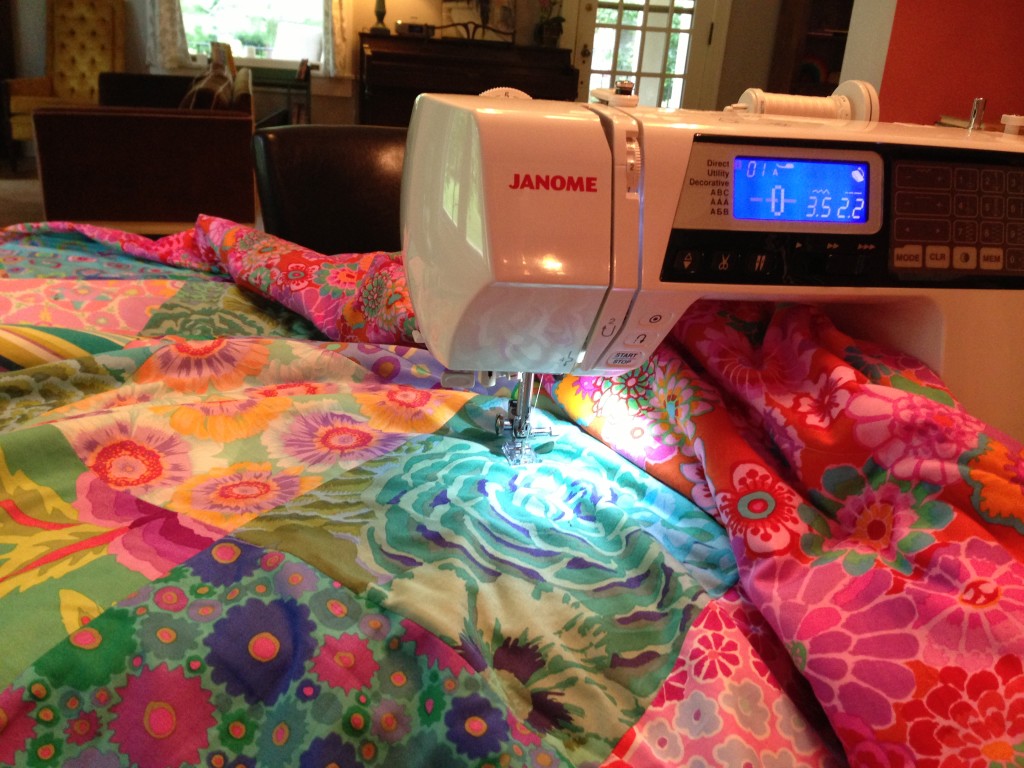
Coming from a self-taught sewer who still relies on you-tube to sew a zipper – this comforter/slash sort of quilt is totally doable for beginning sewers. It takes some patience knowing you have to work in steps when time allows, determination to finish, attention to detail yet attitude that forgives imprefecions. And a good sewing machine, big enough to fit the whole quilt through it. But it can totally be a DIY project.
And the best part is the completely one-of-a-kind outcome.
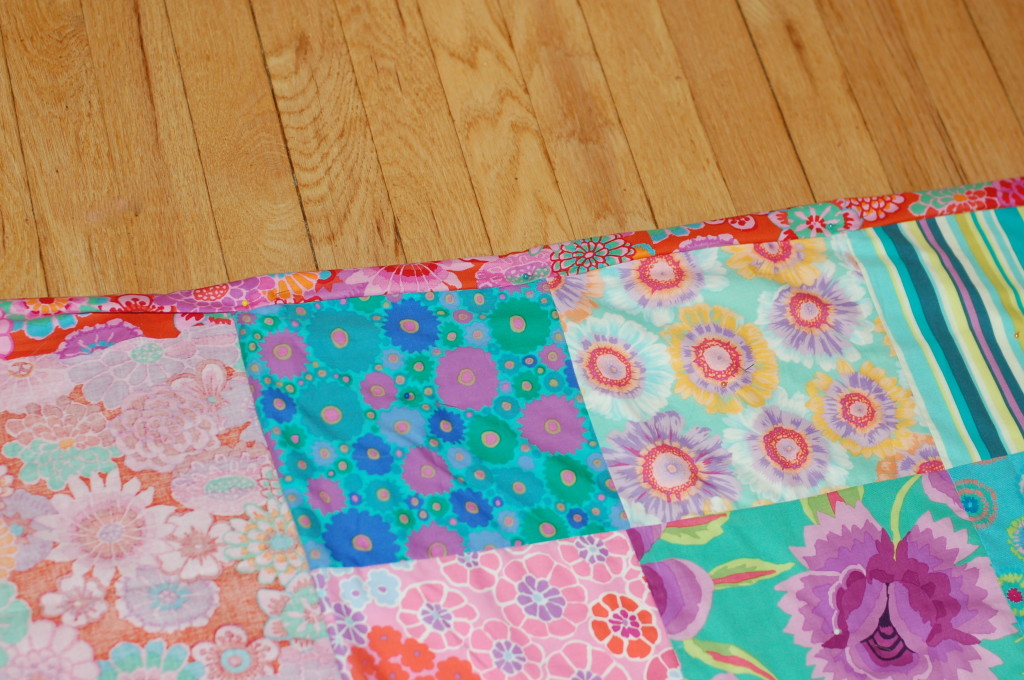
I sewed two comforters for the girls shared room about three years ago, with 20 18″x18″ squares, which are now on the beds in the room my middle and youngest girls now share. To make those, I had an inspiration and a little advice and encouragement from a friend with a lot of sewing experience. It was enough of a success that this time, I was up to the challenge of putting together 80 9″x9″ inch squares.
My oldest daughter choose all the fabrics, from our locally owned fabric store. A year ago. That’s how long it’s been sitting my project bin. Quite a lesson on patience for her I must say, and resisting the urge to just go buy something new. But this special girl values something homemade by her mom. She knew it would be worth the wait. And when she finally started complaining about the given-to-us Laura Ashley fairy comforter on her bed that has been passed about the sisters the last seven years – I knew I couldn’t make her wait much longer.
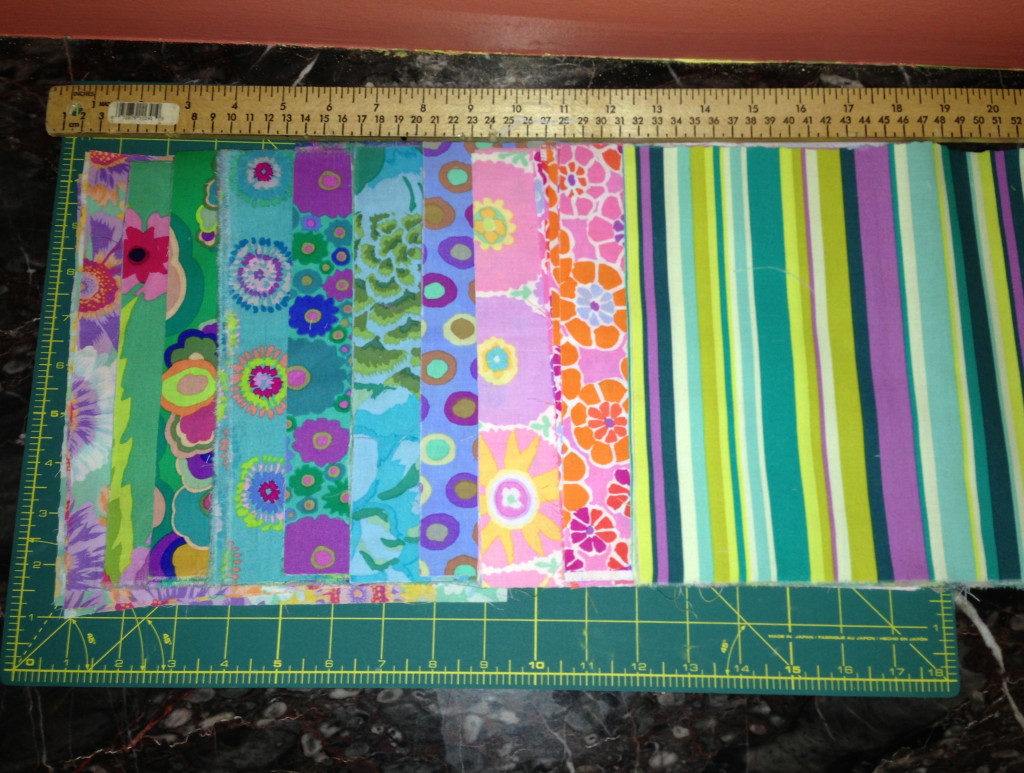
That day at the fabric store her eye was driven to the Kaffe Fassett collection. And she chose 10 different fabrics, with no rhyme or reason. She just liked them. That’s the beauty of Kaffe Fassett. You can do that. And it works!
I have to say I had my doubts when I was laying it all out, with all those different colors going different ways. But I trusted her. She has a good eye for design. And I wanted her to love it. So it didn’t matter that questioned the colors and patterns. It’s what she wanted.
While she was away at her grandparent’s house last week I finally finished it for her.
The pink and purple curtains are also Kaffe Fassett fabrics. The curtians finally replaced the tie-dye sheet hanging in the window. Which was also a surprise waiting for her when she came home. And now a year after the room was renovated with the upstairs of the house, her room is finally complete.
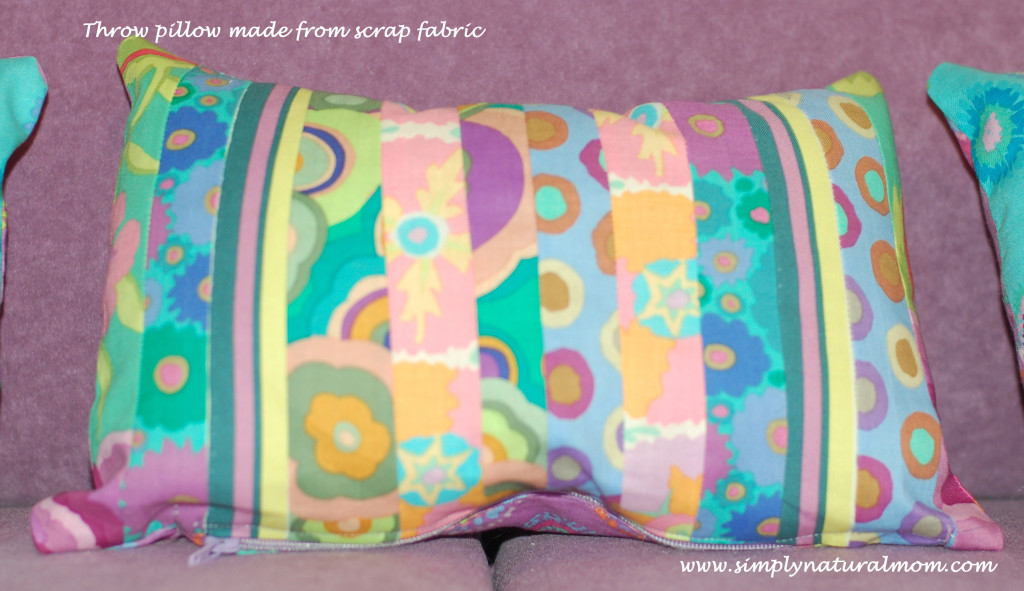
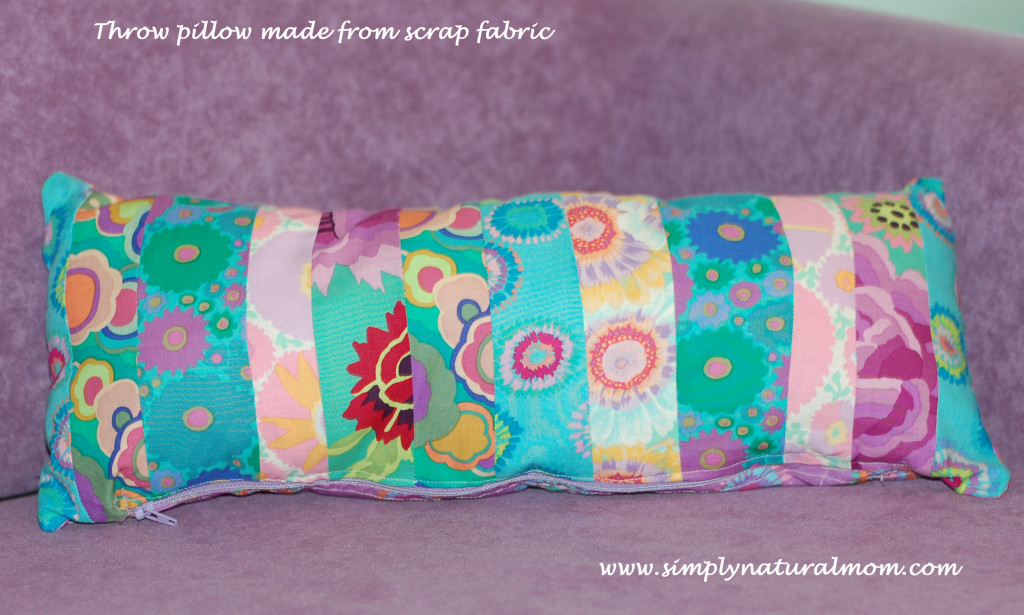
The throw pillow cover was made using the scraps cut from the 9″x9″ squares. 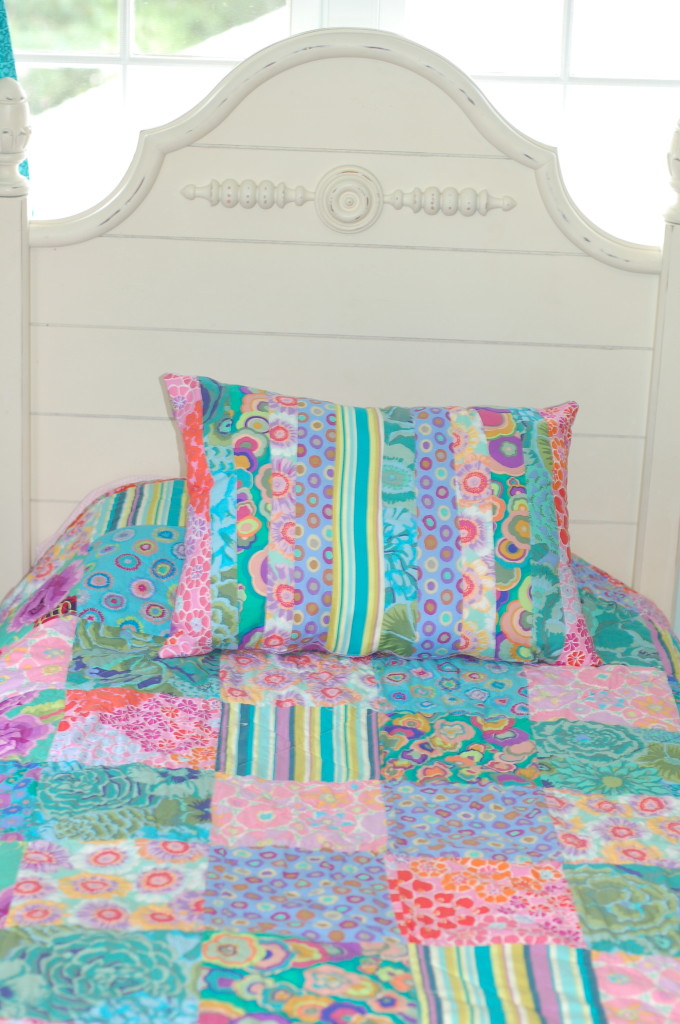
I made three smaller coordinating throw pillows for the sofa in her room. The backing fabric is the same as the purple curtains. The throw pillows all have zippers on the bottom to insert the pillow filling. I sewed the scrap strips together because I didn’t want them to go waste. It was a total DIY idea. I watched a zipper tutorial for throw pillows on YouTube and viola. Done. They are not perfect but they are already well loved.
Here’s the back of one, showing the contrast. 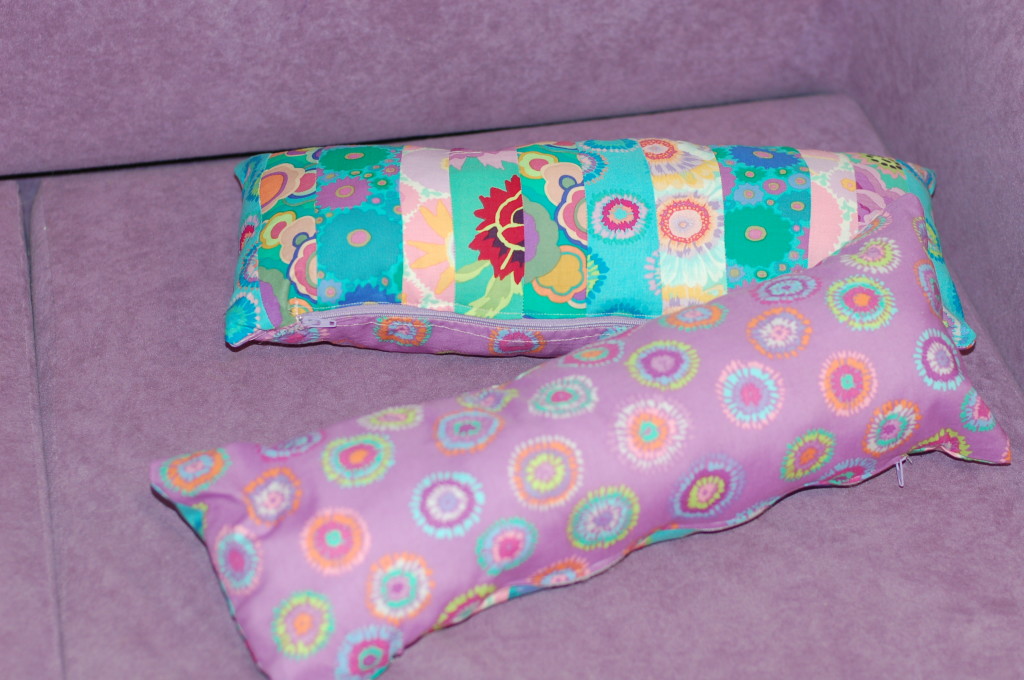
Steps for sewing the 80 square comforter.
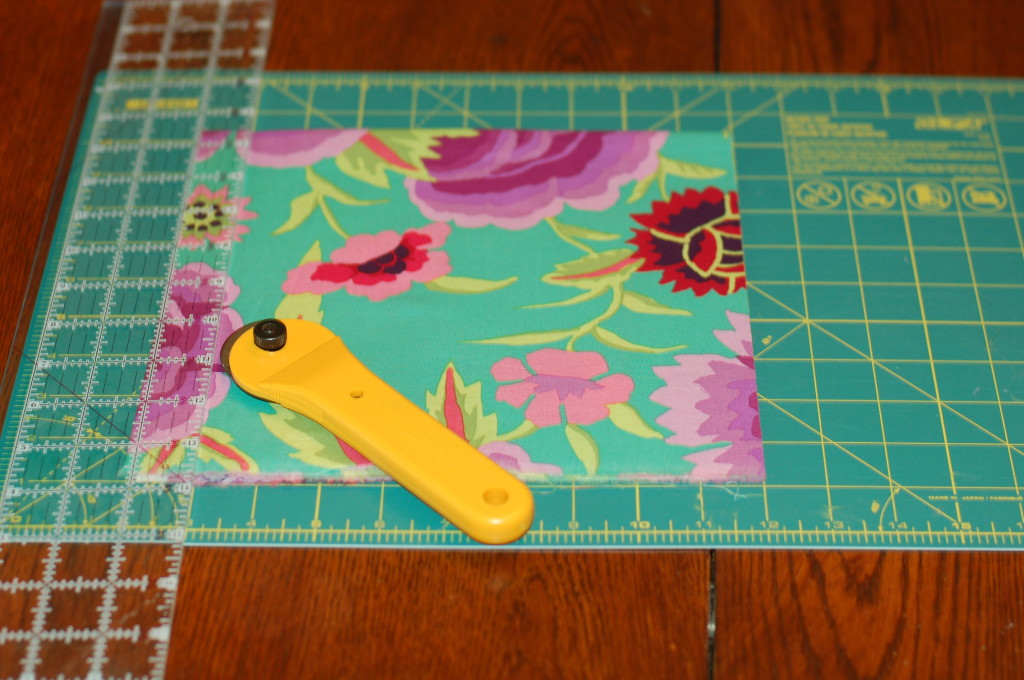
1) Pick 10 fabrics, each 1/2 yard long. Do not pre-wash your fabric! So it will have more of puckered quilt look in the end. Use a cutting board with wheel blade to cut each piece into 8, 9″x9″ squares. I folded the fabric and cut all 8 squares from one fabric at one time.
2) Lay them all out in a random design then move the squares around to your liking. Take a photo incase they get unorganized, or in my case the dog gets let in and runs through the living room. I put the photo on my computer and it was very helpful to look at, especially if you don’t have time to sew them all together in one siting.
3) Sew each horizontal row together, one square at time. And then sew the rows together (which I did on a different day). Be very mindful when you do the rows, matching up the corners of each squares. And then forgive yourself if it’s not absolutely perfect because in the end you won’t notice the tiny imperfections.
In a way, embracing those imperfections is a lesson of life. When I accidentally cut one set of squares to be 8″x9″ and had to sew the inch back on each square, my daughter was disappointed (so was I). But I said sometimes we make mistakes, we make the best of it and move on. So it’s not perfect. And neither are we. For my perfectionist daughter, that is a lesson we point out whenever we can.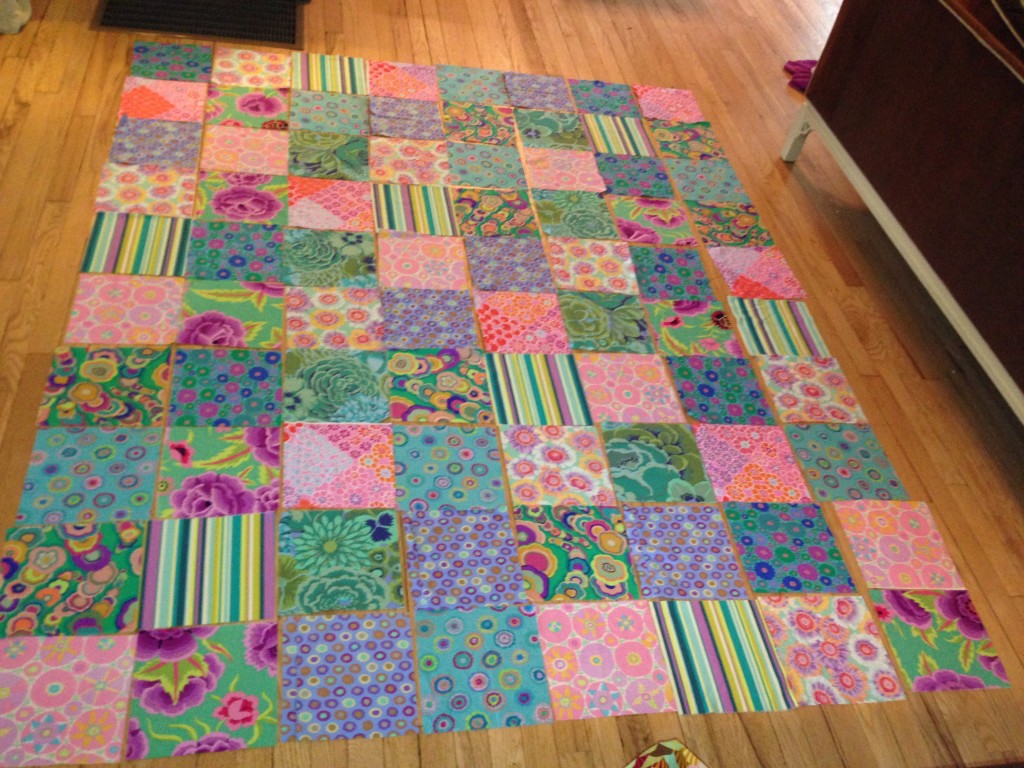
4) Sew the quilt top to a twin size piece of natural fiber batting. Which comes 72″ by 90″ and can be purchased at JoAnn’s. I sewed mine inside out but you don’t have to. Cut the excess batting that is a result of the 1/4 inch seam allowances from the squares.
5) Sew the backing together for the quilt. I used 5 yards of fabric, cut into 2 halves at 7.5 feet each. Leave one strip whole. Cut one of the 7.5 feet strips in half width wise, and sew each half to the either side of the one whole strip – making the back wide enough for the quilt.
6)Lay out back on the a large open floor space with quilt top/batting on top. Cut the excess from edges and fold over to make edges of quilt. Pin them all around. Also put one pin in the center of every square to hold it all in place.
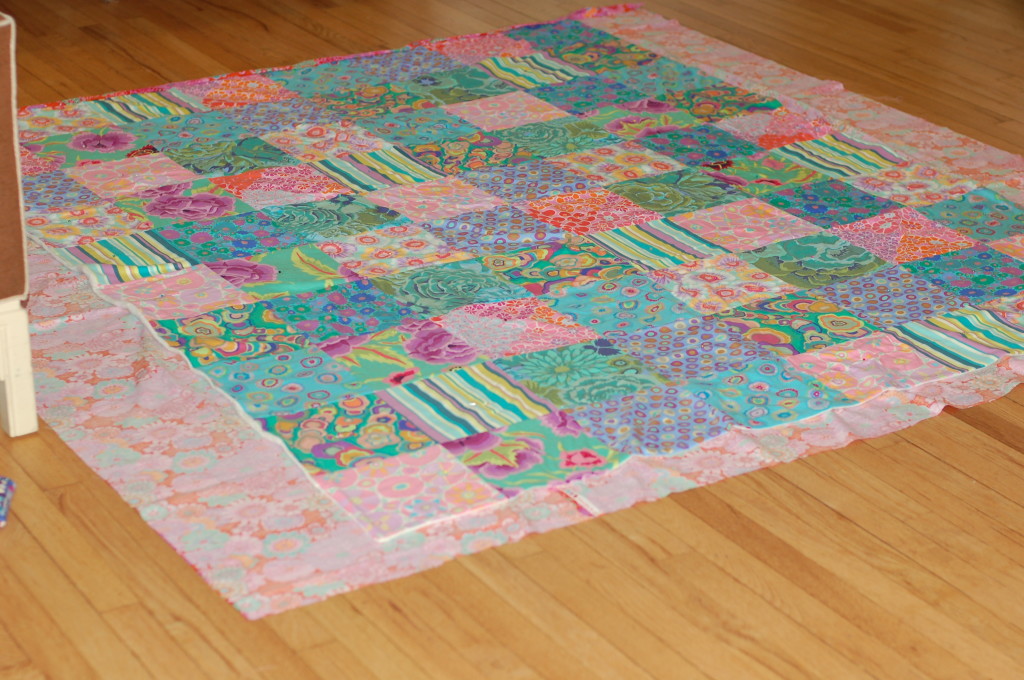
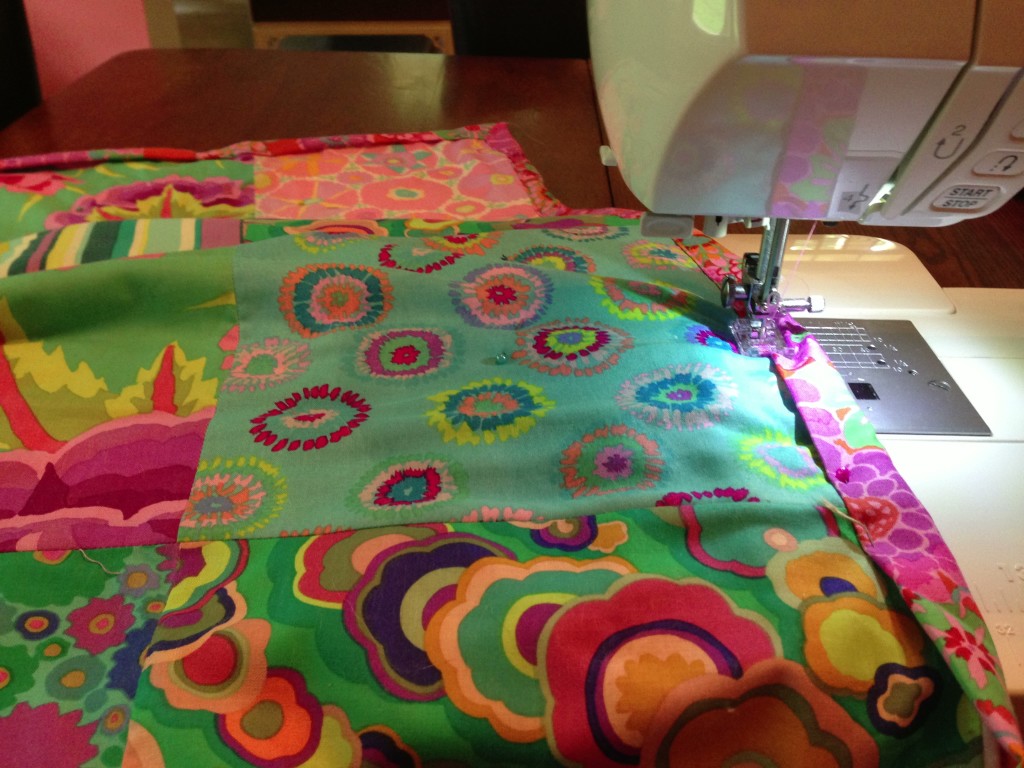
7) Sew all the edges with a straight stitch, all the way around.
8) Run the whole quilt through the sewing machine at every diagonal angle, so that every square has four triangles of stitching, totally 32 seams throughout the entire comforter. This give the comforter the pucker quilt look when it is finished, and hold it all in place.
9) Wash and dry on regular settings, in cold water and low heat to achieve the final pucker quilt look. And surprise your child by what you can do!
