• Home
  • For the Newcomers
  • Iyengar Yoga Classes
  • Contact

posted on May 7, 2012 by Rebecca Simmons

Natural remedies for alleviating spring allergies

Spring is in full-force where we live in East Tennessee. There are a lot of great things about living in our little quirky town of Knoxville. Alergies is not one of them.

Our town repeatedly, in the fall and spring, gets rated number one allergy capital in the nation by the Asthma and Allergy Foundation of America. And it’s that time of year again.

The last two weeks my children have had runny noses, itchy eyes, and coughs that wake them up at night – which adds more adventure to our nighttime parenting scene. My toddler as been affected the most lately. It seems the older two get better with age at coping. Mom and Dad have learned how to suffer through it too.

But seeing that May is Allergy Awareness Month, and today on Family Friendly Knoxville I wrote about how The Traditional Health Clinic and Salt Spa are offering relief and awareness for families with spring allergies, I thought I’d share some of the things our family does as well.

Here’s my list. Many of these items carry over to fall allergies and cold and flu season too.

  • The neti pot. I was absoluty shocked last fall when my seven-year-old agreed to try using a neti pot to alleviate sinus congestion. I was even more surprised at her reaction which was, “That was awesome! Can I do it again.” My middle girl has tried the neti pot as well.
  • My younger two prefer a saltwater nasal solution opposed to the neti pot. We use a SinuCleanse KidsMist.
  • We put humidifiers in the girls rooms at night with a few drops of eucalyptus essential oil.
  • I make echinacea bath salts using essential oil, a carrier oil, sea salt, epsom salt and dried milk. Whenever my girls are feeling ill they request this “special bath.”
  • For coughs we give them honey diluted with a little hot water. With sometimes a little added squirt of lemon juice. There are store-bought brands available of this as well, like Chestal Cough syrup.
  • For sneezing and runny noses I give Hyland’s c-plus cold tablets or  Hyland’s Allergy Relief for children. This is a good homeopathic brand and they offer a variety of cold and allergy products for children and adults.
  • For respiratory issues Elderberry Syrup is good too. There are many brands available at heath food stores. Some people make their own. We use the one made by Herbs for Kids.
  • Echinacea drops provide a good boost for immune support. Mine love to suck it straight of of the dropper in the bottle. There are no qualms about taking this one! Again, we use one by Herbs for Kids. They also make one called Nettles and Eyebright for allergy suffers.
  • If I sense allergies are prone to spirl into sickness, everyone gets added doses of probiotics.
  • If the kids have spent time outside that day (which they usually always do), we make sure they take a bath and wash their hair to remove pollen dander from entering their sheets. This is obviously good for adults as well. I believe changing sheets more frequently than usual helps during allergy season.
  • Lastly, the biggest aid of all – I take my children, as well as myself, to The Salt Spa at The Traditional Health Clinic. They have lots of information on their website explaining the benefits of salt therapy and how it all works. Also, when The Salt Spa opened I wrote an article on it for the Knoxville News Sentinel. You can read that here. While there are less than 15 of salt spas across the country. They are becoming more popular. So maybe your town will be next!

We have had seasons where doctors have prescribed children’s Claritin and other prescription allergy relief for my family. When I was a child I had asthma. Now our family, on most occasions, goes without taking any allergy medicines other than the remedies listed above.

I know there are so many more ideas and methods out there for holistic care relating to allergies. This is just what our family does and I am by no way recommending these things for other families. I’m just sharing what we do.

Feel free to add to the conversation and leave a comment telling us more tips and ideas of ways your family seeks holistic relief. I’d love to hear from you.
Filed Under: Family, Spring Tagged With: elderberry syrup, hyland's natural sinus relief, natural remedies for spring allergies, salt therapy, the salt room knoxville, The Salt Spa Knoxville, The Traditional Health Clinic Knoxville

posted on May 4, 2012 by Rebecca Simmons

A jar for the Tooth Fairy

The Tooth Fairy is coming to our house tonight. Not for my girls. But for a special friend who my middle girl has played with since birth. It’s a first for this girl. And she is thrilled about a sleepover on the night she lost her first tooth.

I felt a little bad about it at first, when she came to me with a bloody lip wondering what had happened. The tooth came out while she was eating an apple. We all got down on our hands and knees to look for it. But we didn’t find it. I knew my best friend, the mom, would have wanted to be there for the moment. Our sweet little friend was amazingly okay with it all.

The mom is a labor and delivery nurse who was called into attend a birth. Wrapped up in the moment the girls decided it was the perfect night for a sleepover. I asked our little friend if she was okay being away from home to received her first visit by the Tooth Fairy.

“Yes it is more fun with friends,” she happily responded.

Fun we will make it indeed!

Therefore we are embracing a visit from the Tooth Fairy tonight. It’s also the first time our friend is having a sleepover, other than staying with grandma and cousins.

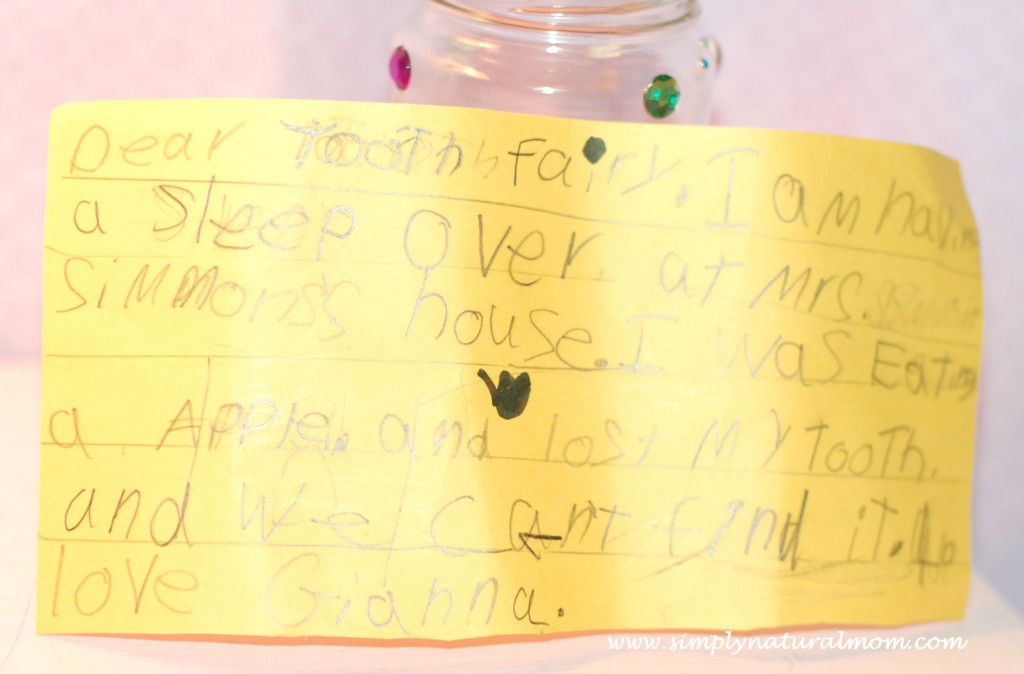
I offered to sew her a Tooth Fairy pillow. Then the girls went down to  the basement to write a note to the Tooth Fairy explaining what happened. That she lost the tooth – literally. They came back up for the dictionary and the process kept going. My seven-year-old was helping by writing the note that our friend was dictating. They were down there doing it all by themselves.

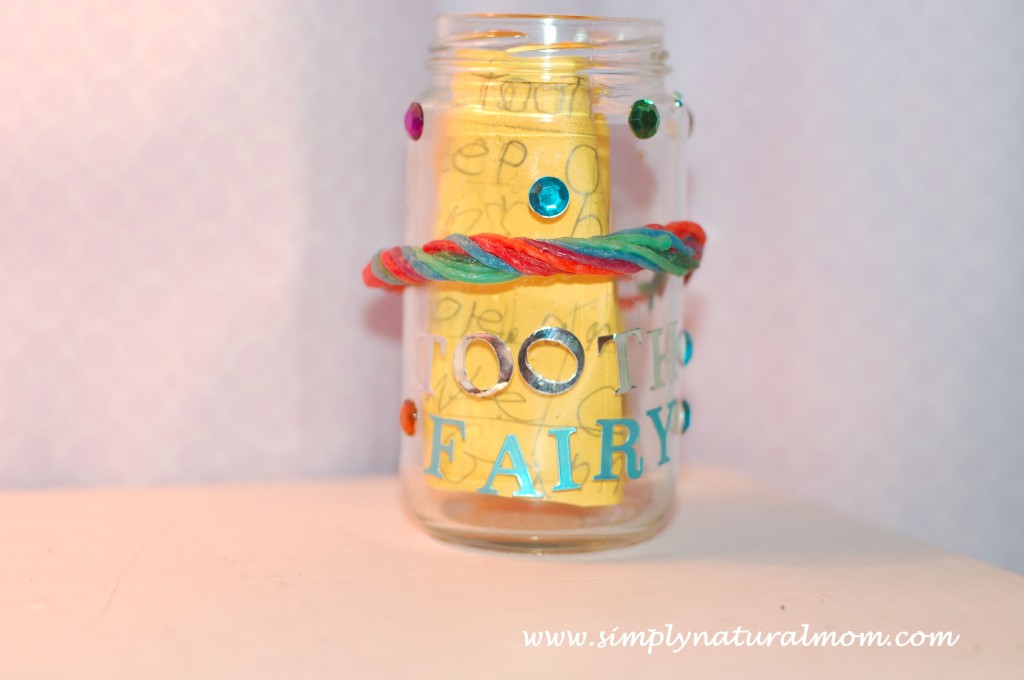
By the time the task was finished, dinner was well on the way and it was too late to break out my sewing machine. So she made this simple jar to hold her note for the Tooth Fairy. Our special friend loved it and was quite pleased with how it all turned out.

I think it is a wonderful example of child-led happening that turned out beautifully. Much better than anything I would have made. It’s perfect is so many ways.


Filed Under: Family Tagged With: child-led, note jar for the tooth fairy, Notes for the tooth fairy, Tooth Fairy Jar

posted on May 4, 2012 by Rebecca Simmons

A Simple Moment

A Simple Moment, is a post that appears here every Friday.
A photo I want to remember of a simple moment, with a few simple words.

If you are inspired to do the same, leave a link in the comment section for all to see and read. 

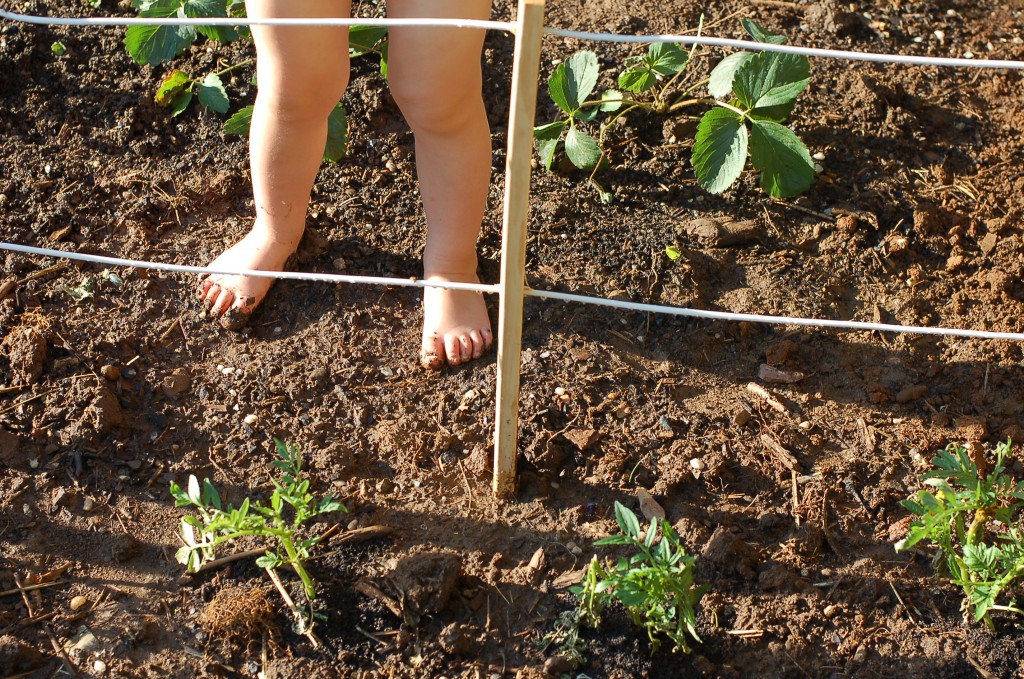
While working in our backyard garden, there is one little Simmons girl who always ends up naked. Always. And we can’t convince her otherwise. She stands her ground. No doubt about it.

After this picture she took her naked little self and stuck those muddy toes under the rain barrel water to clean them off. An independent thing she is. And stubborn as all get out.

Simple Moment was inspired by SouleMama. Visit her site to see many more moments.

Filed Under: Simple Moments

posted on May 2, 2012 by Rebecca Simmons

Tips for visiting a you-pick strawberry farm with kids

Tuesday after school we visited the Care of the Earth Community Farm to pick strawberries. It’s the Community Supported Agriculture group that we belong to, led by Farmer Megan.

With my major canning done, this experience was for the kids. What strawberries they don’t eat, I’ll freeze to make smoothies.

When taking children to a you-pick farm there is a few things you can do to be prepared.

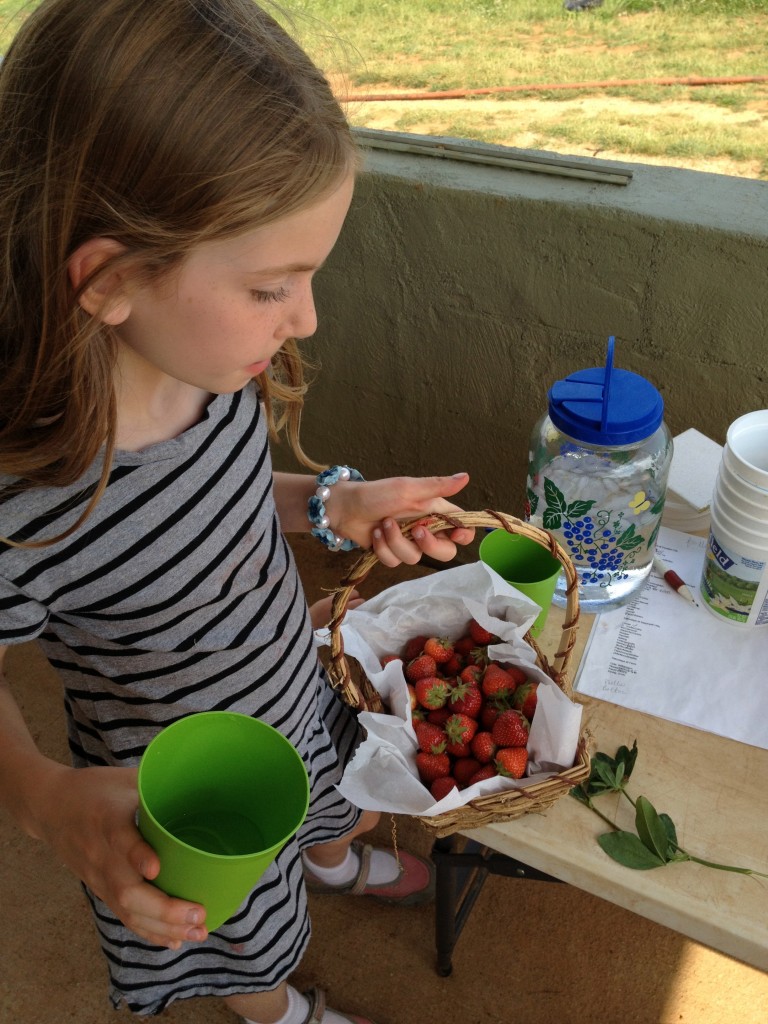
  • Know if the farm offers take-away containers to hold your strawberries. In question, it’s always nice to bring small baskets you know are the appropriate size for children to manage. I lined ours with parchment paper to save them for strawberry juice. And two were reused from a previous farm that provided plastic baskets.
  • Make sure everyone wears sturdy play shoes because the ground and grass can be hard to walk through on a farm.
  • Have an idea how far away you have to park the car from the strawberry field, and be mindful of long walking times through thick grass and hot sun with small children. This may sound petty. But I’ve learned from experience that a two acre walk across a farm in the blazing sun is a lot to ask of a small child, at least on the return trip once the excitement wears off.
  • For babies and new walkers, a backpack carrier works great.
  • Take lots of water. For four kids I filled up a big glass pitcher with a spout and set it up on the porch for the kids to refill their own glasses of water. For pre-school aged children, this is great fun in itself.
  • Don’t plan on picking enough for any major canning projects. Enjoy the time with the kids. Take pictures and make sure they understand which strawberries are ripe for picking – especially with toddlers. On our trip we picked a total of five pounds.
  • If you are looking to yield 25 pounds of strawberries for canning or freezing for later, see if you can work out a deal with the farmer ahead of time to pick for you, and pay a little extra.

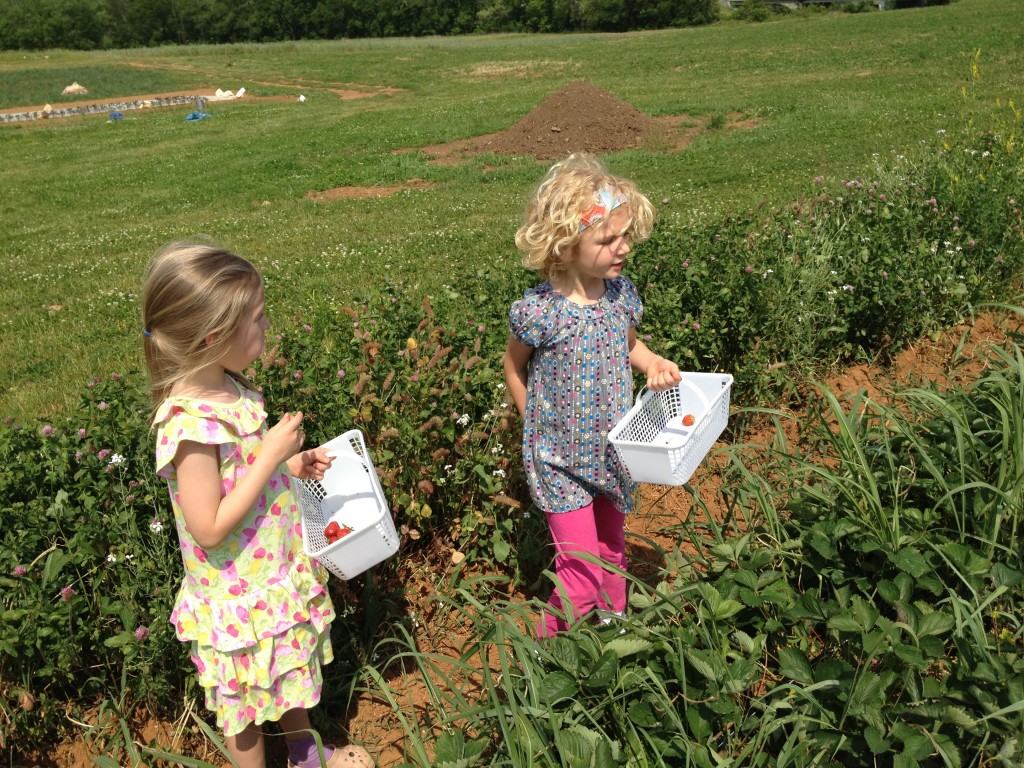
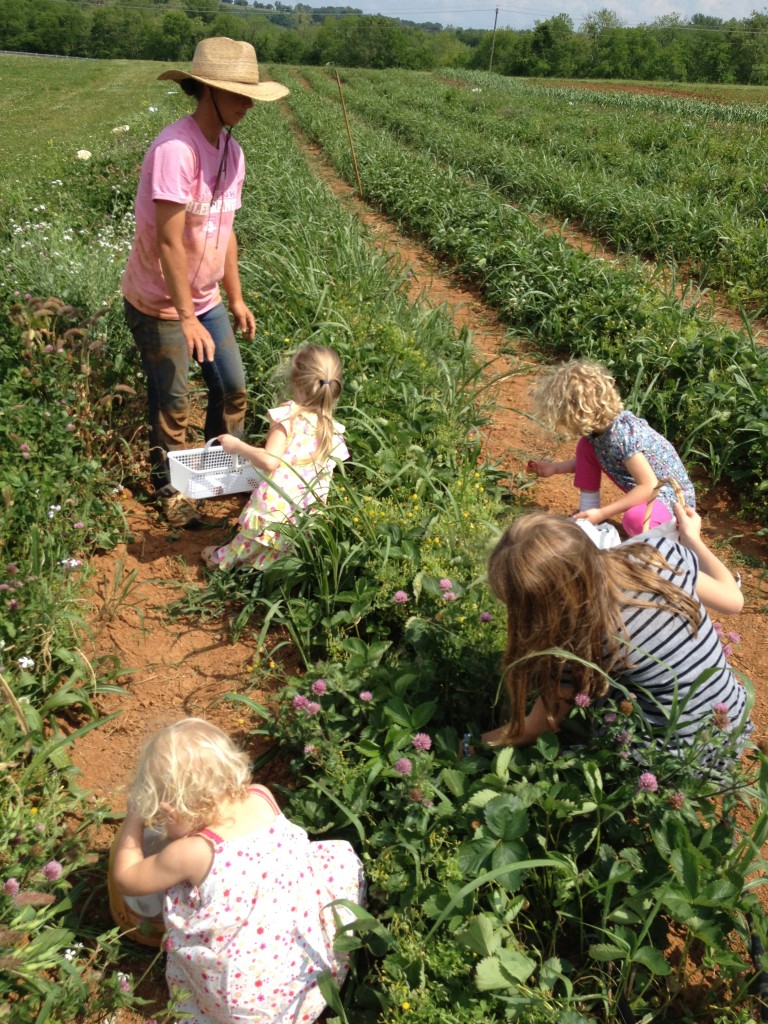
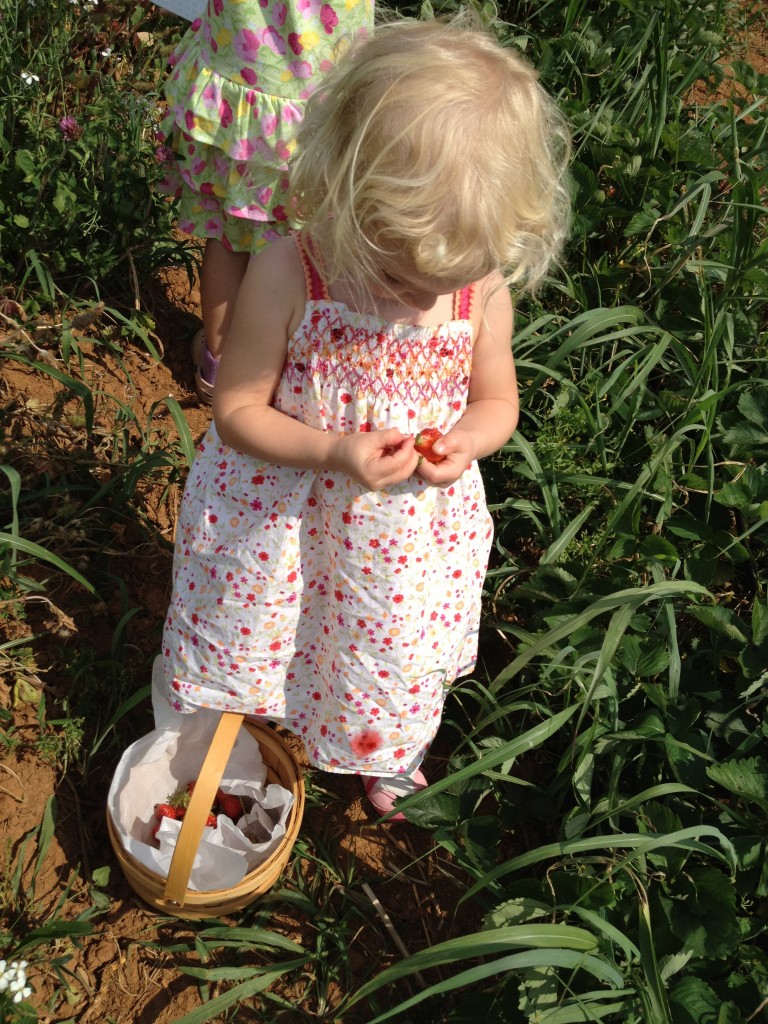
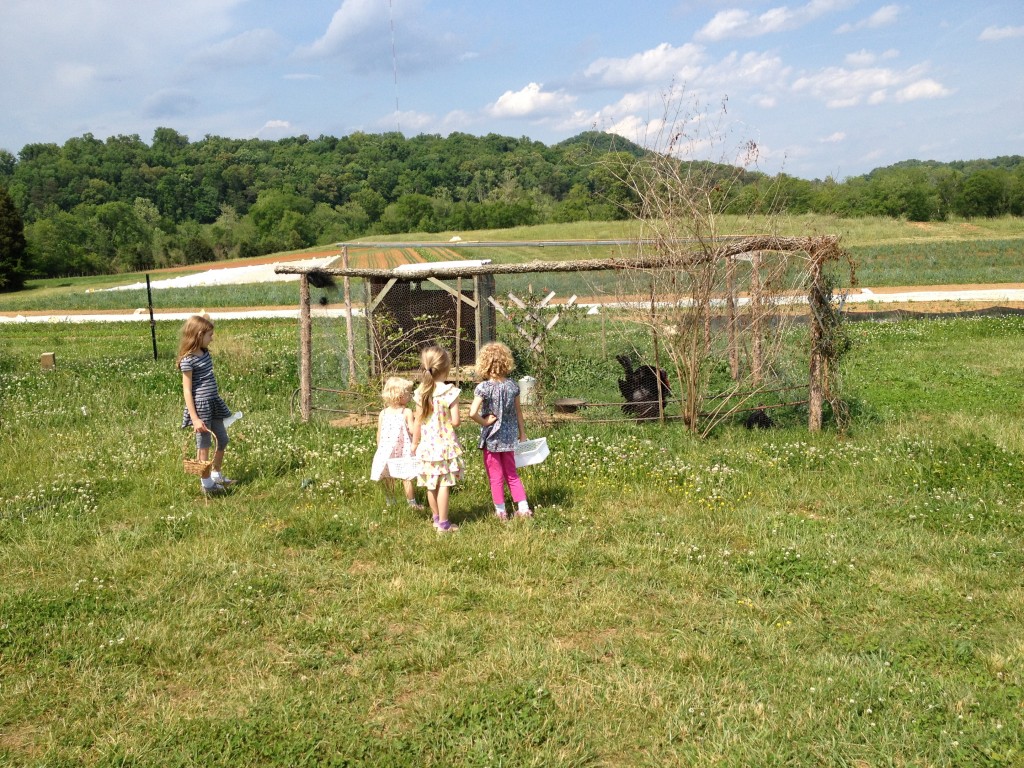
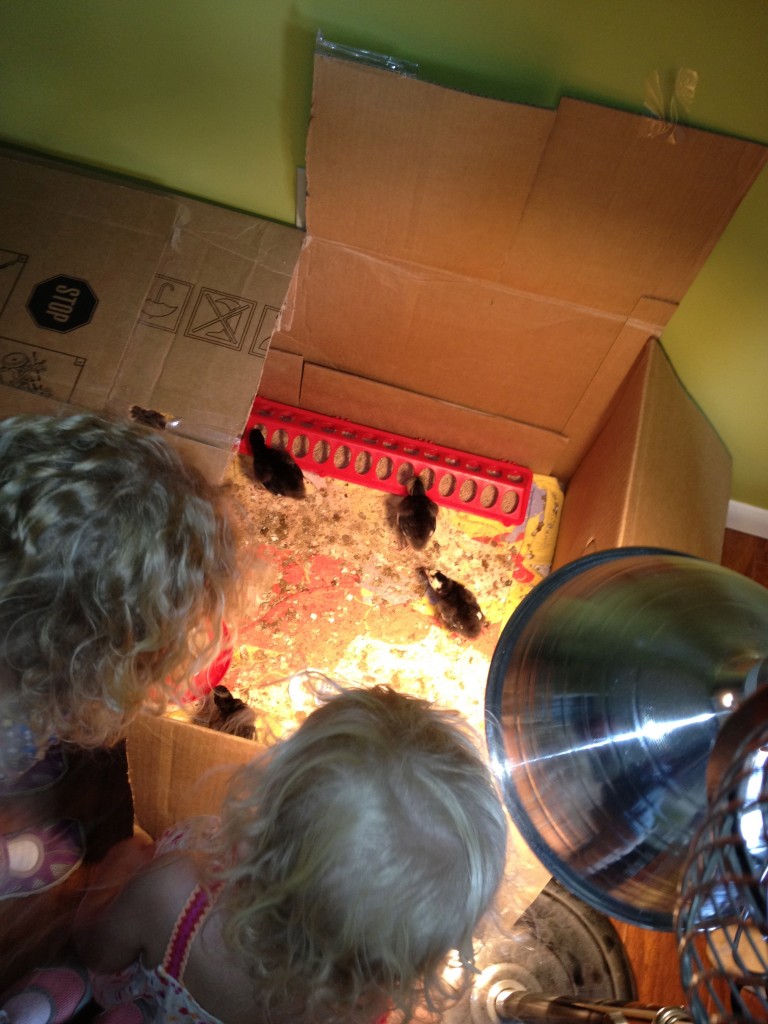
Below are some pictures of our time on the farm.

Like so often with our family, we took an extra friend along for the fun. Because you know, once you have three kids what’s one more? More fun. Right?

I’m not sure which was more exciting for the kids this time – picking strawberries or visiting the one-week-old baby turkeys!

Now take your kids to pick strawberries! They will love it. And there is nothing tastier than a sweet, ripe strawberry.

Filed Under: Real Food, Tips Tagged With: Care of the Earth Community Farm, tips for strawberry picking with children, you-pick strawberry tips for kids

posted on May 1, 2012 by Rebecca Simmons

Canning strawberry jam – you CAN do it

I few years back I never thought I would have been canning my own strawberry jam. I was a city gal when my first baby was born, in Atlanta. Then I moved to Knoxville, Tennessee and saw a flyer for the town’s first Holistic Mom’s Network meeting. Going to those meetings I met real moms doing things like canning, using cloth diapers and baking bread with their own fresh ground flour. And, they made it look really fun!

So I joined the crowd. Two babies and six years later, here I am canning strawberry jam, among many other vegetables, fruits and the pears from my own backyard.

I’m thankful for my friends who showed me the way. I would have NEVER had the knowhow to buy canning supplies and dive into the adventure without the community support of these gals.

But now, thanks to the rise of mom bloggers and You Tube tutorials, we can also have an online community of support, to inspire and help us learn.

So on the home front of canning strawberry jam – I am here to say you CAN do it!

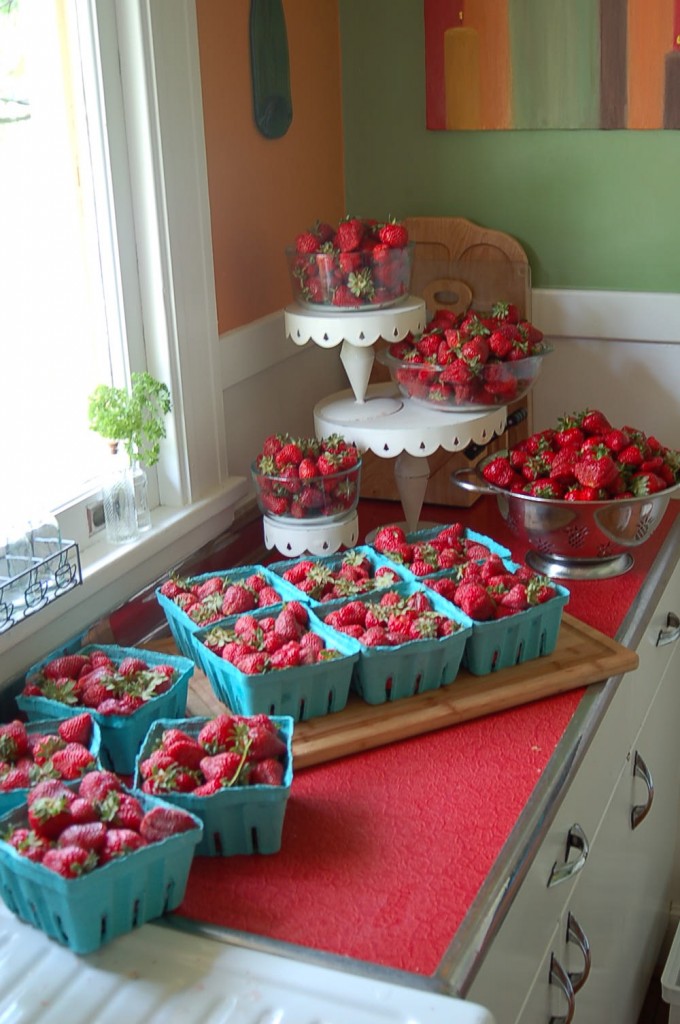
Here is a picture of my kitchen two years ago, before I canned berries  that I bought from a local farmer. I contacted the farmer ahead of time and met her at the framers’ market to get 20 pounds of strawberries.  I canned 40 jars of jam that year. Many of them were small and given as teacher gifts at the end of the school year. 

I still follow the simple recipe in the pink Sure Jell box with no sugar needed recipes. I use the low sugar recipe provided in the box, and organic cane sugar. I use one 24 ounce bag of sugar per box of Sure Jell. It’s just shy of the four cups of sugar the recipe calls for, but it works fine.

You can get a big canning pot, like this one, or if you want to try it out before you dive in and buy supplies you can get by using what you have. A large stockpot of boiling water, with a clean white towel placed on the bottom to keep the jars off the direct heat and preventing them from breaking, will work for a water bath.  If I bought one thing, other than the jars for canning, it would a canning funnel to pour the hot jam into the jars. If you use a standard width canning jars, opposed to wide mouth jars, metal kitchen tongs work fine to get the jars out of the water.

My new obsession however, are these Weck canning jars because of their fun shapes and glass tops, opposed the  Ball jar lids that have small amounts of BPA in them. I still use my old Ball jars. But slowly I’m replacing them with Weck jars. Lucky for us Knoxville folks, they sell them at Three River’s Market.

For this year’s canning – I started with 25 pounds for fresh organic strawberries grown by Farmer Megan from our CSA, that I bought for $2 a pound. I froze about five pounds of them for smoothies. And the rest went to jam.

We’ll still take the girls to the farm for a classic you-pick strawberry experience. Because it is fun and I want them to know where they come from. But honestly, it’s hard work picking 25 pounds of strawberries with three small kids. If you want that much, and your kids are young, expect to make two trips or to buy some that is already picked by local famers.

When buying local fresh berries, ask farmers about their pesticide uses. All farmers in my area, except Farmer Megan, have told me they have to spray the berries to keep the bugs from eating them all up. The farmers are usually honest and up front about how much spraying they do – whether they take preventative measures or limited proactive spaying. They don’t mind you asking and usually enjoy talking about their farming practices. And it varies from year to year.

To get a first hand look at someone canning in action – lets turn to You Tube.

Here is a fabulous, quick, non-overwhelaming You Tube tutorial using the same method as I do to can strawberries. After one view, you’ll be ready to can!

I’ve never canned using Pomona’s Universal Pectin, a more natural way than Sure Jell. I have bought a box. But I never got up the courage to try it. I spoke with Farmer Megan about it and she has tried it. But didn’t really like the results. However – here is a really fun You Tube video I found of a woman making Pomona’s Universal Pectin low sugar jam. It provides a nice modern view into the canning process in general, and is a well done video with fun music.

There is nothing like homemade jam. Once you try it, Smuckers will be a thing of the past. The taste is supreme. The cost savings is nice, considering the expensive cost of organic jam. Plus it’s a good mama feeling knowing your family is eating your homemade goods.

So go for it. You CAN do it.

Filed Under: Real Food Tagged With: canning strawberry jam, holistic mom's network, sure jell strawberry jam, you CAN can

posted on April 30, 2012 by Rebecca Simmons

The BLUE house reveal and repurposed front porch

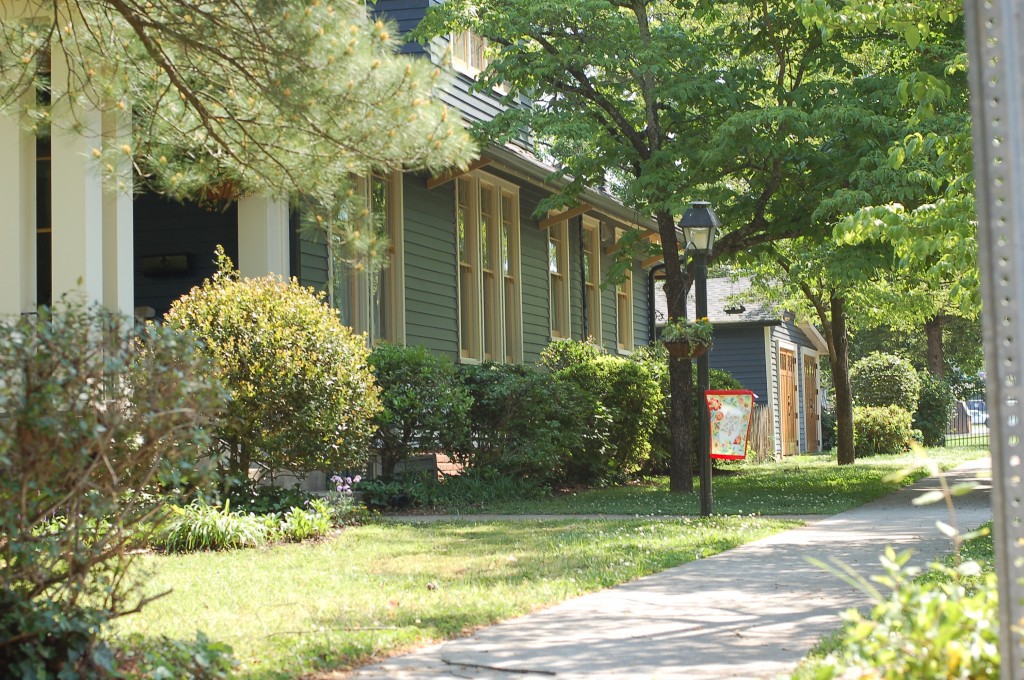
It was a tough, tough decision for us to take our very dark brown house with classic yellow trim, straight from historic bungalow times, and do anything different to it. We’ve lived here for six years and when our oldest daughter was two-years-old she nicknamed it The Brown House. And that, my friends, was what everyone called it. I even had a blog named The Brown House News.

On my way to the paint store for the sixth time, for more samples of different browns and different yellows, I got the crazy whim to go blue. It was the day before I had to tell the painter what color to paint the house and I had a 4:00 deadline on a Monday, when he needed to start painting. Before that it was a month-long process of removing major sections of rotted wood and replacing it with new. And scraping – oh my the scraping!

The girls held a vote with the neighbors, we all voted on blue. At 4:00 on Monday, I handed over my final choices and we didn’t look back.

And now look at our new BLUE house! DSC_0042-1024x742

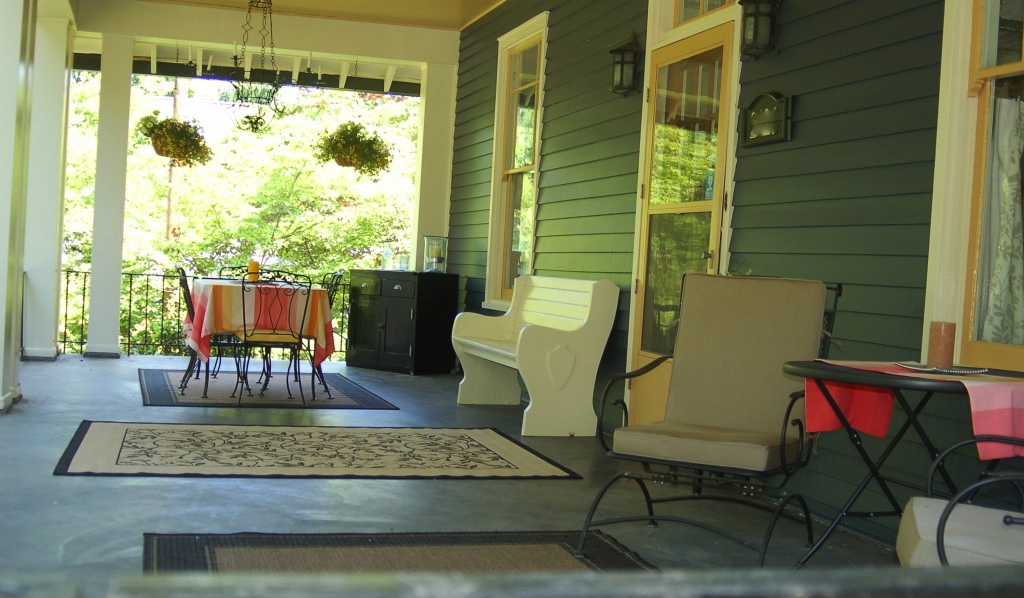
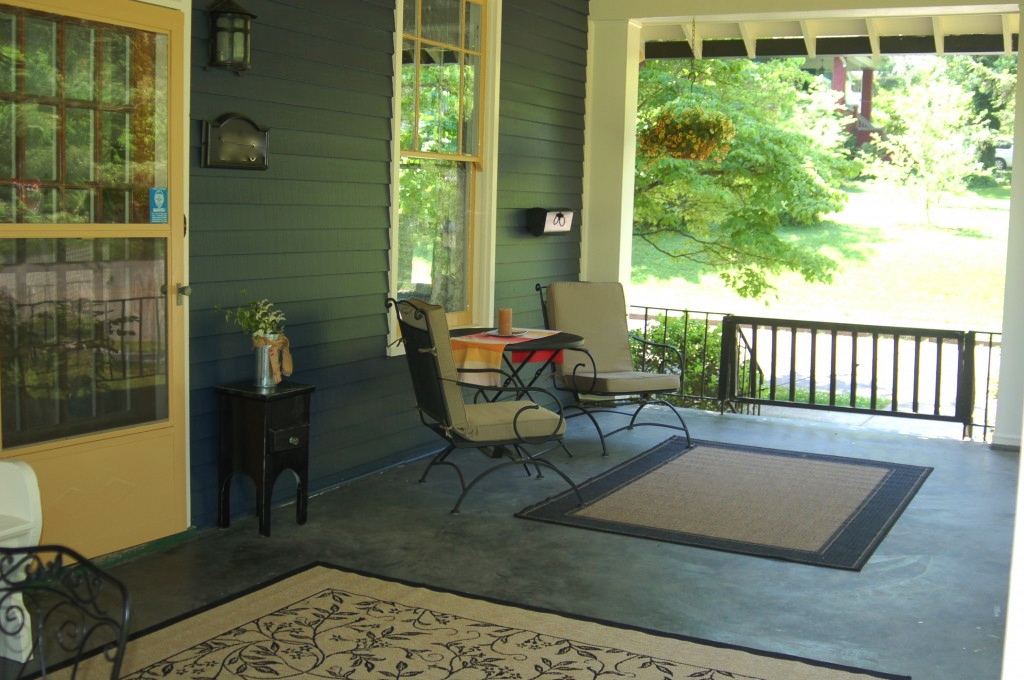
Of course, since we have a freshly painted house, I had to show our old porch some love too.

DSC_00301-1024x598 DSC_0025-1024x680

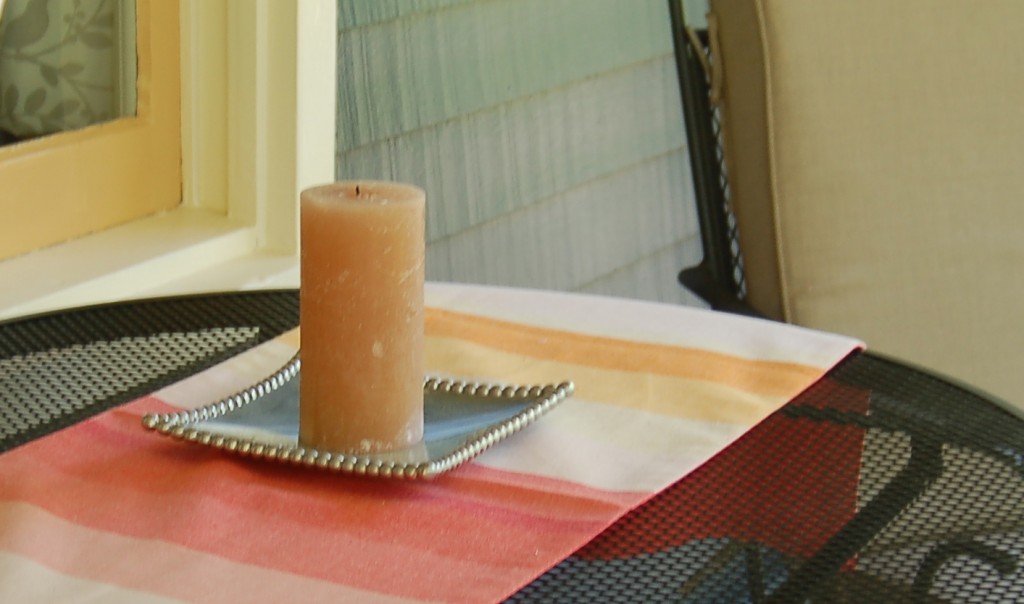
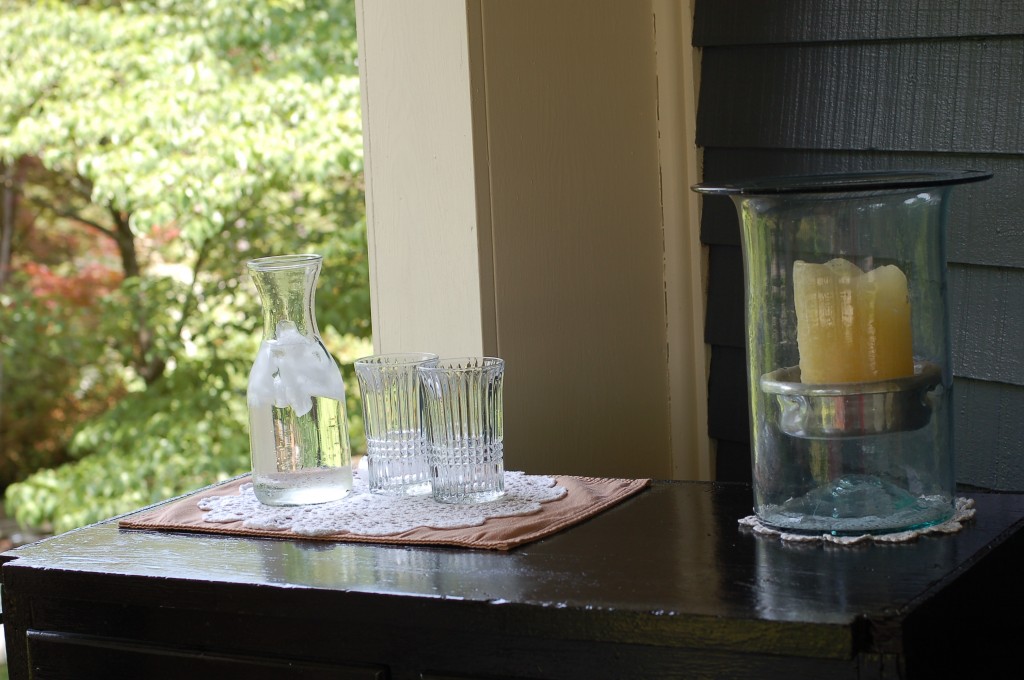
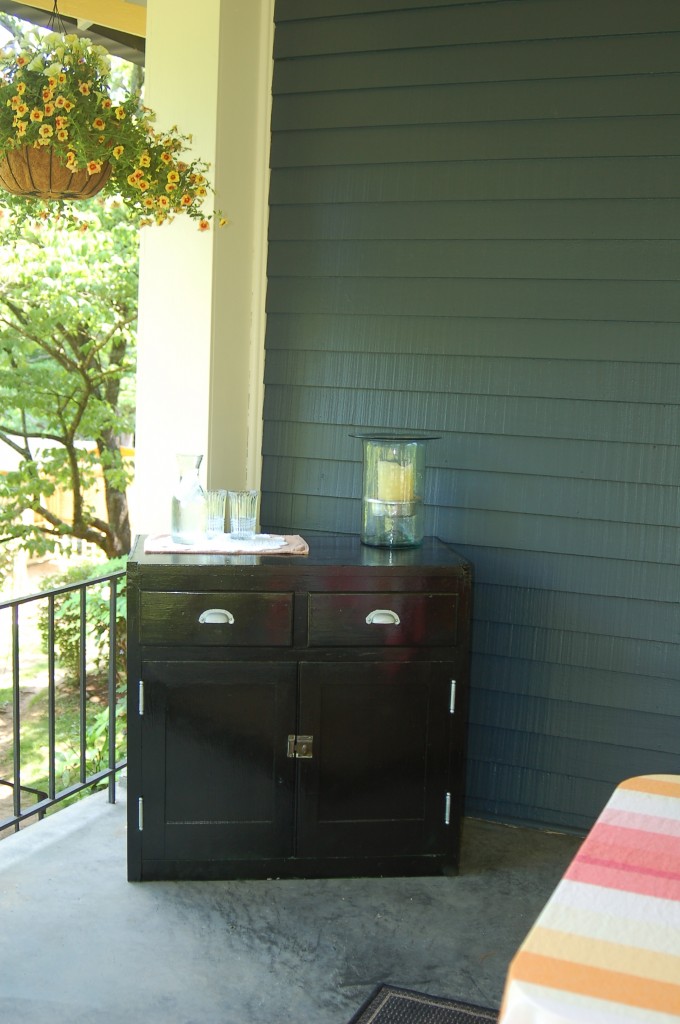
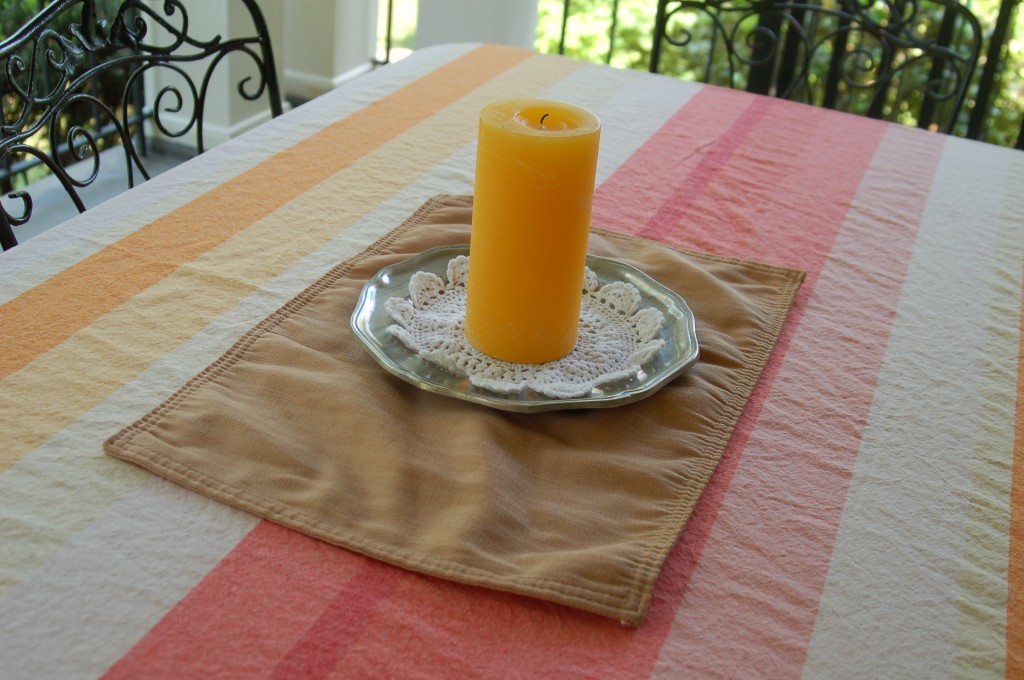
A lot of what you see, was repurposed, repainted, and recovered. For the candle holders, I dug around our basement and decided to put out some old wedding presents that were collecting dust to shine up the place. Previously this was a major kid space and dog space. Both ends of the porch are gated off, making it a convenient holding zone for muddy dogs and a place for kids to make a mess.

Now this is a grown up space, and the kids head to the backyard with the Mud Pie Cafe, Picket Fence Chalk Board, Rope Swing and more.

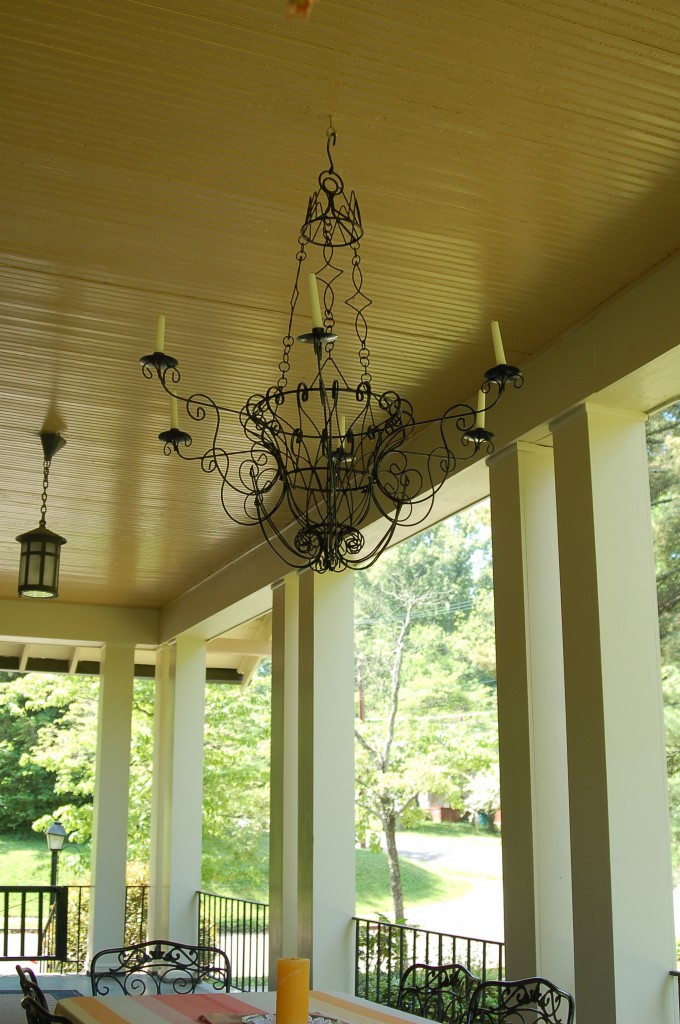
Below is a view of the items that were repurposed and found a new home on the porch.

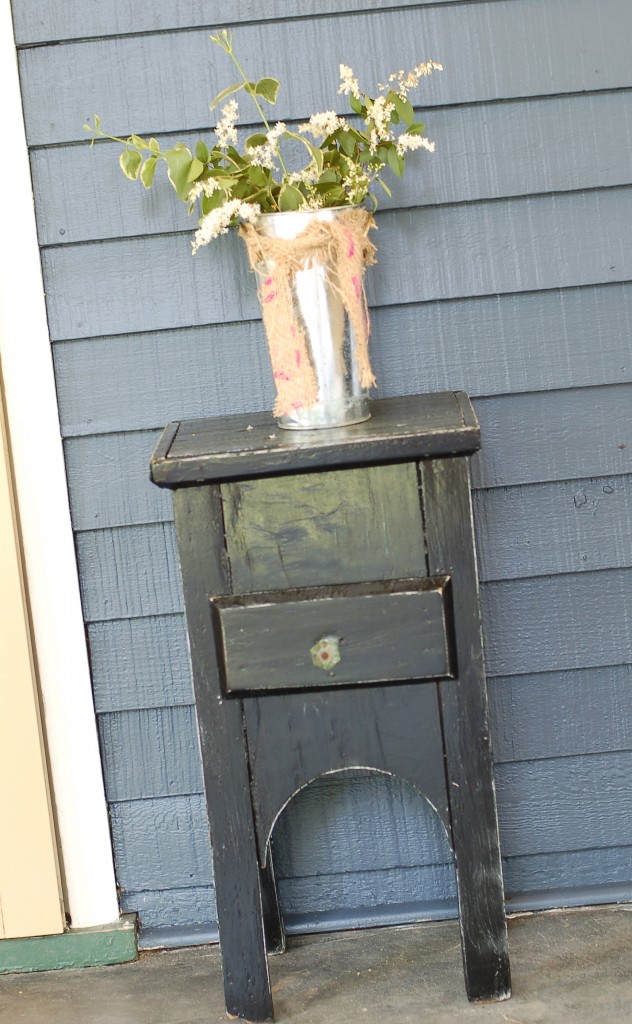
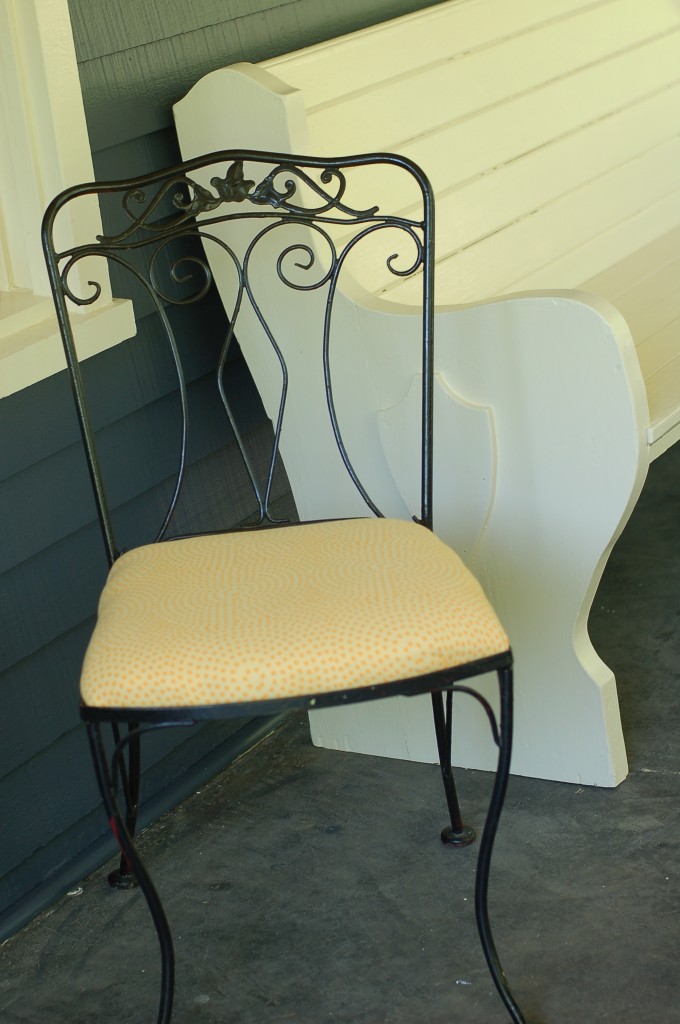
They are: an antique candelier that used to hang in the trees at my childhood house, a fancy napkin holder turned candle plate, a big glass candle holder from our wedding decorations, vintage glassware with doilies, a black cabinet that now serves as a place to set food when we eat outside but was previously an ugly green thing in our basement collecting unnecessary belongings, the small black table by the door, more silver wedding plates and doilies, plus the chairs and table set that we purchased from a thrift store when we got married – with seats that have been recovered again and again. 

As for the other things you see. The church pew came with the house and we repainted as well, to match the trim of the house. The rugs and tan chair covers are new. And the plants and the rugs. Everything else was repurposed or reused.

Now, if anyone is looking for me. I’ll be on my porch!

For more before pictures, and documentation of the exterior renovations, go here.

Filed Under: Family, Renovations Tagged With: blue bungalow, Bungalow porch, craftsmen house, historic bungalow, repurposed porch

posted on April 27, 2012 by Rebecca Simmons

A Simple Moment

A Simple Moment, is a post that appears here every Friday.
A photo I want to remember of a simple moment, with a few simple words.

If you are inspired to do the same, leave a link in the comment section for all to see and read. 

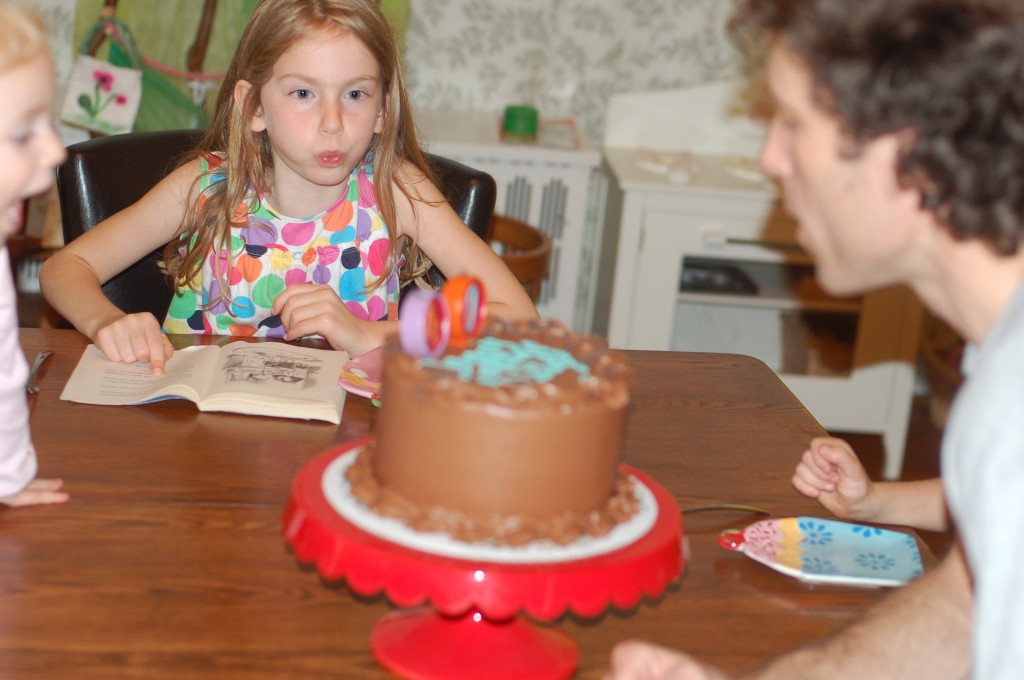
You can’t see the candles on the cake from this angle – but I’ll tell you somebody here turned 40 yesterday!  Happy Birthday to Daddy….Happy Birthday to YOU.

A Simple Moment was inspired by SouleMama. Visit her site to see many more moments.

Filed Under: Simple Moments

posted on April 27, 2012 by Rebecca Simmons

A lesson in saying yes when I wanted to say no

When my seven-year-old was invited to a sleepover birthday party from her sweet friend who lives up the street, I thought it was a very nice gesture. You see, her friend is 10. And the party was for 18 of her friends.

My daughter was honored to be invited. She wanted to go. And there was nothing I could do to convince her otherwise.

The sleeping away would not be a problem.  She has spent countless weekends at my parent’s house near Atlanta, without mom and dad. She has stayed the night at several friends’ houses before. And this time, she would only be two houses away.

Instead, I worried about what she might be exposed to, with dance parties, movies and well – 10 year-old stuff with 18 girls. But her sweet friend told her that she planned movie choices knowing what my daughter felt comfortable with, and filled her in on all the plans.

My daughter has played at this friend’s house enough that she has gotten to know a few of her other friends, who were coming to the party. And she knew two girls at the party from her own school – who have younger siblings in her lower elementary community.

Even though I knew she would probably get overwhelmed by all the partying beyond her years. She was GOING. And I couldn’t tell her otherwise. She felt comfortable and she was ready. I know the mom, the kids, and that these girls are not a real “worldly” group in the sense of what might be discussed beyond nail polish and purple eye-shadow.

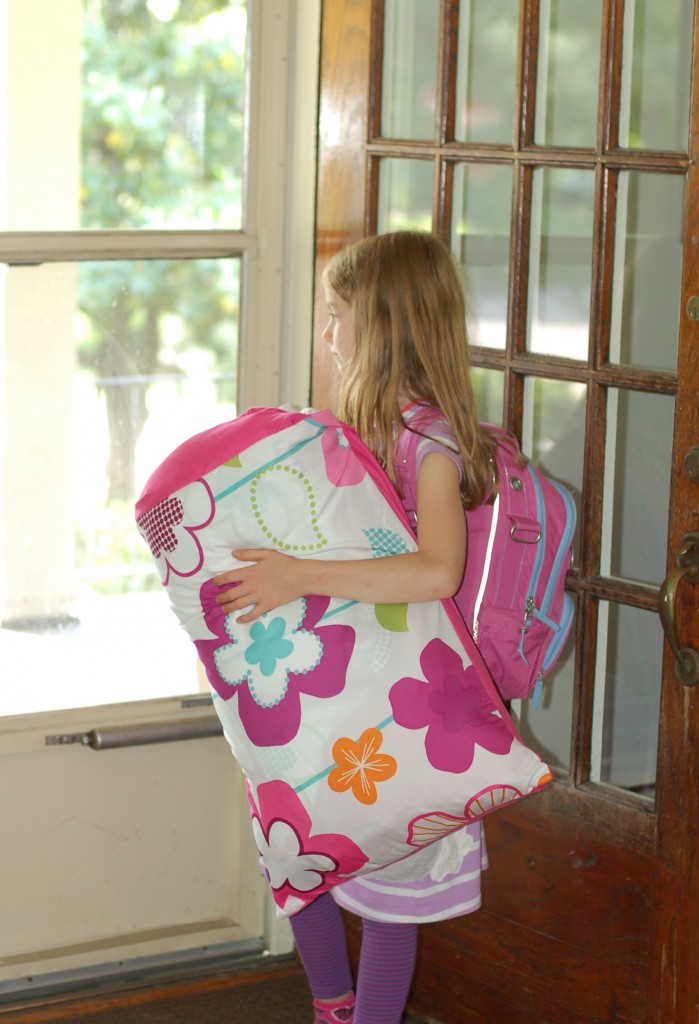
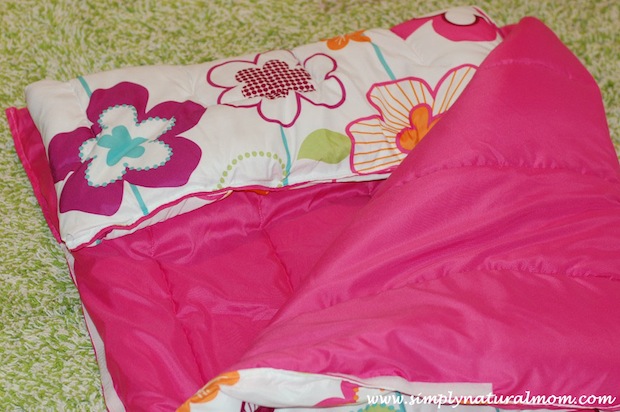
So with confidence, my daughter packed her backpack with pajamas, her blanket, toothbrush, a change of clothes for the morning, and a book (the total introverted bookish type that she is). She was also excited about taking her new sleeping bag I sewed for her that day, as well as the mama-made gift for her friend. A doll outfit and matching girl skirt.

Knowing that she gets nervous in big groups and unfamiliar situations, my daughter made the mighty smart suggestion that we show up early.

“I feel better when it is just a few people, to get used to things before there is a big group there,” she said. Displaying a surprising amount of insight into herself which is true, and has been the case ever since she was a very shy toddler.

Then off she went.

I walked her up the street to the house. While she was running ahead, a few of the girls already there and on the porch shouted her name saying hello. She felt welcomed. She felt ready to do this. There was no doubt in her mind. She could handle it.

I was still hesitant. But if anything, I knew this might be a lesson for her. We had lots of talks about how there would be a lot – 18 to be exact – girls there older than her. And if at any time she wanted to come home it was OKAY. There was nothing to be ashamed about. I’d just walk up and get her. No big deal. Her friend would understand.

Originally, weeks ago when the party planning was in it’s first phase, the mother suggested my daughter could just come for a few hours in the beginning. Because she worried the sleepover part might be something outside her comfort zone. But this friend wanted to officially invite my daughter, just as she did her 10 year-old friends. And being a very loyal friend, my seven-and-a-half-year-old daughter was going to be there.

I wanted to protect her from coming home crying because she just couldn’t hang with 18 kids who were three grades ahead of her in school. But she was too stubborn. She was having no part of my warning talks and my wanting to say no to the party.

“Mom. I will be F-I-N-E,” she said – in a teenager kind of independence, foot-stopming, way.

So I embraced the situation and went with it. My husband was supportive and agreed that we should let her try it out.

To put our foot down, and say no, would have sent the message that we didn’t trust that she trusted herself. Because she was VERY confident that this party was going to be GREAT.

Well, you can probably guess what happened.

After I dropped her off we headed to a school picnic celebration for Earth Day. My middle girl had signed up for open-mic night to play her violin. The party started at 5:00. The picnic at 5:30. At 6:30 I texted the party mom (a friend of mine) to find out how my daughter was holding up.

Her reply: “She is ready to come home. Are you home yet?”

Just as I suspected and thought might happen – sometime after dark – happened a lot earlier.

Sometimes moms just know.

When we got home I walked up to get her. She was playing with the other girls and having an okay time, trying to hold it together. Trying to hang with the big kids.

Maybe it was the loud dance party with 18 squealing girls that sent her to the porch to read her book. Maybe it was the overall different scene than she is used to, when it’s a smaller group putting on theater productions and playing with dolls. Probably both.

When I got to the party the girls were in the yard and on the front porch, again. My daughter greeted me on the sidewalk with her stuff in her hand. I kneeled down for her to hop on my back for a piggyback ride home. And I happily waved to all the girls, playfully shouting happy birthday to the birthday girl up in the tree. Then we walked down the hill.

Immediately my daughter gave me a teary kiss on the back of my head and said, “I love you. You’re the best mom in the whole world.”
Sometimes moms just know. 

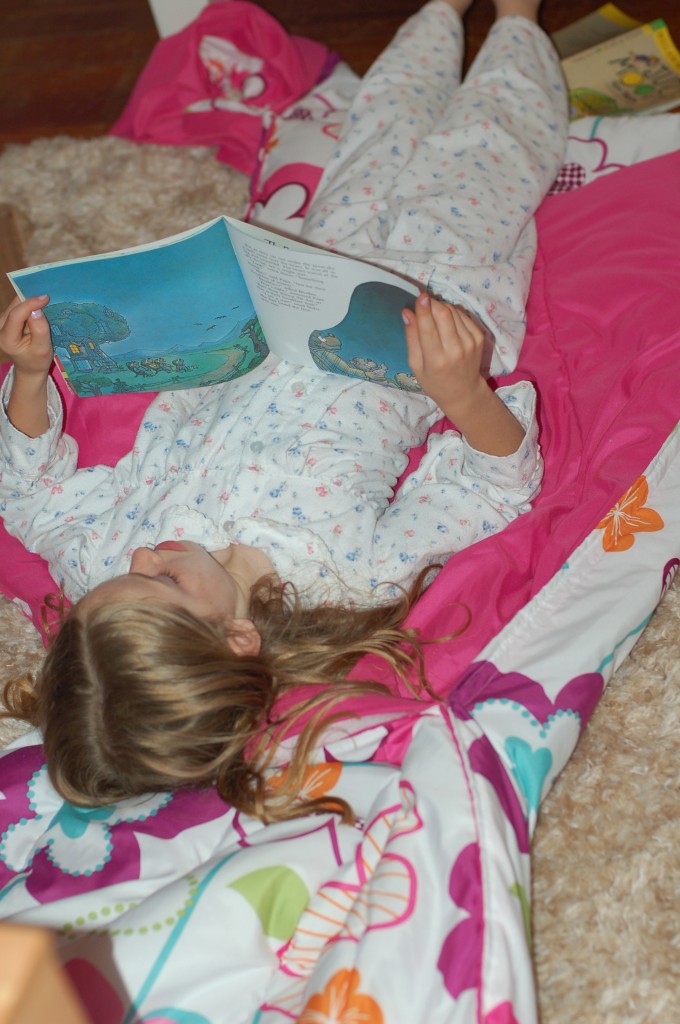
We came home and had an impromptu slumber party, sister style on the floor of her room. All sisters were on deck. Books were read, laughter was had and my two big girls slept the entire night on the floor of their bedroom in sleeping bags. My daughter ended up just where I thought she would.

And you know what? My daughter was right. She was just F-I-N-E.

I was glad I trusted my instincts, and that I trusted my child.

Moms do usually know what is best for their kids. But it’s always better when our children figure it out for themselves.

Filed Under: Mothering Tagged With: mother's intuition, Mother's know best

posted on April 24, 2012 by Rebecca Simmons

Inside my toddler’s closet, how it works for her

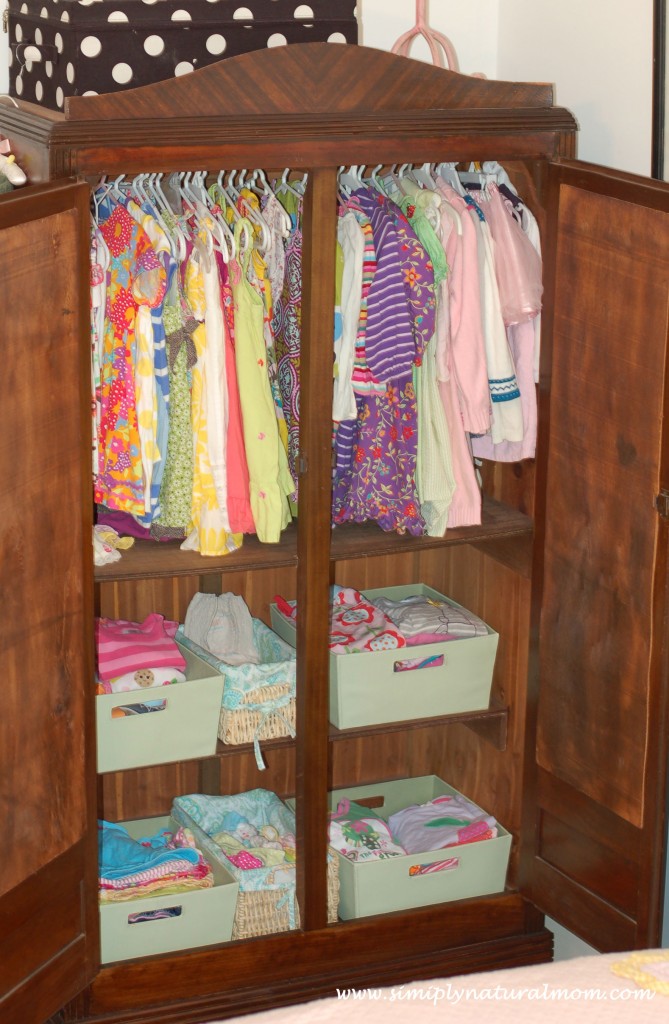
I won’t call this a Montessori closet, because it is far from being textbook perfect. But my toddler can do everything for herself when it comes to getting dressed, which most definitely displays Montessori principles.

Ever since I posted tips about how my big girls’ closet is organized to inspire independence using Montessori principles at home, I’ve been meaning to do the same with my toddler’s closet too. This falls in line with our potty training journey post, and having things within her reach to take care of business just the way a two-year-old wants to do.

A true Montessori closet would not have this many clothes in it, and it would not have anything hanging beyond a child’s reach. But for the sake of being practical at home and having all her clothes all in one place, versus a Montessori closet with only a few choices made available to her at one time, this is what works best for her, and us.

It’s neat and orderly, and only holds the items that are seasonably appropriate and in her size.

If it’s an occasion or a day when she choices to wear a dress that is hanging beyond her reach, she just points to which one, saying the color, and we get it down for her. However, everything from skirts, pants, shirt, pajamas, nighttime diapers, underwear, tights, leggings and hair bows are within her reach and compartmentalized in separate bins. Plus there is a place for her to put her dirty laundry and hang up her bath towel or robe.

You may think this looks like a lot of clothes for one child to own. So I remind you that she is the third girl with lots hand-me-downs. And these photos were taken on a RARE day when all her laundry had been washed and put away.

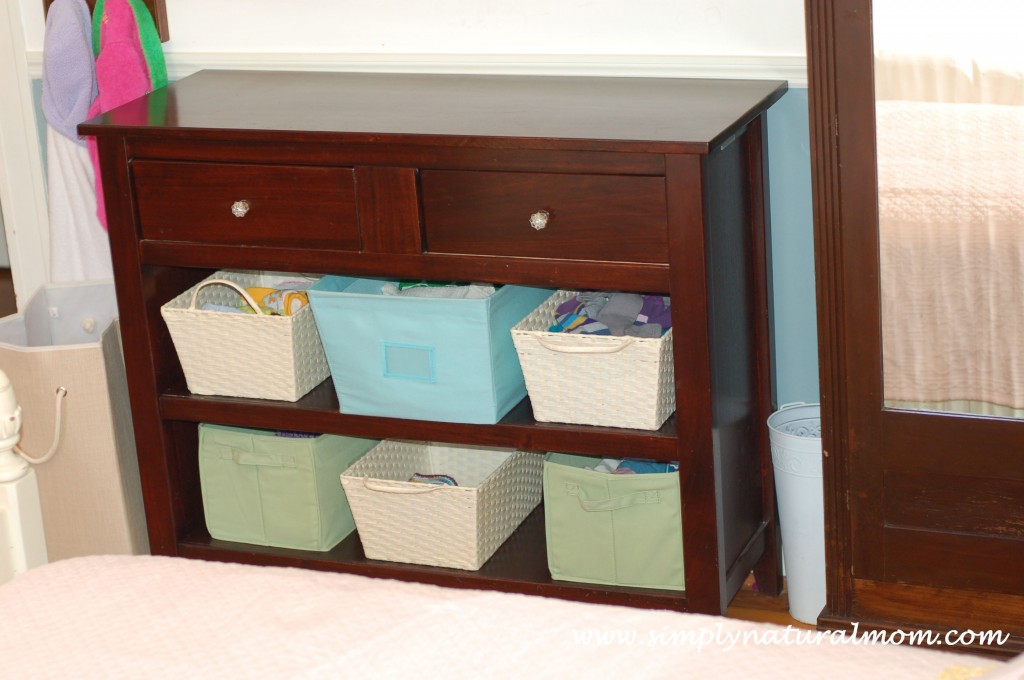
Inside the bins on what used to be the changing table when she was a baby, have been converted from being filled with cloth diapers and burp cloths to things she likes to wear and access herself. The big blue bin still holds bags, sheets and things I need to access for her. That would not be there in a true Montessori fashion. But in real life we have to have a place to store things for our kids. So I find a medium that works for us.

In the three lower baskets are Baby Legs (which are awesome for potty training), leggings and hair accessories. Because you know, she is the third girl. And when sisters do it, she follows suit. I’m sure you know what I mean.

As you might can guess in the bottom of the photo, is her bed. It’s a big bed so I thought I should note, on the Montessori issue, she sleeps in a twin size bed. We’ve used toddler beds before to transition the girls from our bed to their own space. But I’m finding I much prefer a bed that an adult can fit in as well. For snuggles of course. They are young for such a very short time.

While I love seeing my toddler being independent for things such as caring for herself and her environment. Sometimes I still like her to be a baby too. Which means lots of snuggles. So no, we don’t practice Montessori principles when it comes to sleeping. And I’m not a fan of the name “weaning table” either, as the name of a baby’s first table.

I’ll save that opinion for another day.

But a nicely organized closet – that’s something any mom can feel good about.

Filed Under: Montessori Tagged With: Montessori inspired toddler closet, montessori toddler closet, toddler closet for independence

posted on April 24, 2012 by Rebecca Simmons

How-to sew a simple sleepover sleeping bag

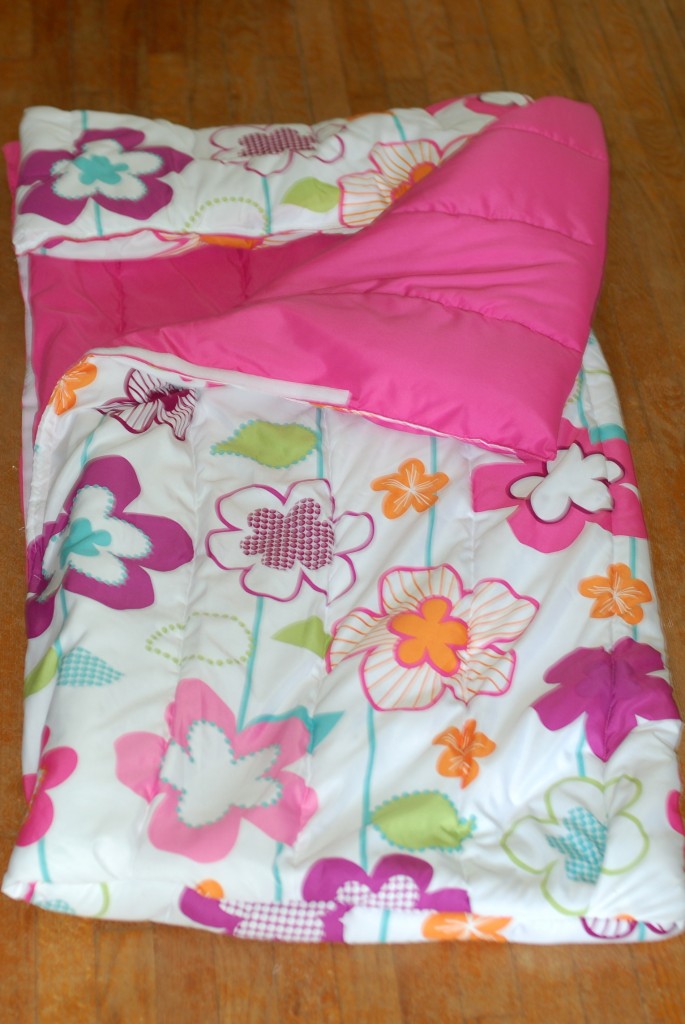
My daughter was invited to her first sleepover birthday party and something inside me, all the sudden, wanted to send her off feeling confident and ready for a good time. So I sewed this simple sleepover sleeping bag as a total surprise for her, on the day of the party.

I bought a new comforter to make it. But you could also make one using an old one you have at home.

Friday morning I headed out to buy a sleeping bag, hoping to find some cute Pottery Barn knock off versions. But I was left with the options of Tinkerbell, Cars or something plain blue for camping. I needed a plan B, and fast.

This is what happened next….

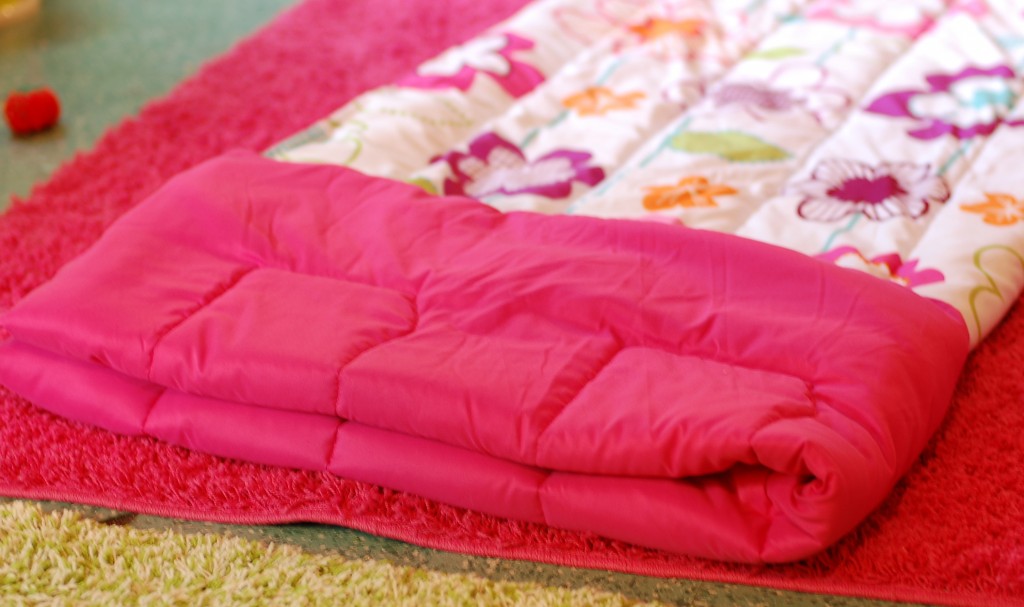
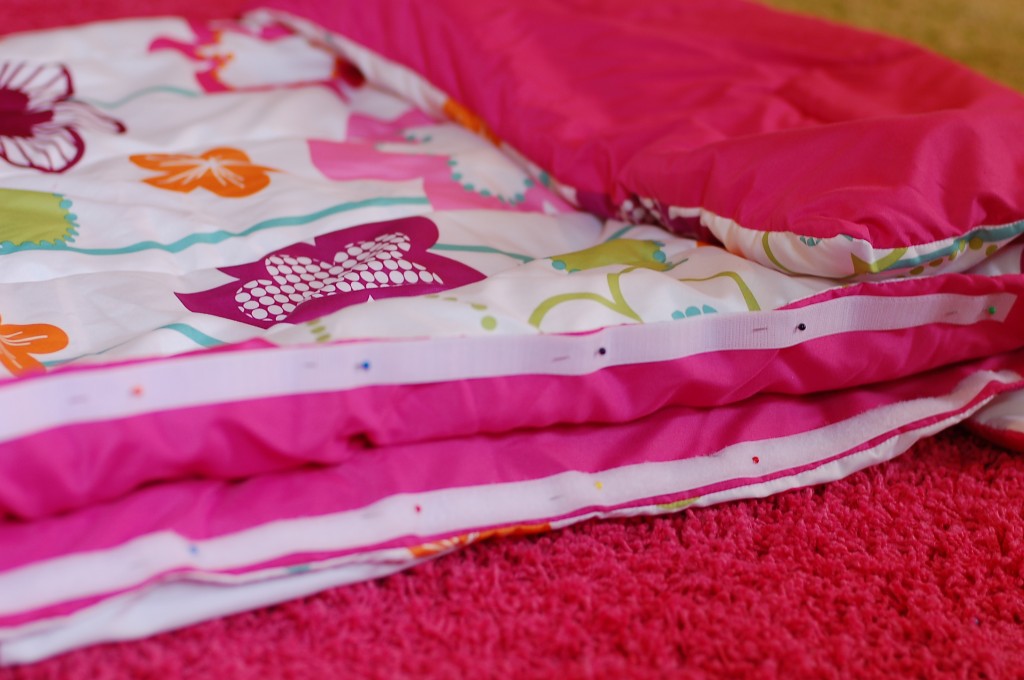
I bought an extra-long twin-size comforter for $35 that came with a matching sham. Exta-long sizes are commonly made for dorm room beds. And since we live in a university town, they are easy to find here. I folded the comforter lengthwise, sewed up one side and used velcro to close the top.

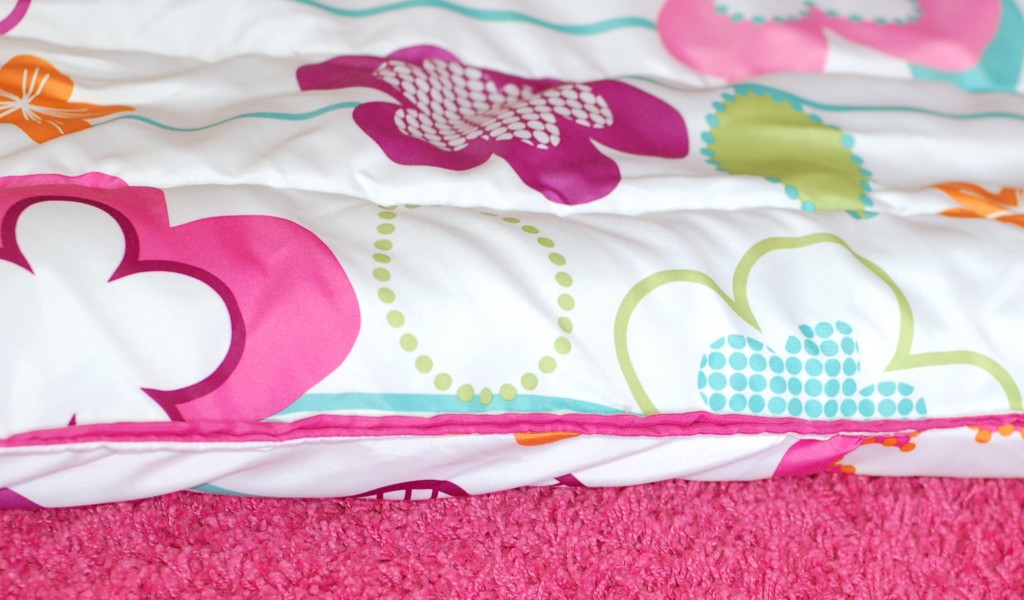
Since the comforter was extra long, there was enough length that I folded over the top and sewed it down to give it a “tucked-in” look with the backing providing and extra pop of color and fun. And I was able to cut enough off the bottom to make a matching pillow. It all folded up and fit in the matching sham to head to the party.

I sewed it up while my toddler napped – after I wrapped up this doll dress and matching skirt project for the birthday girl. I felt like a sewing rockstar!

And now, so you can feel like one too, here is a brief tutorial.

How-to sew a simple sleepover sleeping bag.

If it’s new, first wash the comforter. Once dry, lie it on the floor and fold it over in half. I folded the top down too, because the backside was a different color and I had the length to play with since it was an extra-long comforter.

Sew down the folded over side for it to stay put.

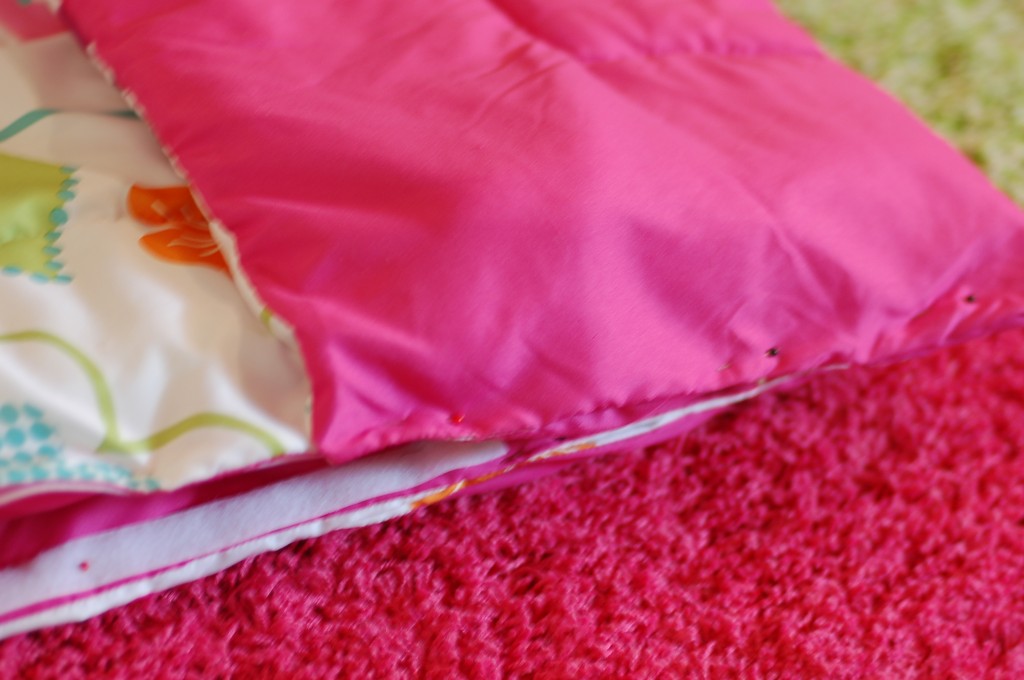
Next pin along the edges of the unfolded side to sew them together, from top to bottom. Also pin on the velcro, putting it along the top half of the comforter. For this part I just used the fabric and could avoid sewing over any of the polyester filling in the comforter. 

Sew together, leaving a neat edge.

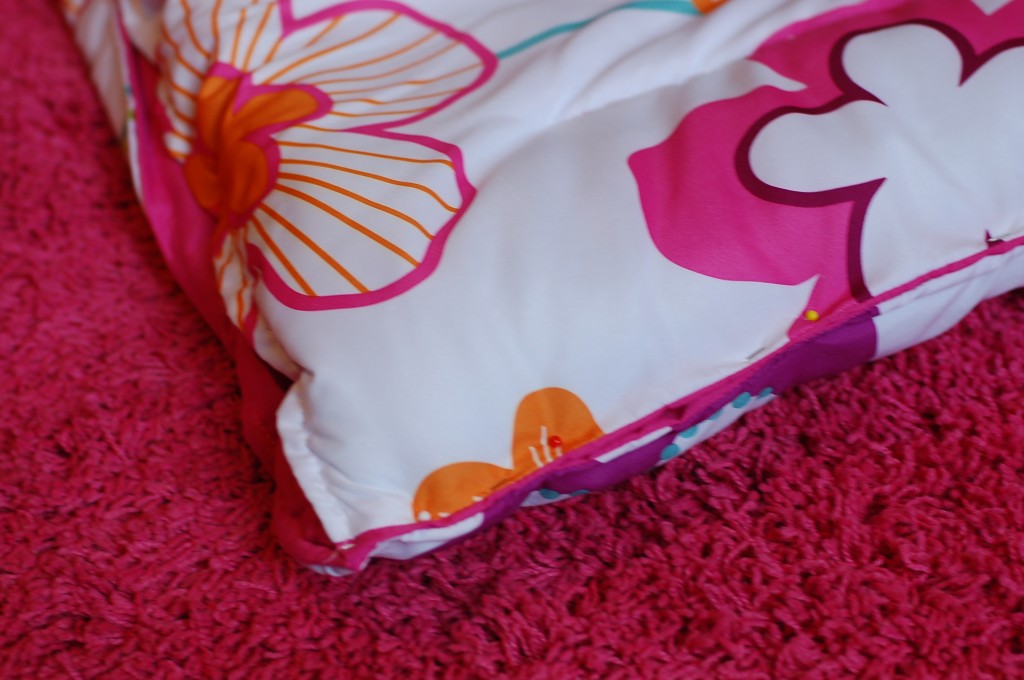
Next turn the sleeping bag inside out and measure how long you want the bag to be. Most children’s size sleeping bags are 56″ long. Use a fabric pen to draw a line across. Sew across it, with the bag inside out. Then about an inch over toward the bottom of the bag, sew another line across. Then cut the end of the bag off in-between the two sewn lines. This will keep all the stuffing intact. The small bottom part will be your pillow.

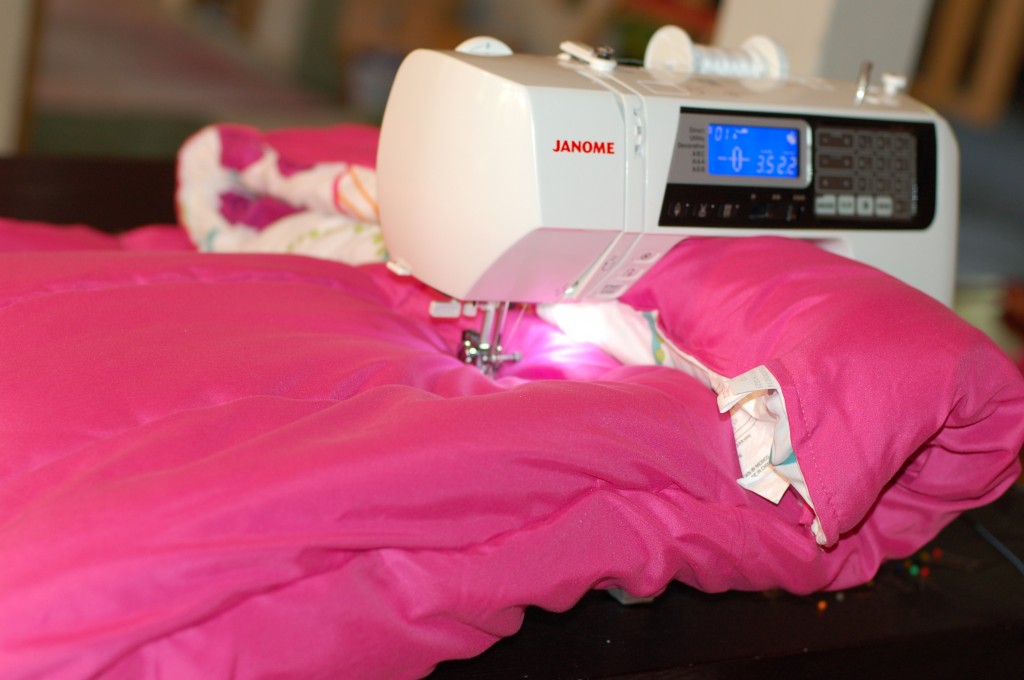
Sewing through this much stuffing, it is almost necessary to have a quilting sewing machine with a big enough opening to squeeze all the fabric though, like this. 

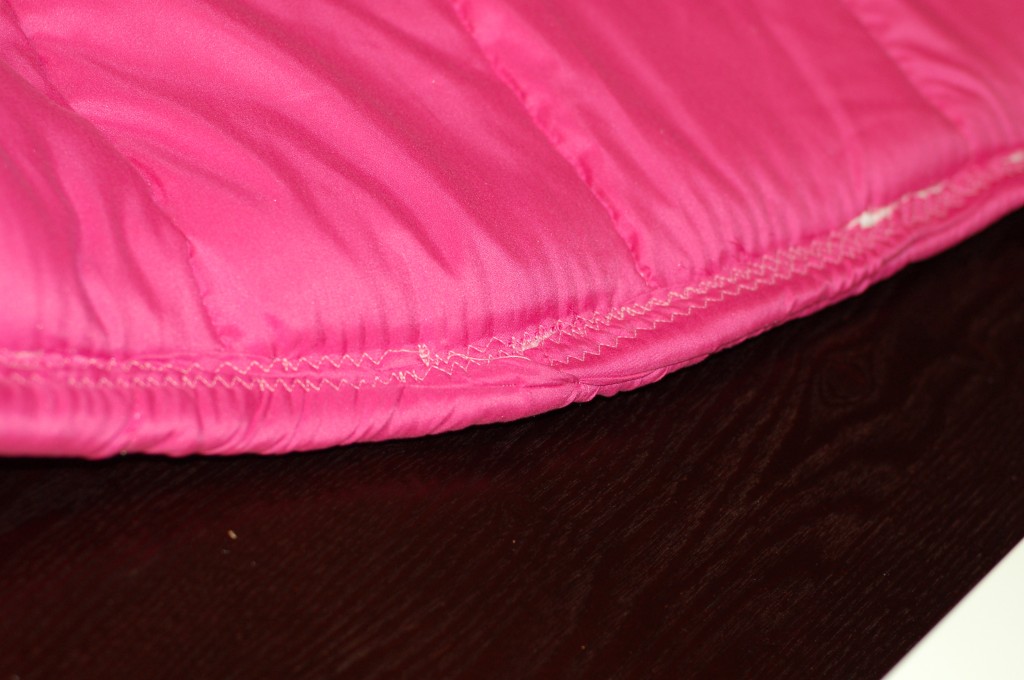
With the bag still inside out, finish off the edges by folding them over and sewing a zig-zag stitch – over and and over again. It won’t look neat. But it will be inside the bag and will not be seen.

Follow the same method for the pillow. Then turn it right side out and sew the top edge across like we did the sides of the bag. 

And then she was ready to go!

Filed Under: Handmade Tagged With: how-to sew simple sleepover sleeping bag, sew a sleeping bag, sleeping bag sewing tutorial

  • « Previous Page
  • 1
  • …
  • 29
  • 30
  • 31
  • 32
  • 33
  • …
  • 47
  • Next Page »

Subscribe


Archives

Copyright © 2025 | Fabricated theme by The Pixelista | Built on the Genesis Framework
[footer_backtotop]