• Home
  • For the Newcomers
  • Iyengar Yoga Classes
  • Contact

posted on April 8, 2012 by Rebecca Simmons

Naturally dyed fresh Easter Eggs – Happy Easter!

Our family really, actually likes eating hard boiled eggs. We slice them, salt and pepper them, make egg sandwiches out of them, have deviled eggs, and my girls eat them up like apples – bitting into them whole. We gobble them up!

We also really like farm fresh eggs. If you’ve never had eggs from a fresh, local farm where the chickens run free, I highly recommend seeking them out from farmers’ markets and co-op grocery stores. You’ll notice the difference right away, with the taste, color and texture. The taste is supreme.

Not wanting to use artificial dyes on our organic eggs, this Easter I decided to try making our own natural food coloring – creating an eatable centerpiece for our Easter table out of naturally dyed eggs and alfalfa sprouts.

When I Googled some recipes online for natural egg dyes, it resulted in a whole host of complicating recipes using herbs and spices and flowers that I had never heard of and didn’t want put the energy (or money) into buying. I had to find ways to use what we have, or what we easily have available to us. Some of the recipes in my search had up to five ingredients per color. YIKES. If I was going to do this it had to be less complicated.

The most expensive thing I used to make our dyes was a frozen package of organic blueberries. After I strained them I put what was left of the mashed berries into a batch of smoothies. The blueberries worked great for coloring the eggs, giving them a more rich blue color than I expected. All the other ingredients I used were items found in my kitchen.

Here’s how we made our Natural Egg Dyes

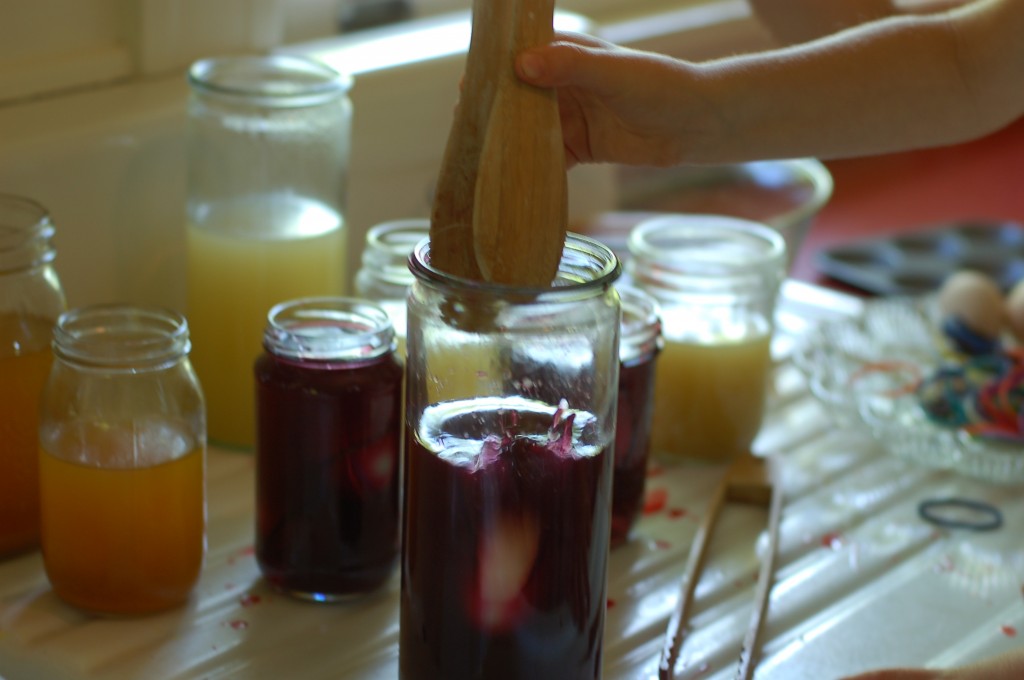
For each color I boiled about four cups of water, with the following ingredients for each specific color. I eye-balled the amounts based on the color results I was getting.

Blue – One whole bag of frozen blueberries

Pinkish/red – One chopped beet

Green – Fresh ground coriander seeds, green apple peels and spanish. I did a second batch with just spinach and colander seeds. The apple peels made a big difference and the first batch was much more effective.

Yellow – Dried curry – which was worked great!

Orange – Dried turmeric and onion peels – which didn’t work so great. The dye was dark. But afterwards the eggs just looked like brown eggs in their original state.

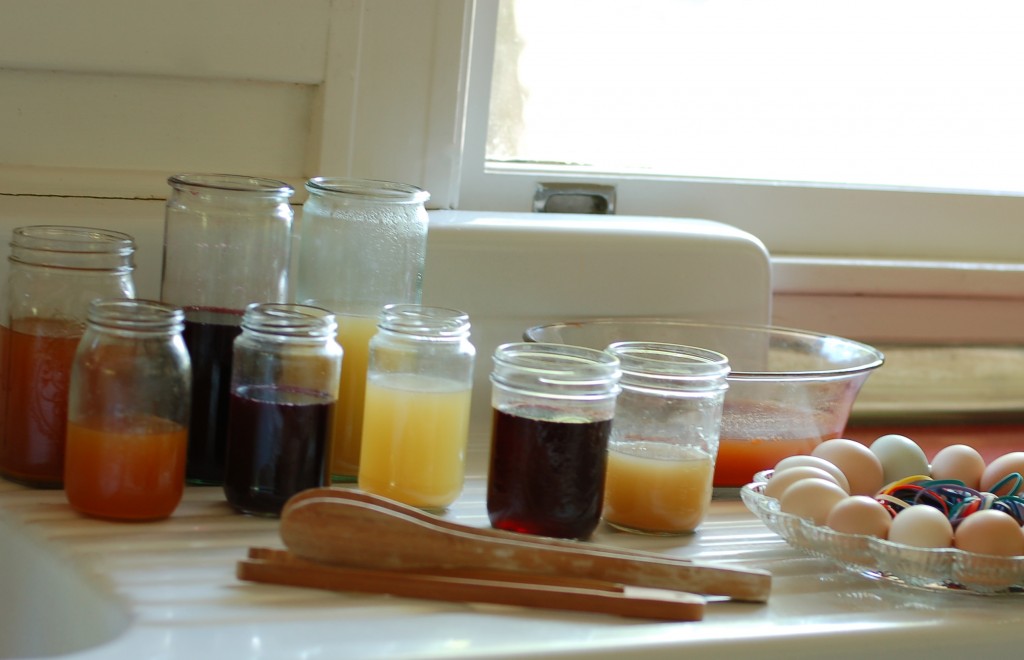
After each batch boiled long enough that I was pleased with the color, I strained the liquid twice – once by pouring the dye from the pot through a big mesh strainer with the dye going into a bowl with a pouring spout. Then again with a smaller hand-held strainer while pouring the dye into the jars used for egg dying. Once cooled I added two tablespoons of vinegar to each dye jar.

The key to using natural dyes is to let them soak for a long time. To do this I put the colors in tall jars and used enough of them to hold all our hard boiled eggs at one time. Versus having to take them out for other eggs to have a turn in the dye. We let them soak all during the time we made pizza and ate dinner.

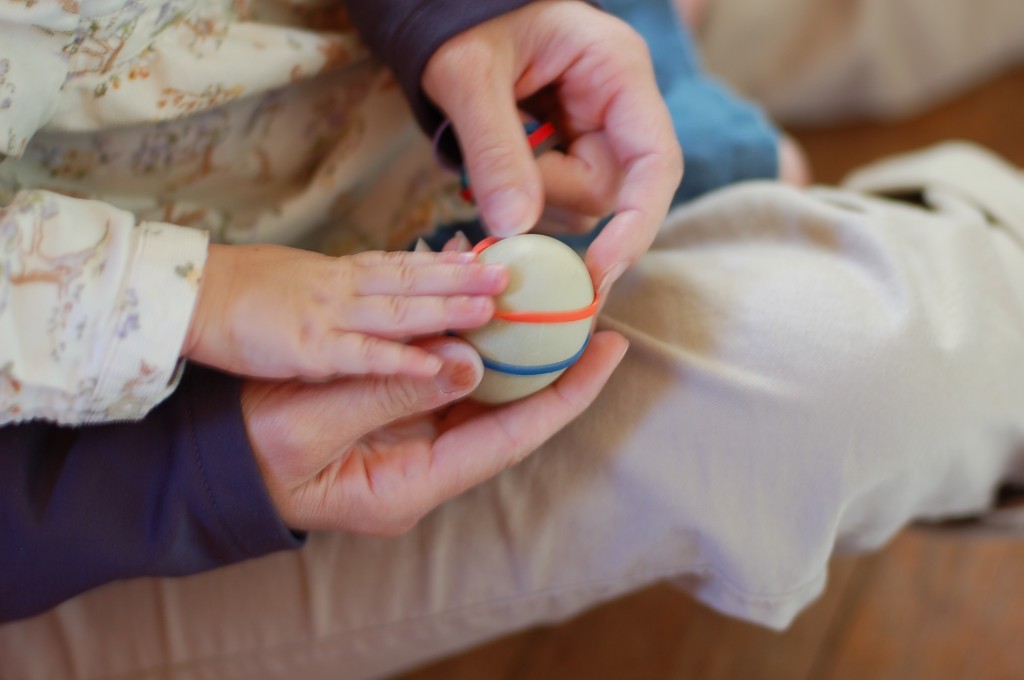
To add some decoration to the eggs, the children wrapped the eggs in rubber bands before dying them. They really liked this, even the littlest of hands helped! Other lines you see on the eggs were from the wooden tongs used to get the eggs in and out of the jars. Next time we’ll just get our fingers dirty, and get the eggs out when we dump out the dye.
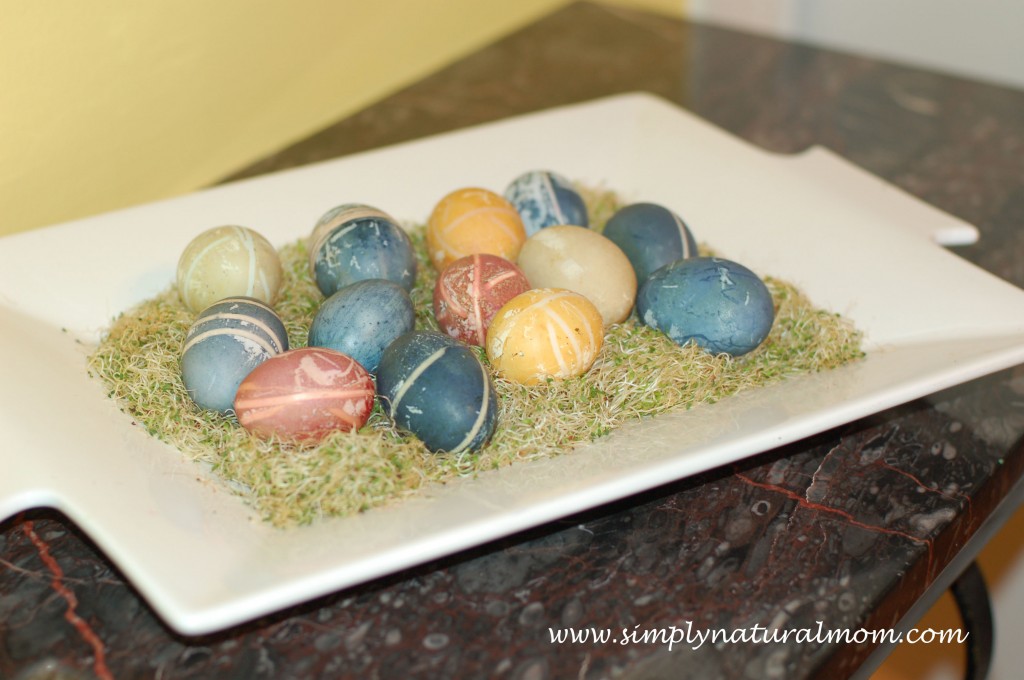
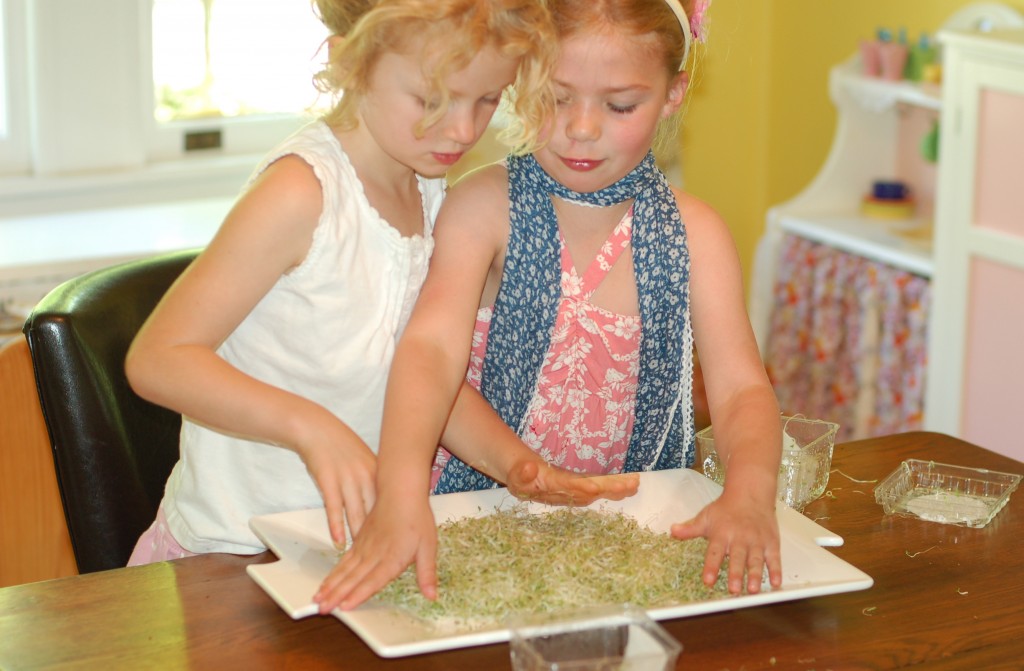
To use the eggs as an Easter centerpiece I originally sprouted wheatgrass on the white platter we used. But I made the mistake of putting it outside to get sun and it got rained on, and all buggy. SO – lesson learned is to keep your sprouted wheatgrass indoors. Therefore we resorted to spreading two containers of alfalfa sprouts on our white plate.

Overall this project was fun and will inspire me to do more experimentation with natural food dyes, for baking in the future.

And we will happily gobble up our yummy Easter Eggs, right from the table’s eatable centerpiece.

Happy Easter everyone! 
 

Filed Under: Real Food, Spring Tagged With: Easter egg natural dye, farm fresh eggs, Natural egg dye, natural food coloring

posted on April 7, 2012 by Rebecca Simmons

Homemade Pizza Making with Children

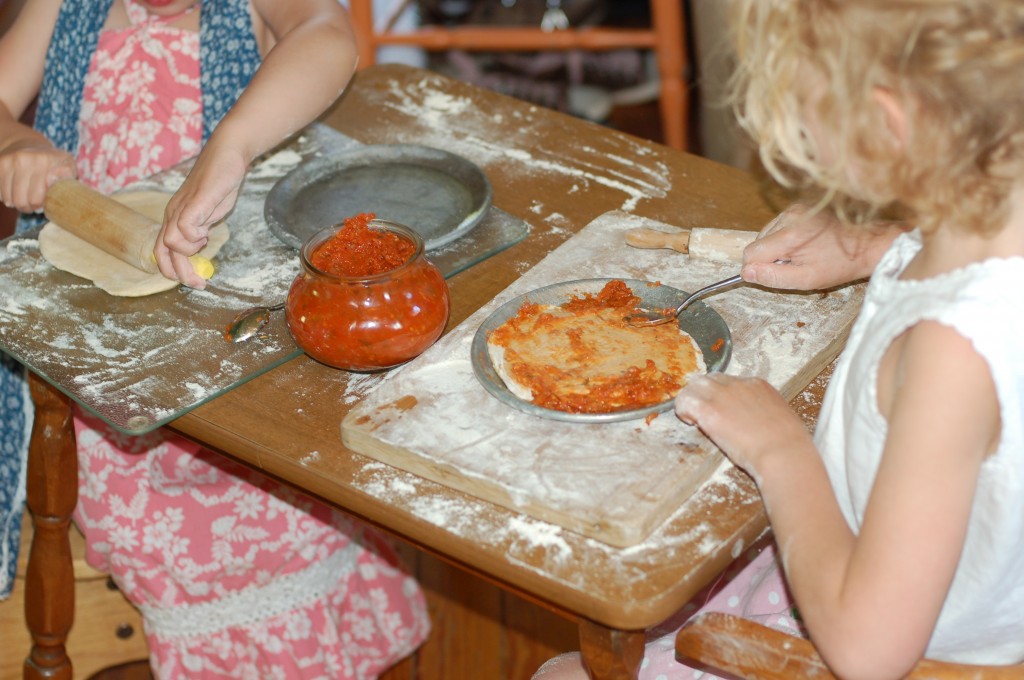
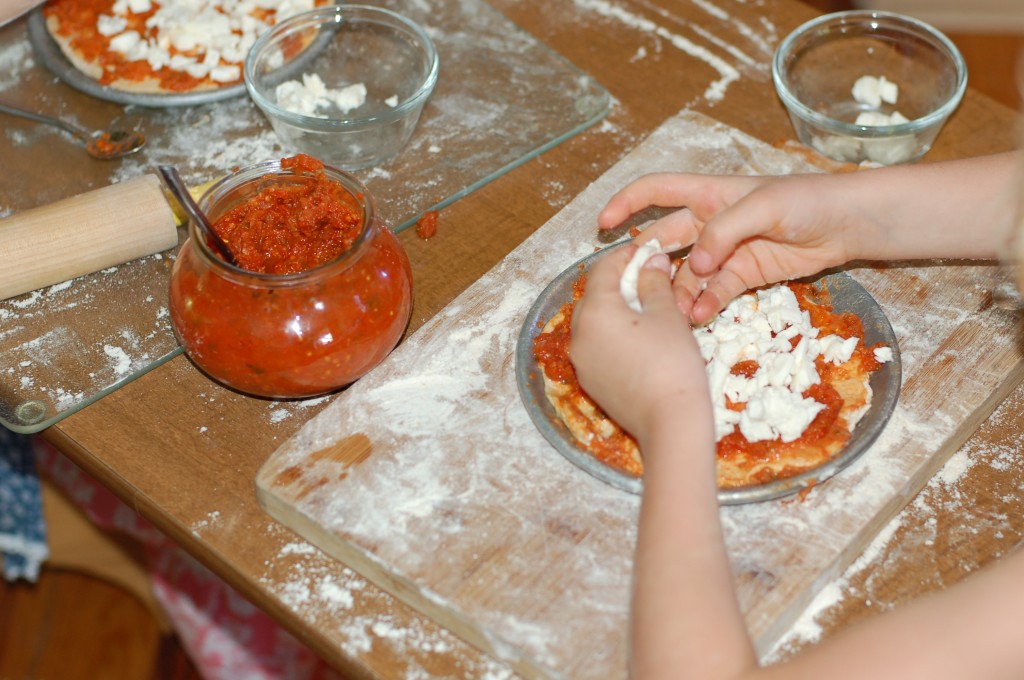
My kids could, and would, eat pizza everyday if I would let them. We have been making homemade pizza, with dough from scratch using our own milled flour, for a couple years. Since we are in this 10 Day Real Food Challenge, I’m sharing our favorite pizza dough recipe and tools for having children make their own pizza. They love taking part in the process!

We make pizza a lot when friends are over because it feels like a party. Yes it can be messy, but in the end it’s always fun, tasty and brings smiles all along the way. This Uncle Mike’s Pizza Dough Recipe is great because it can be made ahead of time and kept in the freezer. (We also use this dough recipe for our Spinach Pizza Poppers.)

I LOVE when my kids request pizza for dinner and I can say yes with a feel-good mama heart, knowing we have homemade dough in the freezer to cook it, and we’ll have a good time doing it.

Uncle Mike’s Pizza Dough Recipe
Neopolitian Pizza – Thin Crust
4.5 cups flour
1 3/4 tsp. salt
1 tsp. yeast
1/4 cup olive oil
1 3/4 ice water
  • Put ice water into mixing Machine with bread paddle
  • Mix all dry ingredients, then add olive oil. Slowly add water until dough is tacky: sticks to bottom of bowl. Make tube of dough: Cut into 6 (I did 4) even sections. Make a ball of each section
  • Place dough balls onto parchment paper, spray with olive oil, wrap air tight, and let sit to proof overnight in fridge. Dough can keep in fridge for 2 days or freeze dough for up to 3 months.
  • 2 hours prior to baking take dough out to come to room temperature. Cover with flour and flatten each ball with pin to 7 inches diameter (around 10 if you do 4 balls).
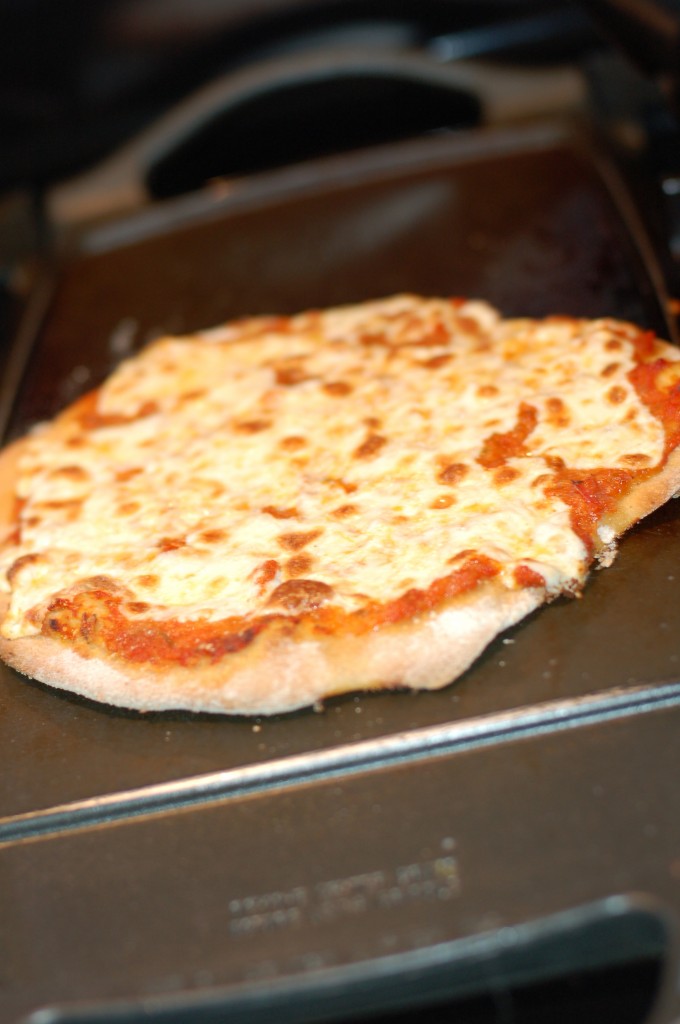
  • Bake pizzas at 500 degrees on preheated pizza stone for 5-10 minutes.
  • For a tip – put the pizza on parchment paper, from the rolling step to baking it in the oven. It makes it easy to slide on and off the hot pizza stone in the oven.
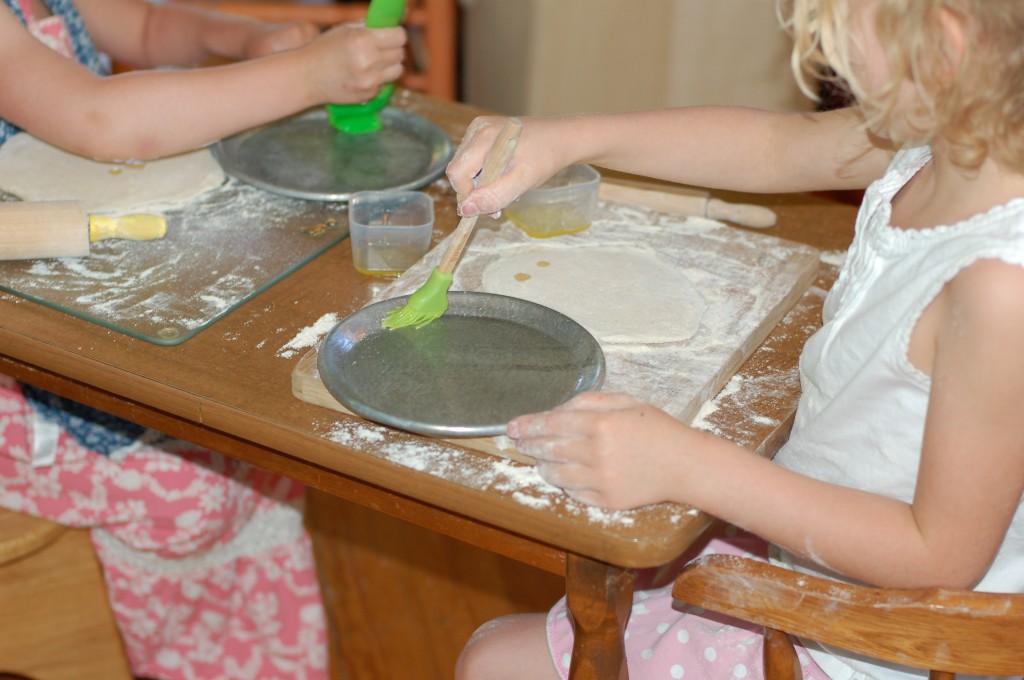
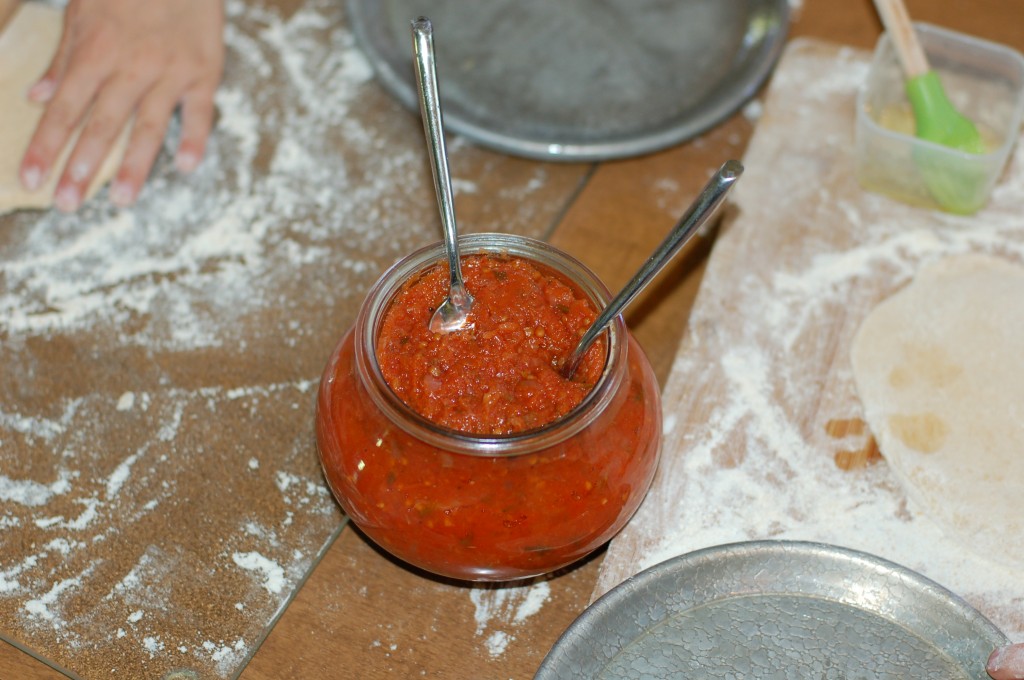
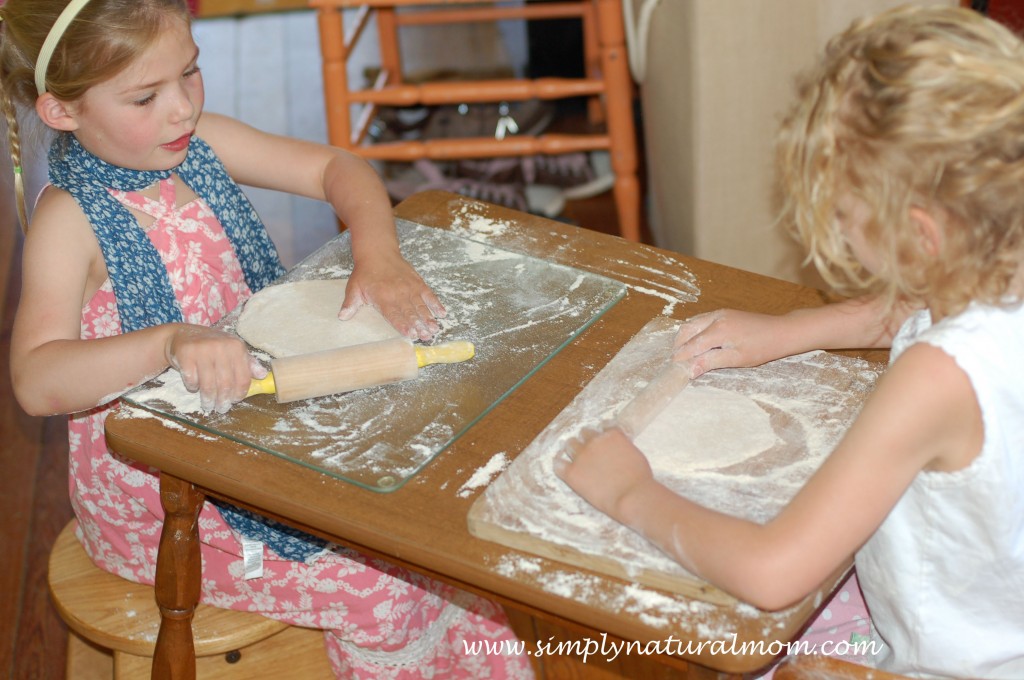
For the girls to help, I put our small children’s table in the kitchen. And I give each of them their own cutting board and rolling pin to roll out their dough. The small pizza pans can be found at  Montessori Services. We use small containers to hold the sauce, cheese and oil for basting on the pan. A small silicon brush is handy to have for this, and many other things. Children LOVE having things their size. It makes all the difference to them in everything they do. It makes them feel special, important and purposeful.

An additional pizza was made for the toddlers to share, who were sleeping at the time this was made. YUM. The moms had a pizza with pesto and olives. YUM YUM. There is nothing like good pizza and good friends to share it with.

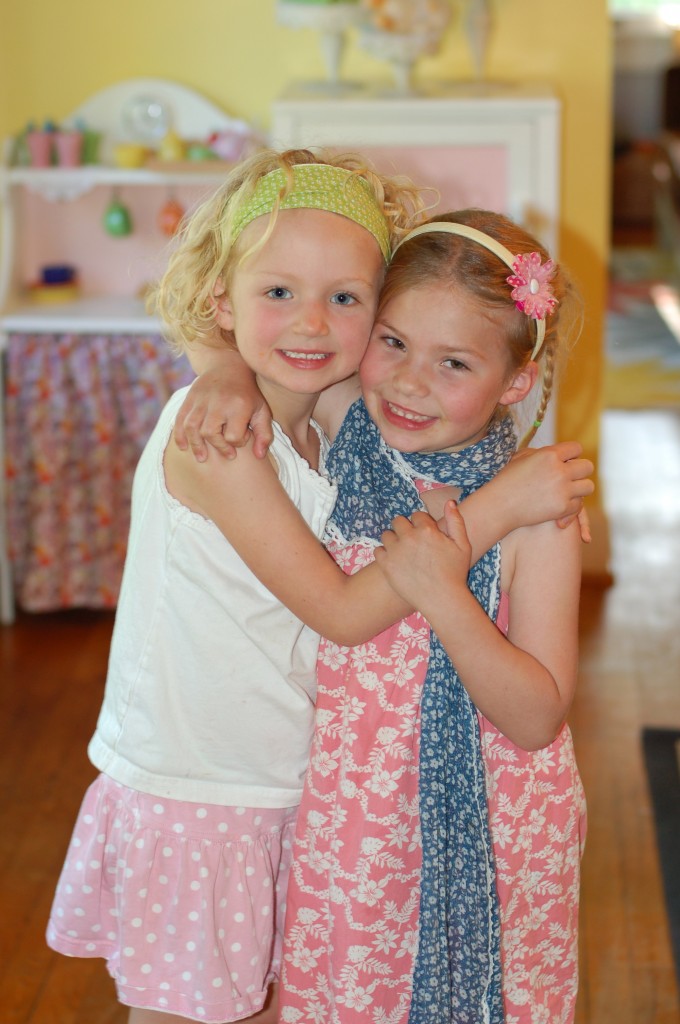
See, I told you pizza makes kids smile!

Filed Under: Montessori, Real Food Tagged With: 10 day real food challenge, homemade pizza dough recipe, making pizza with kids, Montessori pizza, Montessori Services

posted on April 4, 2012 by Rebecca Simmons

My kids ate at Mom’s Restaurant last night

Wednesday night was a fun evening of playing restaurant at our house – Mom’s Restaurant. The girls were bummed because we were not going out to dinner after piano lessons, like we usually do. Being part of the 10 Day Real Food Challenge inspired me to go home a cook. They whined a bit a lot on the way home.

I want them to think this challenge is fun, understand why we are doing it, and not resent the food I so badly want them to eat (or not eat). So I offered Mom’s Restaurant. There was instant YEAHS coming from the backseat. My oldest daughter asked me to make a menu and take their orders.

“Sounds fun to me,” I said. So I put on my vintage style frilly apron and went to work.

My oldest daughter put on a child size apron and became my assistant, filling glasses and serving up plates for her sisters. After dinner they understood why we were not having sugar for desert and wholeheartedly thanked me for having the option of fruit. It filled the void of wanting something sweet after a fun night that felt like a celebration.

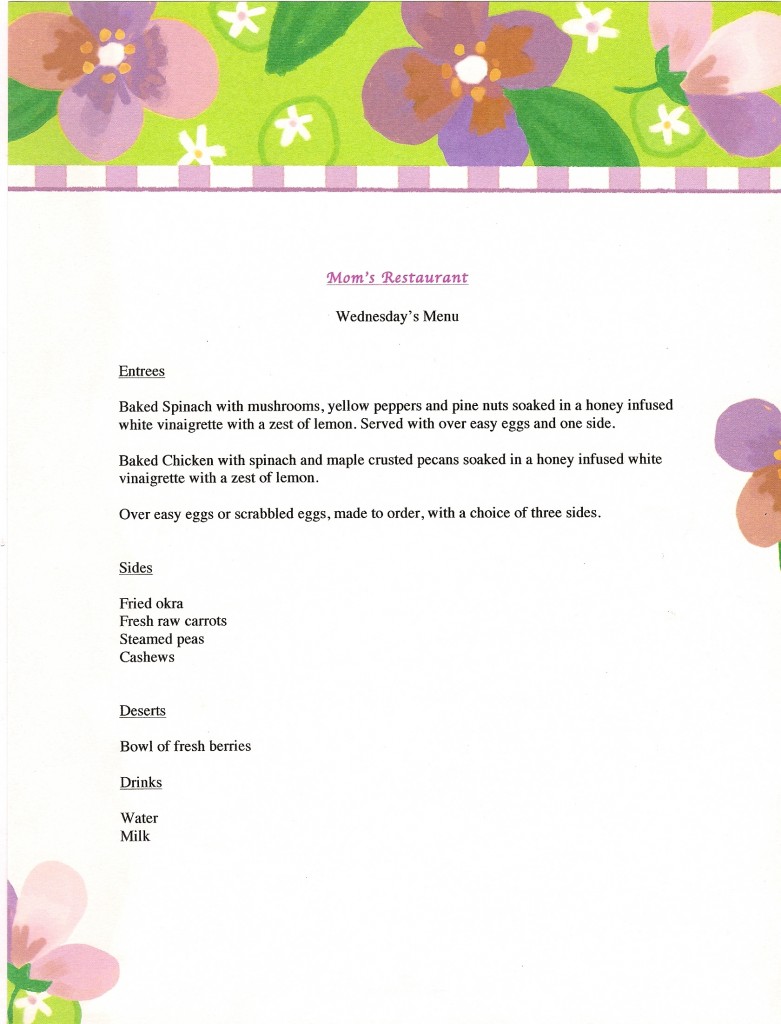
Below is the menu I created, while dinner was cooking.

The baked spinach dishes were a simple way to take one recipe, and alter it to please the meat eaters and the vegetarians who share the roof here.  And it is so easy! Fill a baking dish with raw spinach. I did two separate dishes. Put plain raw chicken on top of spinach, or veggies if you are going that route. Pour a basic vinaigrette over the top and bake for 30 minutes on 350 degrees. My husband and two youngest girls loved the chicken.

For the vinaigrette I used olive oil and white wine vinegar, with two parts olive oil to one part vinegar. I added dried mustard, half a teaspoon of honey, two minced garlic cloves, lemon juice and salt and pepper.

In the end the girls made good choices, between choosing veggies, something green and something with protein. And it was so much fun they requested we do it everynight!

I said maybe every Wednesday.


Filed Under: Real Food Tagged With: 10 Real Food Challenge, Mom's Restaurant

posted on April 4, 2012 by Rebecca Simmons

Brown bag microwavable popcorn, in an unlikely bag

Being on the 10 Day Real Food Challenge, I was looking to grab something other than a convenient box of crackers for the kids’ snack, before I hit the road to pick them up from school. I had seen somewhere online where you could make microwavable popcorn in a brown bag,  minus all the additives in a bag of microwavable popcorn.

I didn’t have a brown bag. But I had a Starbucks bag! So there you have it – a most likely never seen before way to reuse a Starbucks bag. Ha!

To make the popcorn, mix popcorn, oil and salt in a bowl. Then put it in any clean, basic brown bag (I cut off the top where the handle was). Fold down the bag so the kernels don’t pop out, and microwave until the popping slows down. Mine took two and a half minutes and used about 1/2 cup of popcorn. I’d suggest using less oil, about a tablespoon.

For years I’ve been making popcorn on the stove using coconut oil. I’ll be honest, my kids were never huge fans and lots of times I forgot about the pot and burned the popcorn. But they couldn’t get enough of this microwaved popcorn.

I think I’ll be putting brown lunch bags on my grocery list now.

Filed Under: Real Food Tagged With: brown bag microwavable popcorn

posted on April 4, 2012 by Rebecca Simmons

The 10 Day Real Food Challenge

I was out of town for a long weekend. So I am three days late starting the 10 Day Real Food Challenge, inspired by local blogger ChildOrganics, who initiated the challenge for other bloggers based on the website 100 Days of Real Food.

We got back home late Monday night to discover our basement flooded during a heavy rainfall earlier that evening, which made jumpstarting the real food challenge Tuesday morning even harder. But I want to do it, I really do.

Lately I have been feeling bad about how dependent we have become on convenience snacks, crackers and prepackaged foods. It’s mostly organic. But still, it comes in a box. My grain grinder has been sitting idle for too long and my yogurt maker has a layer of dust on it. In doing this challenge, I’m not looking to overhaul my ways or go cold turkey off dark chocolate. I’m looking to be inspired by new recipes, buy less crackers, dust off my yogurt maker and embrace the fresh produce that spring has to offer.

The rules for the challenge are listed at  100 Days of Real Food. They include eating only whole foods, local fruits and vegetables, whole milk, all whole-wheat and whole-grains, local meats and wild caught seafood, fresh breads and using natural sugars such as honey and maple syrup.  No refined grains are allowed, no refined sweeteners, nothing with skim milk, and nothing out of a box, can, bottle or package that has more than five ingredients listed on the label. And no fast food or anything deep fried. Basically it’s how our grandmothers cooked.

The rules are not overwhelming to me. And this is why.

Generally,  I don’t buy things with ingredients that I can not pronounce or understand how it could be made in my own kitchen – if I chose to do so. We get milk and butter from a local organic farm, get fresh bread twice a week from the Knoxville Bread Co-op, and next week our CSA starts back which includes fresh farm eggs. When I buy meat for the carnivores in our house (there are now three of them) I buy it from local farmers at our co-op, or at least get it from EarthFare.

We do enjoy some sweets and there is sugar in a lot of what gets eaten around here – from vanilla flavored yogurt, granola, hot chocolate and Kids Cliff Bars. But still, we’re not talking doughnuts and Dixie Crystals here (which does always make a cake taste better). However, I’d like for us to do better.

I’m enjoying watching what Erica’s family at ChildOrganics is eating, and seeing the foods she has posted on her Pinterest board for the challenge. Local blogger Gabe at Couponing in Critical Times is doing extensive daily updates on what her family is eating. And I’m looking forward to updates from Coupon Katie and Melissa at Frugalissa Finds, on how the challenge is going for them throughout the 10 days.

Erica, Gabe and Melissa are all women I have met through the Holistic Moms Network, from the days when our babies were really babies. Life was simpler then. Getting together with other moms to watch them can strawberries was something fun I did with my babies, to socialize with other moms. Now I juggle three kids, school, piano and violin lessons, play dates, board meetings, community obligations and the works. Hence making slow food a little more challenging.

Here’s a breakdown of what we ate on Tuesday

Not having been to the grocery store in nine days, and getting home Monday night at 11:00 pm to find our basement flooded, it was a good thing we had fresh bread from the Knoxville Bread Co-op to come home to. It came in handy for lunch, and breakfast.

For breakfast the girls had yogurt. One girl eats whole milk, vanilla flavored Sonnyfield organic yogurt – which we (more times than not) mix half and half with plain yogart to cut down the sugar. Ideally, I’d like to see her eating homemade yogurt sweetened with vanilla extract, or maple syrup – minus the added sugar.

The two little girls like greek yogurt with honey, and granola bought in the bulk sections of health food stores. However the granola is very sweet, almost like cookies. We also had delicious whole-wheat strawberry scones made by Erin from the Knoxville Bread Co-op. They had organic cane sugar in them which is against the challenge rules, but overall not too terrible in my book. They were after all, freshly baked in Erin’s kitchen.

For my first coffee of the day I sweetened it with honey. It was okay. But for my afternoon coffee I decided I’d rather not have any sweetener at all. For you coffee lovers struggling on this one – steaming your milk or half/half helps mask the fact that sugar is missing. To create a frothy affect without owning the fancy gadgets, simply microwave milk in a mason jar, put the lid on and shake like the dickens. Add to your coffee and you’ll barely notice the sugar is missing. If you don’t use a microwave, heating it in a tea kettle is always an option too.

For lunches on Tuesday the girls had whole-wheat bread slices, cheddar cheese, orange slices, baby carrots and dried dates. Which is pretty normal for them.

While they were at school I went to the co-op and looked for better substitutes to our usual Late July crackers and Kids Cliff Bars. For their after school snack (which I bring in the car because we straddle two school pick up times spanning a 30 minute difference) I presented them with some locally made crackers with only three ingredients. They passed muster for two out of my three girls. I also picked up three different flavors of Lara Bars, with each having only four ingredients. I organized a taste test for the girls. The peanut butter bar got two thumbs up, but the the cashew bar and the apple pie bar got three thumbs down. I completely agreed with their votes. The large tin of mixed strawberries, blueberries and grapes was the biggest hit of all.

At home in the time leading to dinner they had apples, bananas, whole raw carrots and cheddar cheese from our local Sweet Valley Farm. They LOVE that cheese.

Still trying to get back into the groove of getting back into town, we had spaghetti night for dinner. I have given up on getting my girls to eat whole-wheat pasta. Plain given up. At this point I’m just glad they are mixing the sauce, the cheese and the noodles all together.

However I was pleased to see that the Bove’s Marinara we use on our pasta, as well as the Field Day Organic traditional noodles, met the criteria for having less than five ingredients and no added sugar. The kids love the Bove’s sauce as much as they love ketchup! Last summer I did one batch of caning our own marinara sauce and decided it really wasn’t worth the work. Topped on the noodles for a boost in protein we used a block Organic Valley Raw Cheddar Cheese, shredded at home.

For sides I sautéed mushrooms and onions in soy sauce and olive oil. Then I added some lightly sautéed kale, in butter, to the mix. I toasted slices of our fresh whole-wheat bread with a homemade spread of minced garlic, salt and butter – to make garlic bread.

Aside from coffee I always drink water throughout the day. For the kids it is typically milk or water. Lemonade, hot chocolate and juice are offered as occasional treats. Thankfully, wine and beer is allowed on the challenge. Red wine and Belgian beers are staples we enjoy in moderation.

Now… it’s on to planning for Wednesday.

Will you take the challenge? Or look for some simple, manageable, ways to improve the foods you eat? Either way, I believe every little thing we do to feed our families real food counts. And sometimes just one thing can make all the difference. If our family simply cuts down on sugar and eats less boxes of Late July Crackers, I’d call this challenge a success.  

Filed Under: Real Food Tagged With: 10 day real food challenge, 100 days of real food

posted on April 1, 2012 by Rebecca Simmons

Weekending, a candy-free Easter Egg hunt and some random thoughts

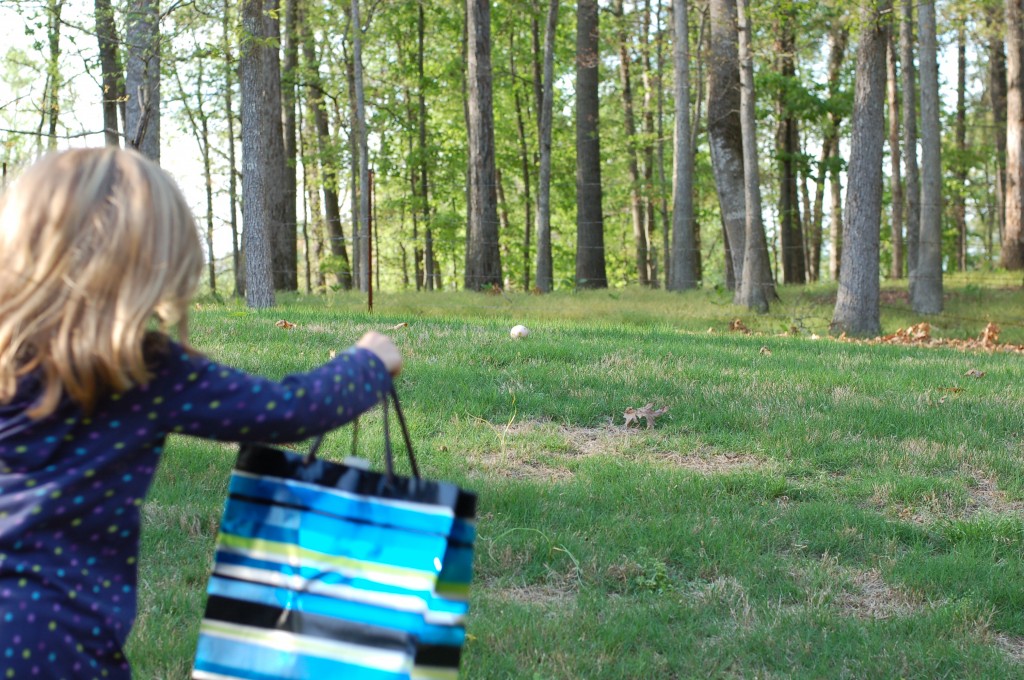
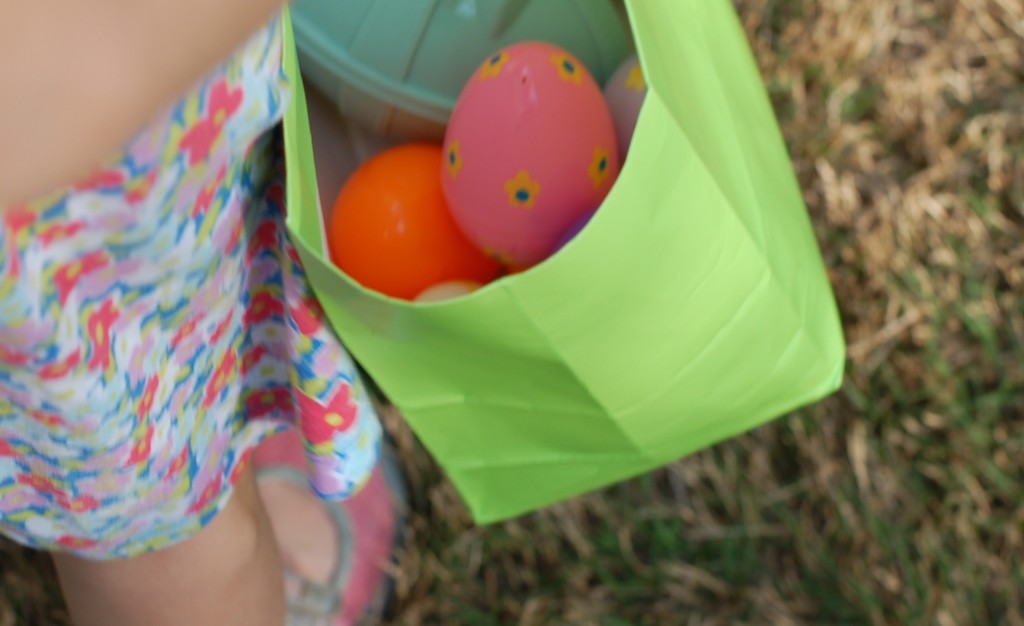
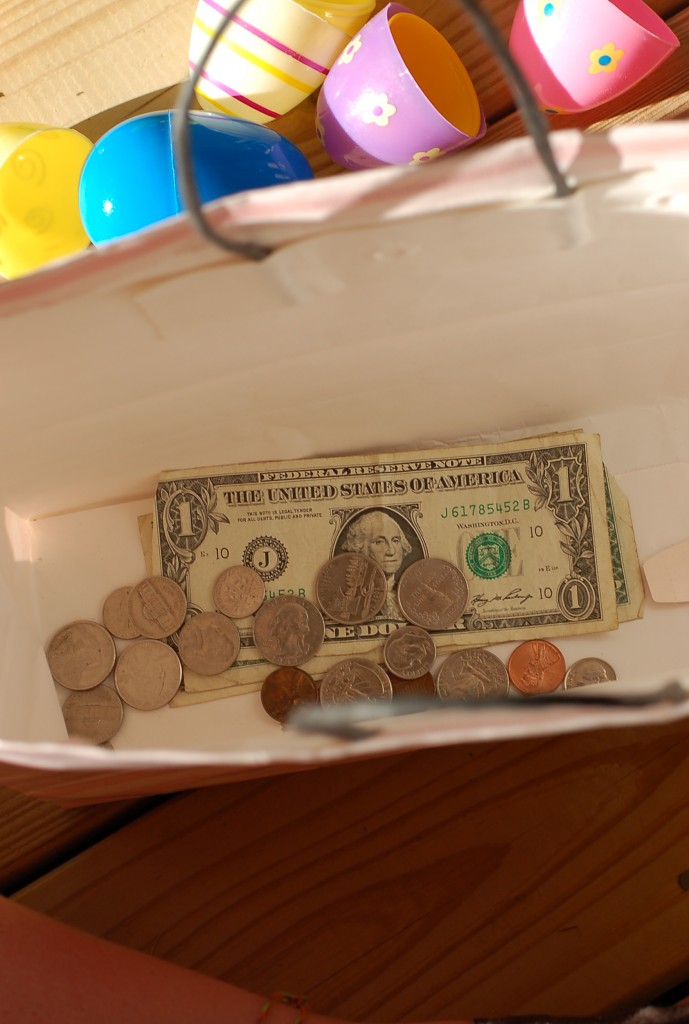
I know what you are thinking – A candy-free Easter Egg hunt? What? But it gets stranger and the story gets better. The Easter Eggs at my children’s backyard Easter Egg hunt Saturday were filled with money – dimes, nickels, quarters and five dollars in one big egg for each child.

This was my Aunt Kathy’s doing and it always has been. The idea dates back to before there were grandchildren, and us kids hunting the eggs were grown kids in college. Yes. Still hunting the eggs. The money was what kept us carrying along with the fun. Silly, but fun.

The last time the hunt was done this way my husband and I were newlyweds living downtown Atlanta and relying on the corner laundromat to clean our clothes. So today, we laughed about how much we loved those eggs filled with quarters back then!

Now a mother, I saw it as a great way to avoid the typical candy and food dyes found in normal, run of the mill cheepo Easter Egg candy. It would also be a great alternative for kids with food allergies. You don’t have to spend a lot, and could possibly get by with spending the same amount you would on candy.

The tooth fairy brings money so why not the Easter Bunny?

All three of my kids, in their varing developmental ages, love getting spare change for their piggy banks. My youngest is still entertained by simply slipping the coins into the piggy bank, and my seven-year-old is just hitting the stage where it’s clicking that she needs money to buy the things she wants (like those pokemon cards). My middle child is, well… somewhere in the middle.

After the hunt we had chocolate cake from a local bakery (a really, really special yummy chocolate birthday cake for my brother). So there was no depriving them of sweets. The sugar was still had. Just in a form that was a little easier for this mom to swallow. All kids were all smiles! And all the kids loved the Easter Egg hunt.

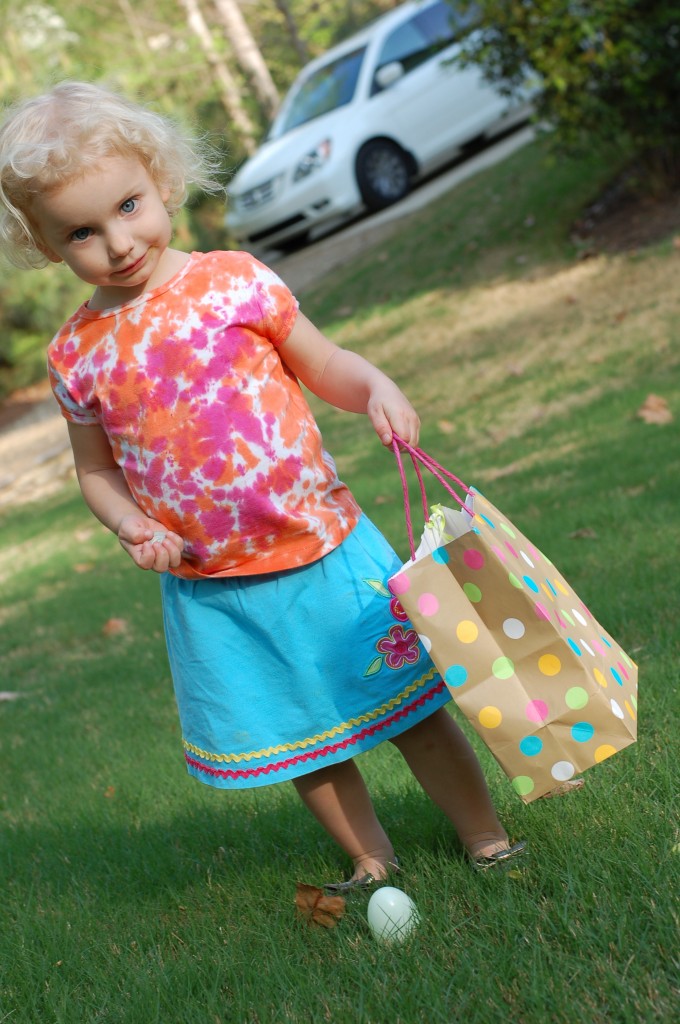
I had no idea my aunt was planning this today until after all the eggs were hidden. Or I might have had the girls put on some nicer dresses for a photo-op. Instead my toddler was wearing this tie-dyed shirt that I endearingly wrote about here, from my early days as a mom.

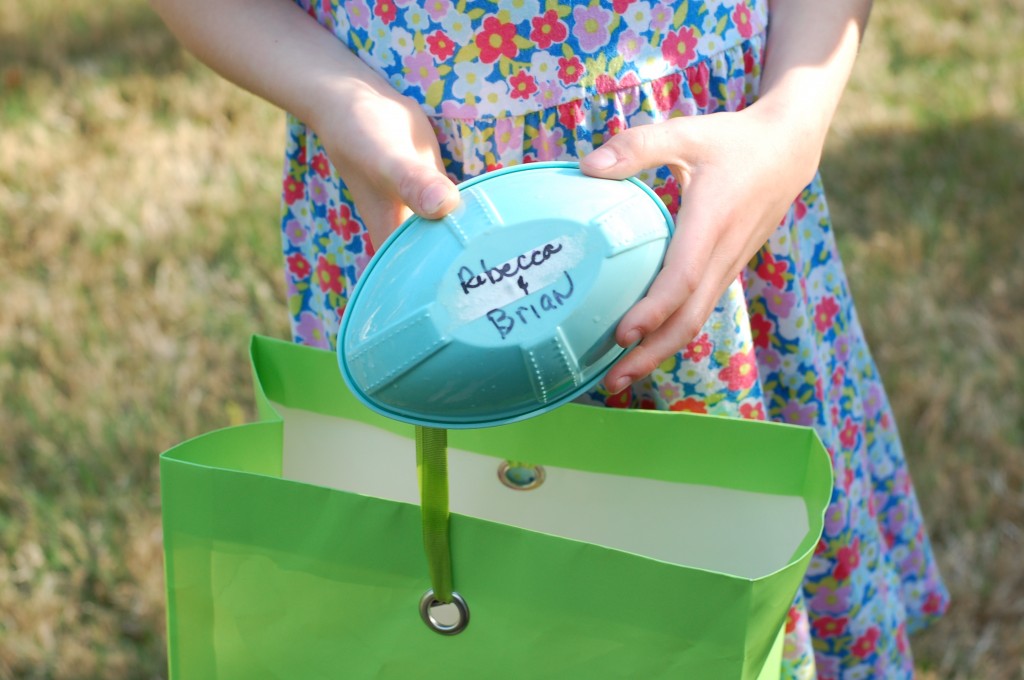
And I might have rounded up some Easter baskets, versus the reusable gift bags that were on hand. But hey, it worked! 

Taking me back in time again was this blue egg, with me and my husband’s name on it. It was from our newlywed days and being reused. Six years ago my aunt and uncle’s house burt to the ground  when a Dell laptop computer battery overheated sitting on a dinning room tablecloth and caught fire. All the eggs from Saturday’s hunt were stored in her outdoor shed, and were included in the small amount of things that were saved from the fire.

This year my seven-year-old found it with a five dollar bill in it. 

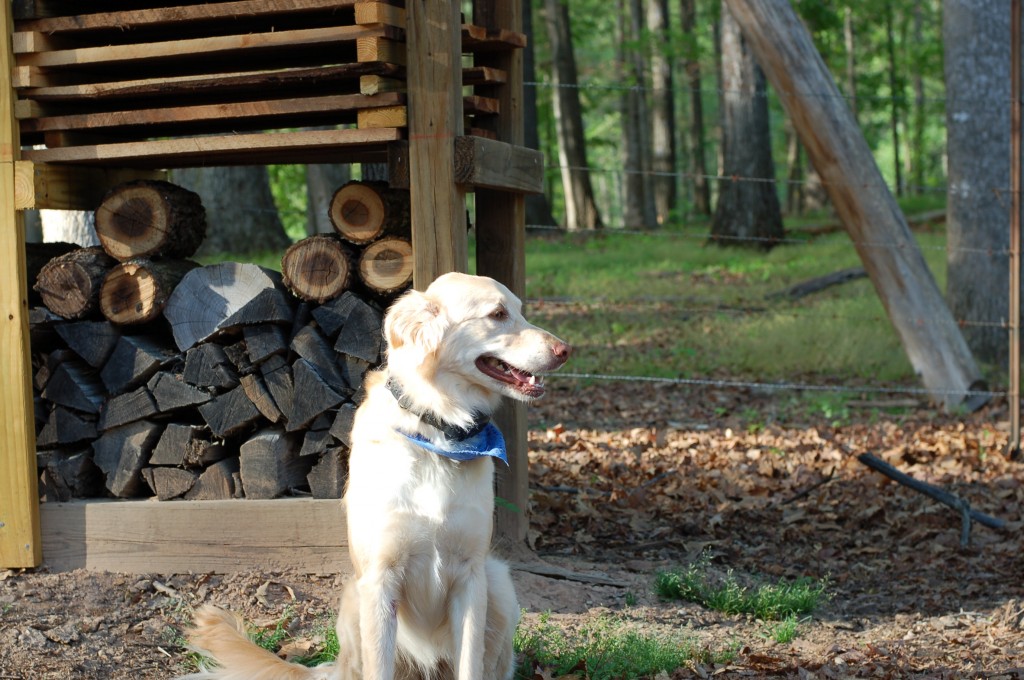
That egg was before her time. It was from a season when we had just adopted our old dog Blair, and he was there for the Easter Egg hunt, at the house that later burnt down. Now he is gone. And so is the house. And we have Lulu, our little natural, wool eating whippersnapper of a dog.

Finally, after two years of having her, she is turning into a great dog and pal for the girls to have around. This year she made it to the Easter Egg hunt and was on her best behavior.

After two rounds of boarding obedience school at Diane’s Canine School of Charm,  our dog who has been described as “stubborn” and “lucky to have us,” is turning a corner. At this Easter Egg hunt I felt happy to have her with us, as we enter into our first spring without old dog Blair. 

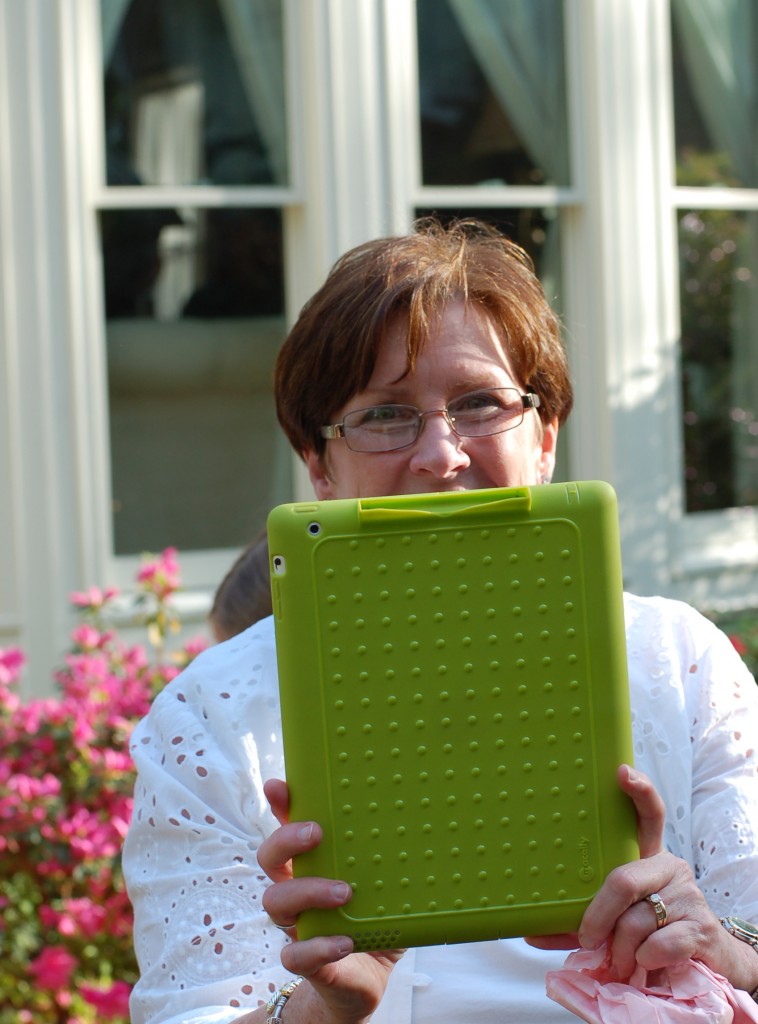
And lastly, here is Aunt Kathy. The woman responsible for coming up with the idea to stuff Easter Eggs with money, shown snapping pictures with her lime green iPad. 

Back in the beginning of Blair’s time and our days of going to the corner laundromat, there were no digital cameras. Years come and years go. And so do gadgets, homes and dogs. But sometimes it’s nice to stop and be thankful for the little things, like a 12 year-old Easter Egg that still has your name on it – and all the memories that come along with it.

Filed Under: Mothering, Spring Tagged With: candy-free easter eggs, money in easter eggs, no candy easter eggs

posted on March 29, 2012 by Rebecca Simmons

What we ate for dinner last night

Coming out of a winter food rut, I’m thrilled that our CSA with Care of the Earth Farms starts delivering on April 11. It will provide a bounty of fresh cooking inspiration.

I’m always asking my farmer friend (AKA Farmer Megan) what she made for dinner last night, with the same produce she grew, harvested and delivered to my door. So in reverse, I’m going to start doing a weekly post spotlighting what my family ate for dinner – featuring a meal we all liked.

But before I share my first “What we ate for dinner last night” post, I should explain a bit about how dinner works at our house, which I’m sure other moms can relate to.

Meals have to be doable in a short amount of time, using mostly what I have on hand seasonally, and in my kitchen (meaning no rare, complicated ingredients). I have to be able to make it while overseeing the happenings of three children during the most challenging pre-dinner parenting hour when bellies are hungry and brains are tired. There has to be at least one thing that I know everyone in my family will eat, where some of us are vegetarians and some of us are not. Everyone has to eat at least one serving of vegetables.

I strive to have dinner made by 6:30 and we all eat together as a family as soon as my husband walks in the door from work. I’m a stickler about eating together. It’s important to me.

Here’s what we ate for dinner last night

Amy’s California Veggie Burger, cooked in a panini maker with cheese, sautéed onions and fresh spinach. First put some chopped onions on the panini maker to sauté them. Remove them and then put in the frozen veggie burgers. Once cooked, remove them, and add burgers, onions and cheese to a whole wheat hamburger bun. Return the whole thing to the panini maker like you would a grill cheese sandwich. Then remove and add fresh spinach, ketchup, mustard and mayonnaise if you like. Some women love their crockpots – I love my panini maker! Lots and lots. Link for Amy’s California Veggie Burger with no soy.

Broiled asparagus. Simply yummy. Cut ends off asparagus, put on cookie pan, drizzle with olive oil and sprinkle with kosher salt. Broil on high for five minutes. We eat them up like our favorite potato chips.

Boiled corn and blanched brocoli. I try to avoid over cooking veggies, so they retain as much nutritional value as possible. While waiting for the corn water to come to a full roaring boil, I threw in some broccoli for about five minutes. Then I cooked the corn in the same water for about seven minutes.

On the side, for the kids, I made a box of Annie’s mac and cheese plus one “cheese burger” with a bun and melted cheese in the panini maker. All the kids had servings of all the vegetables and a glass of whole milk by the local Cruze Farm.

It was a nothing fancy, quickly come together organic dinner. It made us all happy.

Filed Under: Real Food Tagged With: Amy's California Veggie Burger, Annie's mac and cheese, broiled asparagus, Cruze Farm

posted on March 29, 2012 by Rebecca Simmons

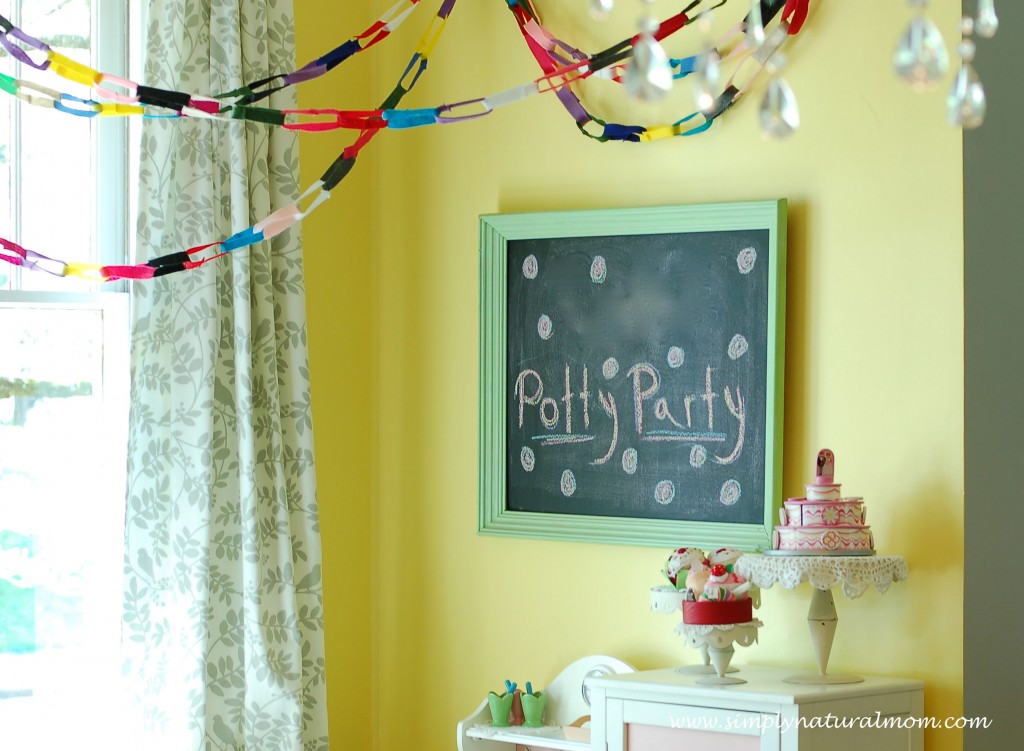
Potty Party celebrates that diapers are not forever!

In this house we like to find reasons to celebrate, to bake something special and put up some decorations. We have celebrated half-birthdays, birthdays for dogs, adopting a cat, BIRTH day parties when friends have new babies, snow days and the first days of summer. And now, our latest reason to throw a party is to honor our baby girl who decided wearing purple polka dot panties was way more fun than bulky cloth diapers.

This potty party marks the milestone, that minus a short three month period while I was pregnant with baby number three, it is the first time in seven-and-a-half years that we will be a diaper free house! Take a pause. Seven-and-a-half years of changing diapers. Done.

I bought some Seventh Generation pull-ups for night time and washed my last load of cloth diapers, which I’ve been doing since 2007.

So…..in honor of my newly potty trained toddler, we celebrated!

Last week while my girls were home on spring break, we used all that free time to create things for the party. Then Monday after school we had a few neighborhood friends over as our potty party guests.

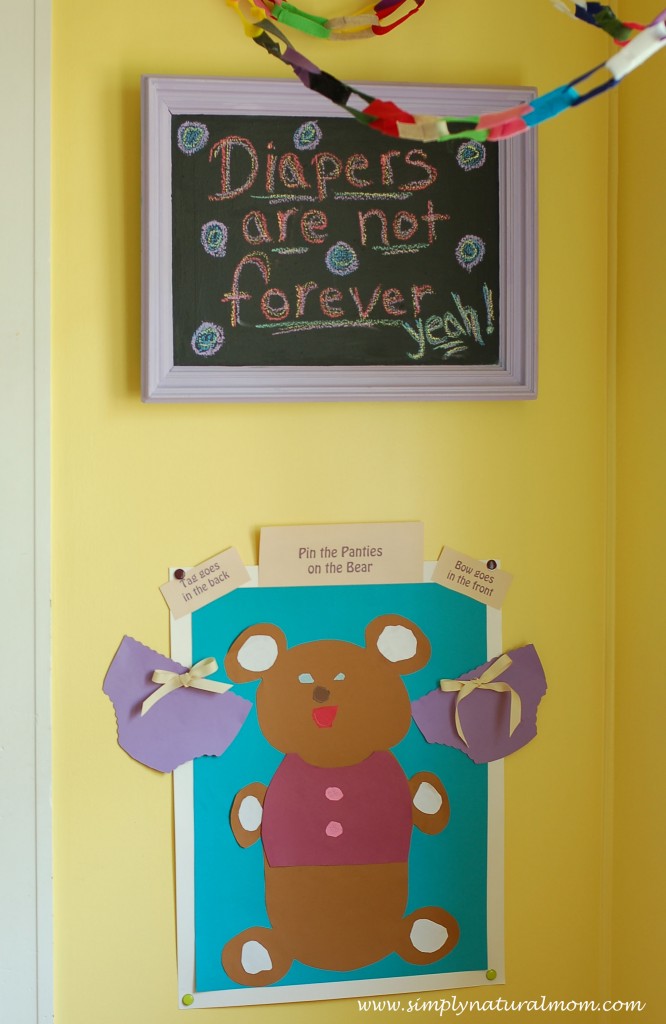
Keeping ourselves busy before the party, we took leftover magnetic boards we made from this project and converted them, with chalkboard paint, into chalkboard signs for the potty party (I blurred out my daughter’s name on the one below). Written on one of the boards, “Diapers are not forever,” is the theme of our party – borrowed  from the beloved book of the same name. Numerous times throughout the day my toddler says, “Diapers are not forever. Panties are forever!”

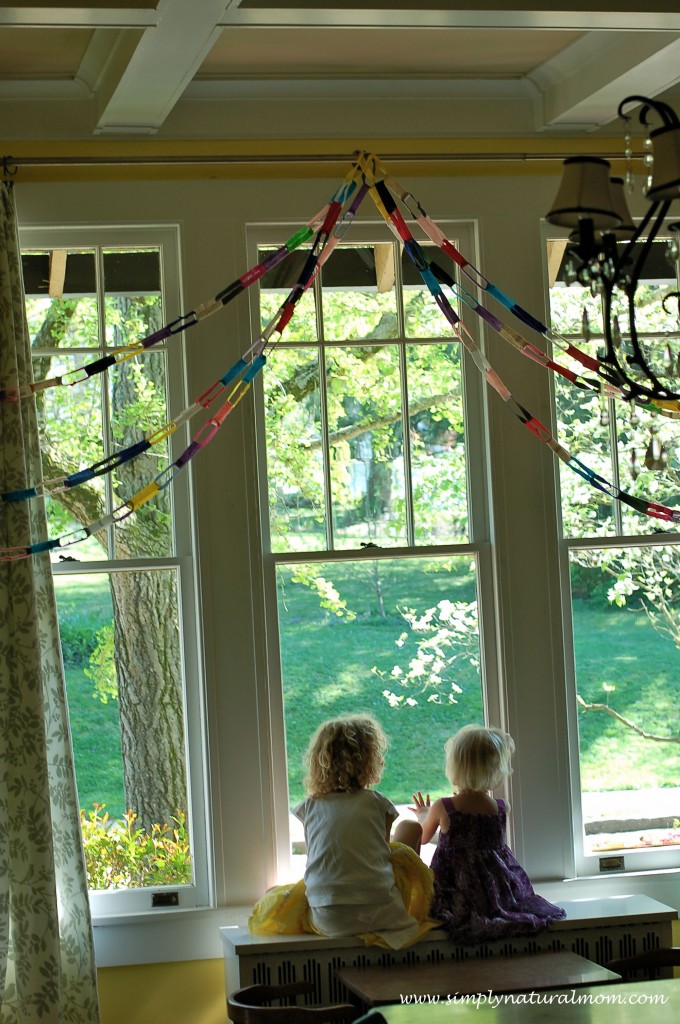
We also made the felt chains you see decorating the space. To make them we cleaned out our leftover felt bin, cutting 225, 8 inch pieces of felt in every color we had, and sewed them all together making one long decorating chain. It’s like a paper chain but felt.

Both projects well get added to our stash of handmade decorations, that get reused for all our big celebrations. Oh, and those white and grey bird curtains you see in the background, they finally got sewn together after being on the top of my sewing list for nearly a year!

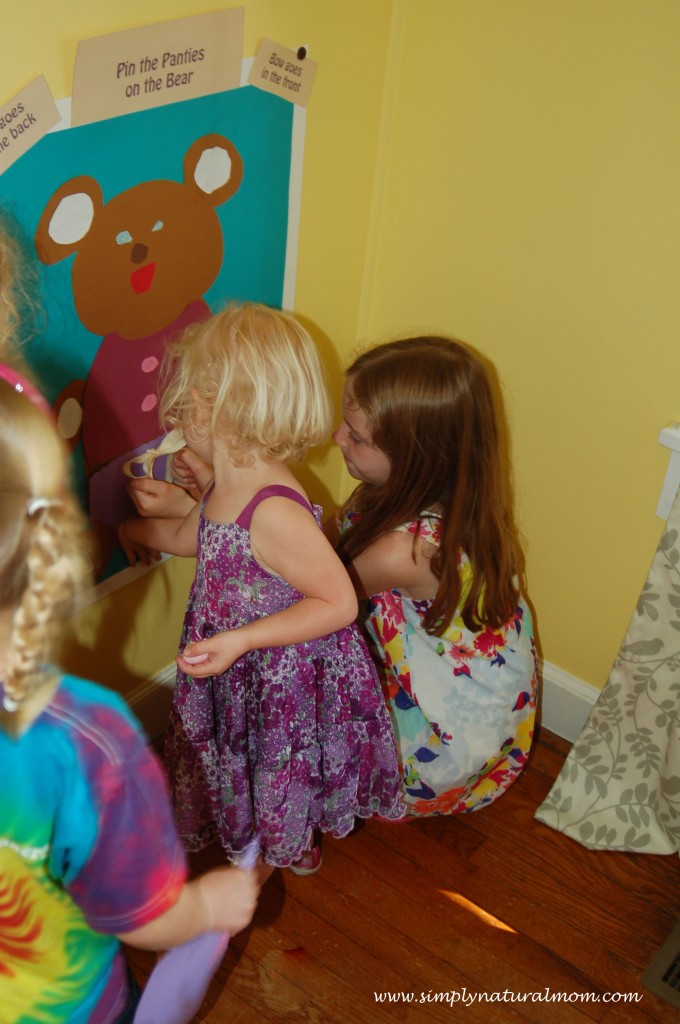
One of the games we played was “Pin the Panties on the Bear.” Two big phrases in potty training and toddlers learning to dress themselves are, “Bow goes in the front,” and “Tag goes in the back.” On the back of our purple panties for the bear, there was a pink square that said “Tag.”

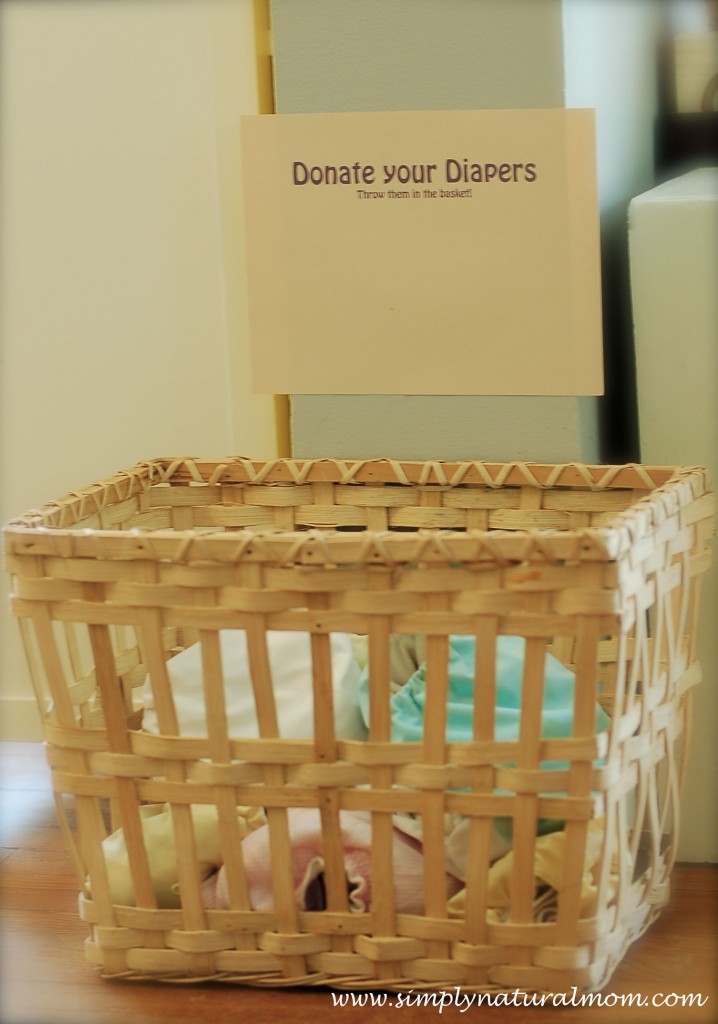
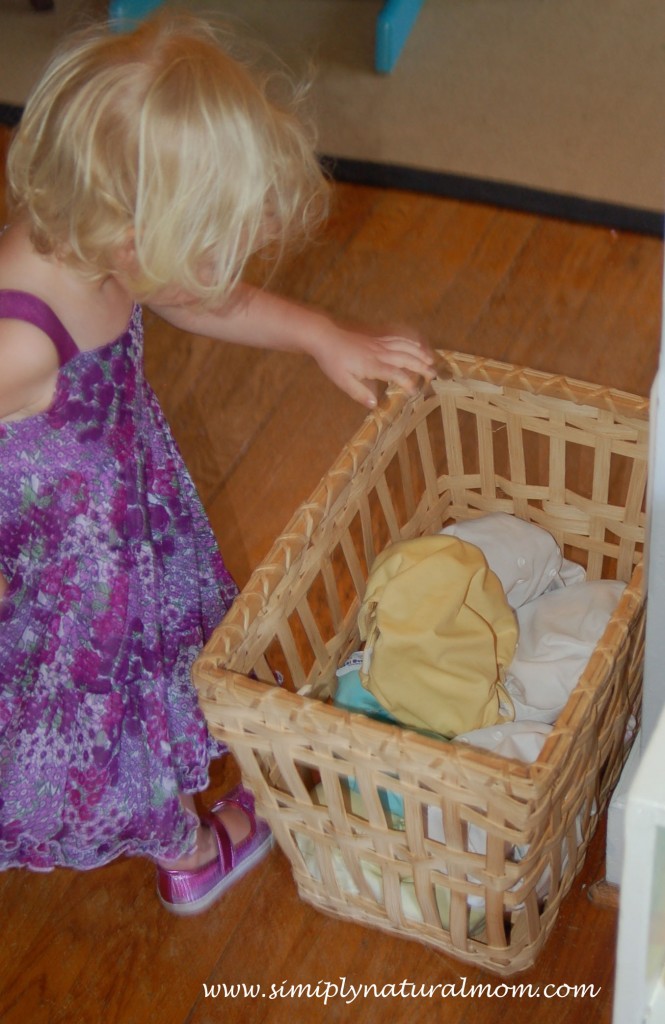
We also played “Donate the Diapers,” where the kids tossed cloth diapers into a basket to later be given to a different diaper wearing baby. My toddler really got into this one! She was so ready to say goodbye to diapers. She was dunking them with a vengeance. We are so proud of her. But more importantly, she is so proud of herself!
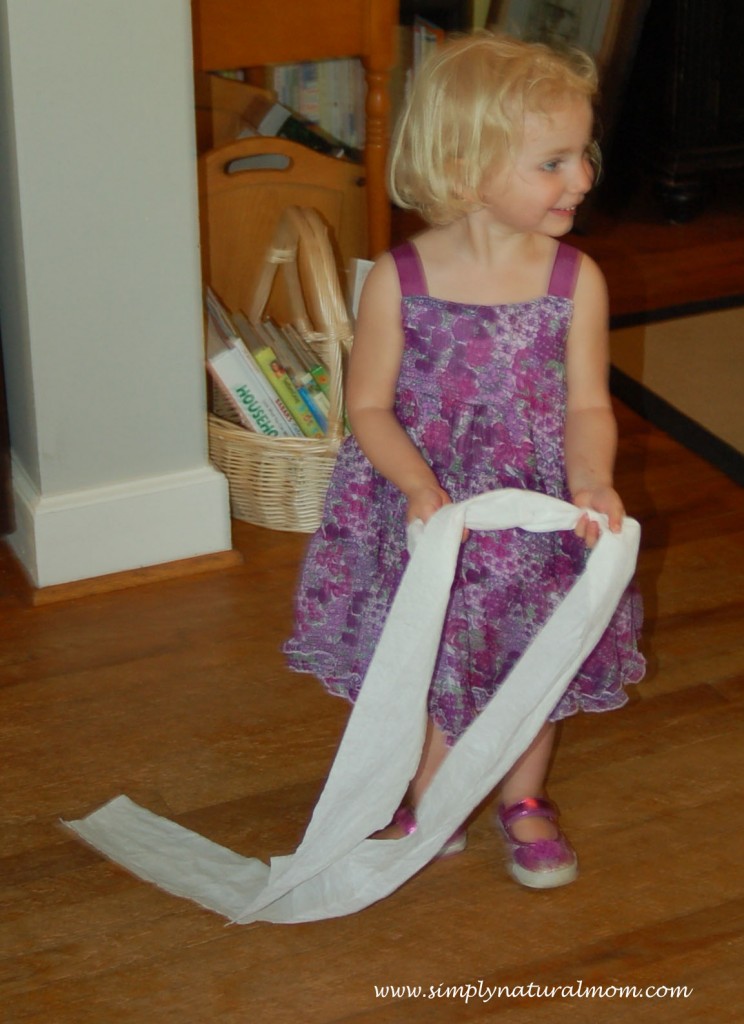
The third game was “Toss the Toilet Paper.” The children had fun doing what they are usually not allowed to do – throw and unravel the toilet paper all over the floor. It provided lots of giggles from little girls. And so far it has not been reenacted in our bathroom! Thankfully. 

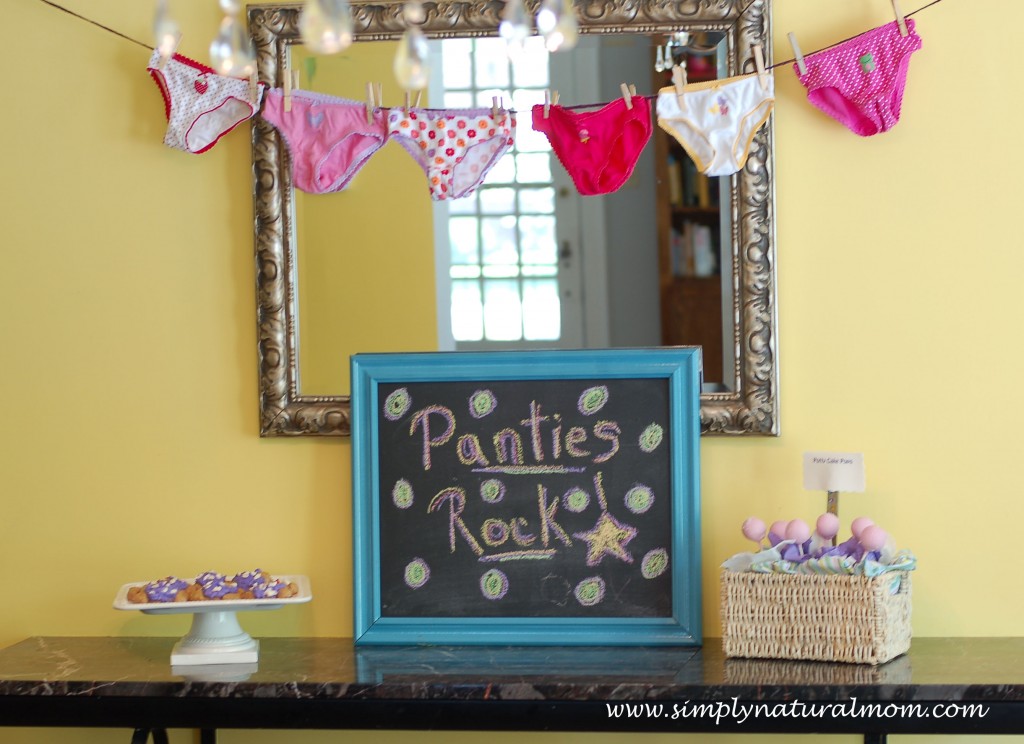
All the underwear our new potty girl was wearing were hand-me-downs from her sisters. So we surprised her with a few new pairs of her own. It was a joint sister effort distracting her in the store while I grabbed the right sizes and paid, while keeping it a surprise. It added to the fun! 

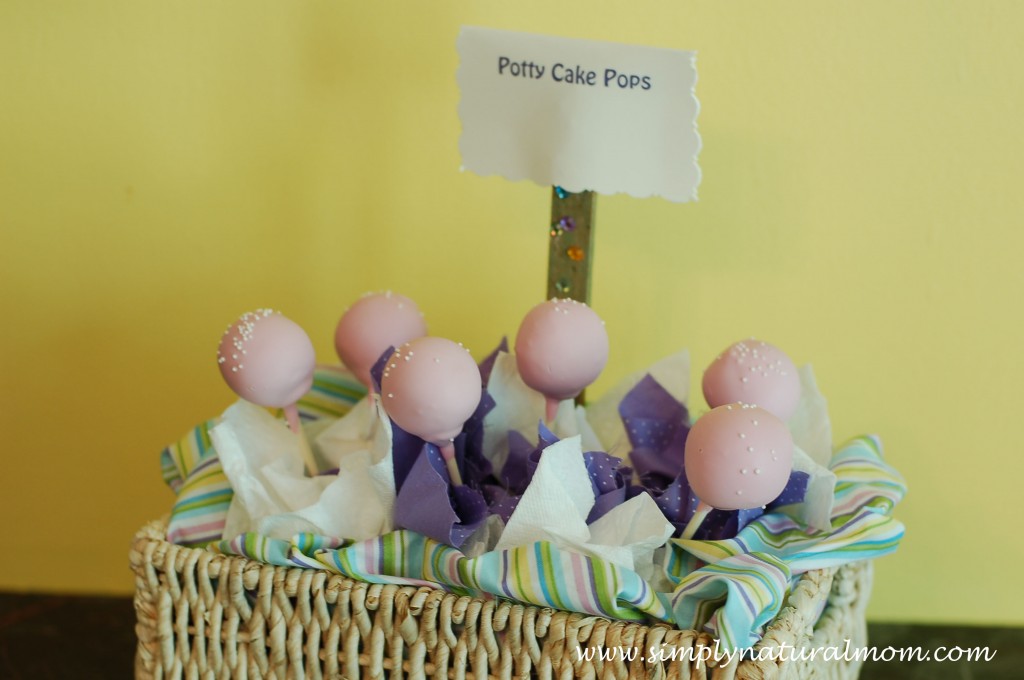
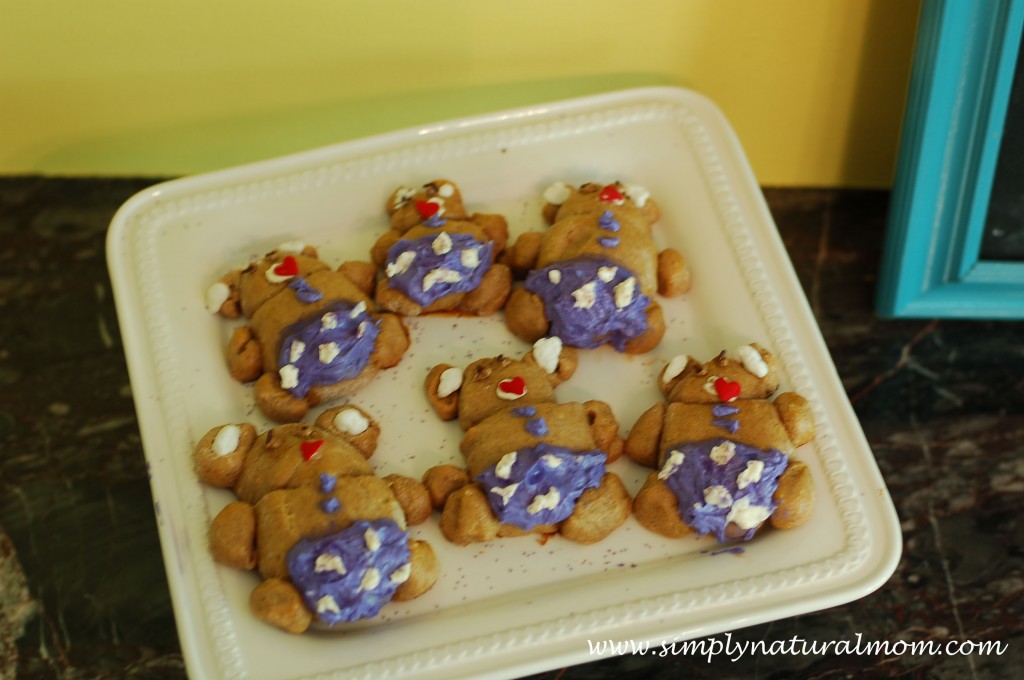
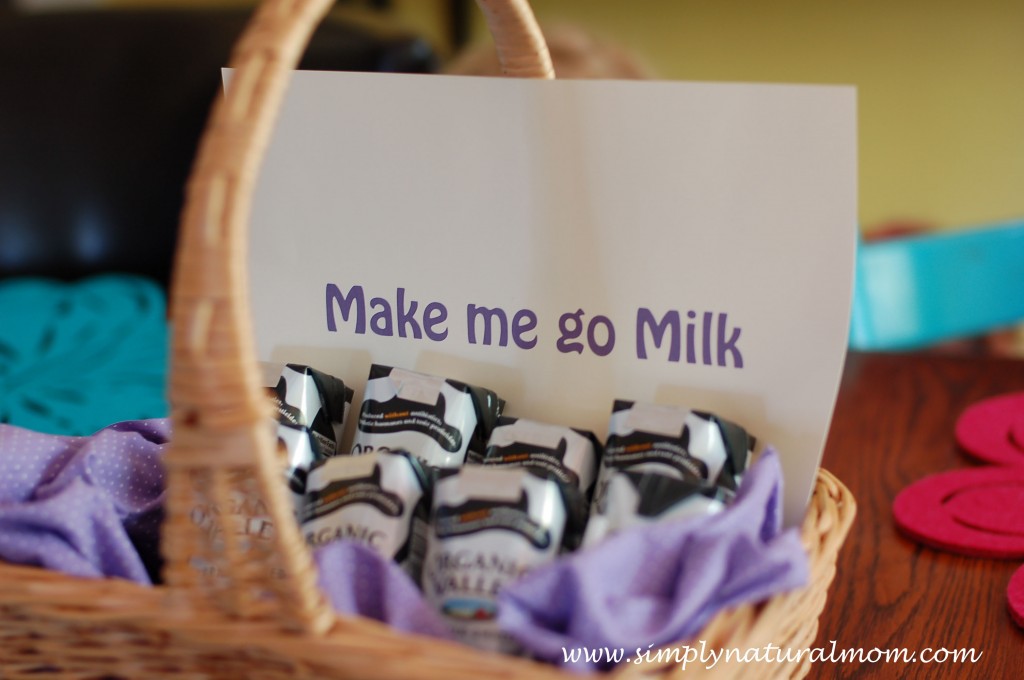
On the menu were “Potty Cake Pops,” Cinnamon dough bears wearing purple polka dot panties (made from a cinnamon bread recipe, that were shaped and glued together with egg) and “Make me go milk.” And yes, the cake pops were from Starbucks – because it was um, simple. My toddler and I had fun baking the bears together, and decorating them with frosting.

Lastly, here are a few pictures of the party girl. She had such a great time, from waiting for her friends to arrive – to playing with toilet paper. I truly believe she felt honored and proud of herself for reaching this milestone. 

 So long diapers! 

Filed Under: Family, Handmade Tagged With: diapers are not forever, make me go milk, Pin the paints on the bear, potty cake pops, potty party, potty training

posted on March 26, 2012 by Rebecca Simmons

More Mud Pie Cafe photos, in action with many kids

Our newly established Mud Pie Cafe was a busy kitchen Monday, with fun being had by kids of all ages, boys and girls. It made me so happy that I got my camera out and started clicking.

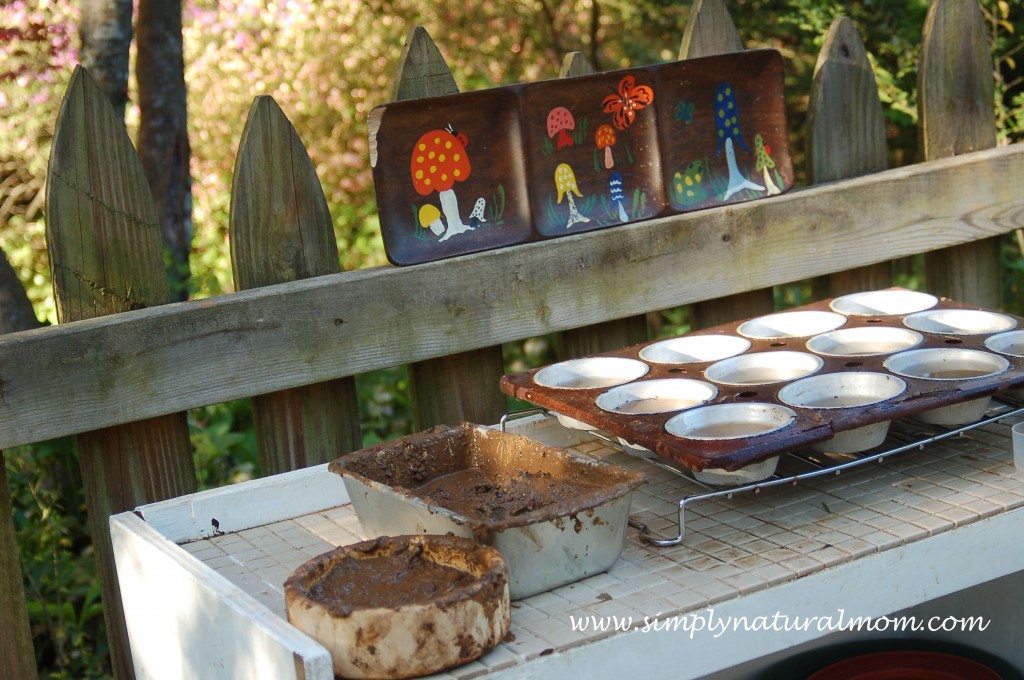
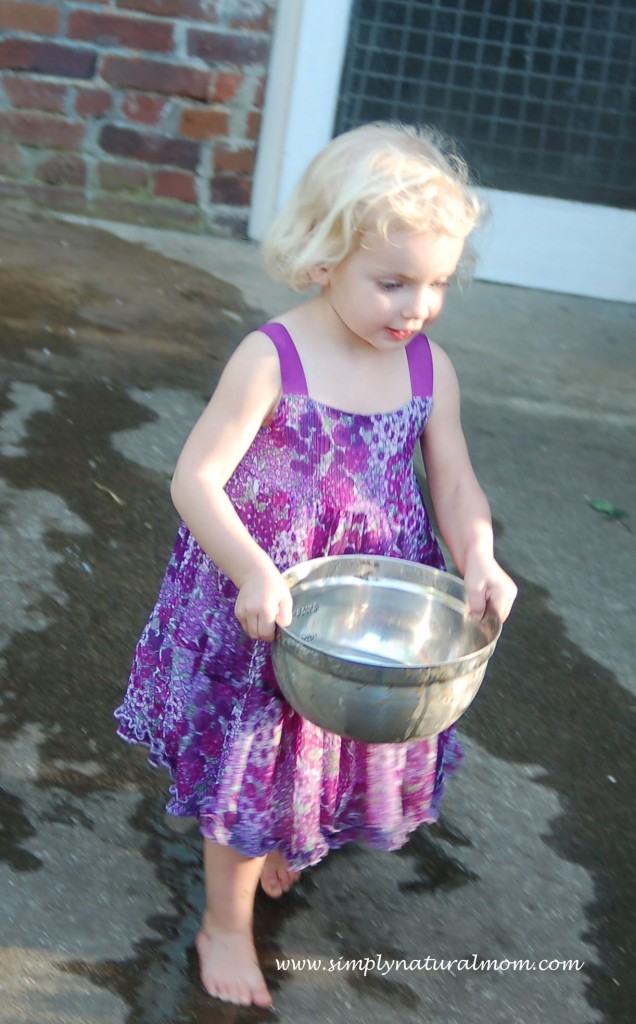
The set up inspired so much raw creativity, with nothing but mud and some old kitchen supplies. Boys were using beans to buy things from the girls. Berries were collected to make cupcakes. A menu was posted saying, “Today’s Specials: Mud Pies and Rainbow Salad.” Toddlers happily filled and carried buckets of water. (Soon our rain barrel will get hooked up to the downspout on our garage so we won’t be wasting water.)

The girls were happy to have the boys mix (or cook) and the girls do the arranging for the dinner. More flowers were collected, plates were filled up with grass, small buckets were used to serve coffee. The play was endless and it went on till 7:15, with no mention of any real kind of real dinner. None of us mamas wanted to break up the seamless fun. All nine children of varying ages from 1 1/2 to 11, young girls and big boys, found their niche, a creative place, a job, meaningful work that was really play. It was beautiful to watch.

Filed Under: Family, Spring Tagged With: backyard play, mud pie cafe, mud pie kitchen

posted on March 26, 2012 by Rebecca Simmons

Mud Pie Cafe brings lots of backyard fun

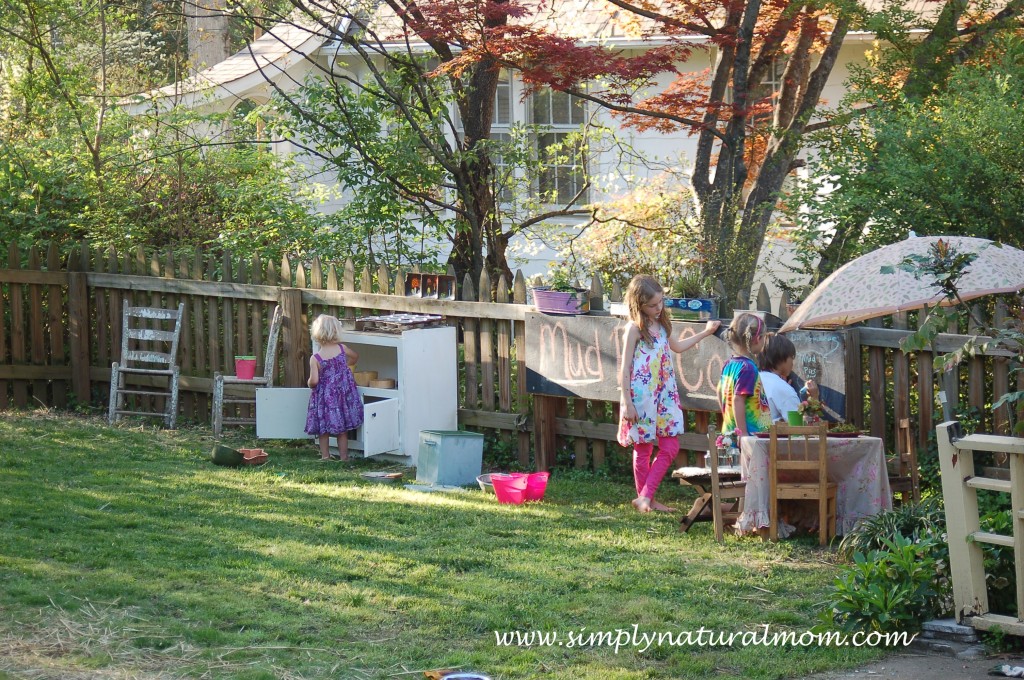
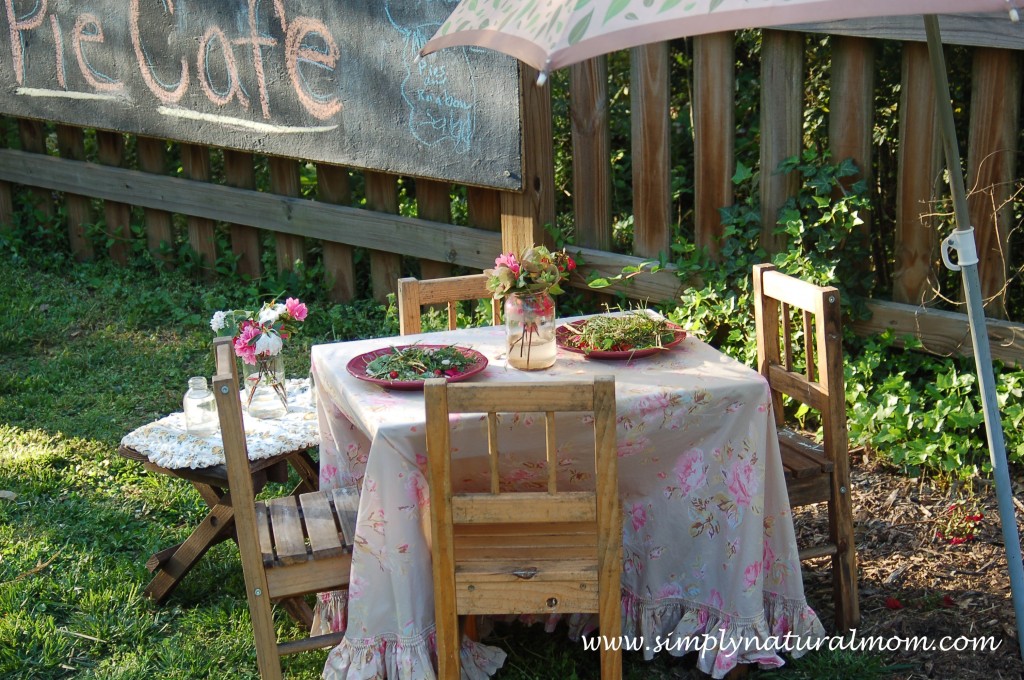
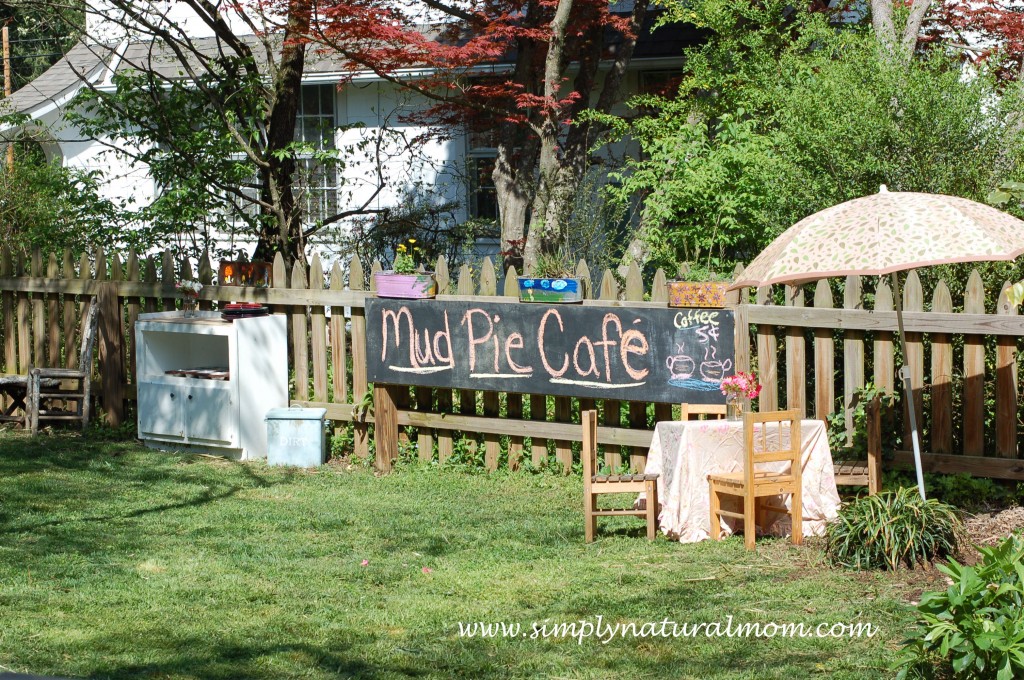
Here is some backyard fun we’ve been working on – Our new Mud Pie Café. Some call it a Mud Pie Kitchen. But we decided to add some flair and make it a little more fun, seeing there are three girls around here. It turns out it’s a lot of fun. And a great place to sit for a snack!

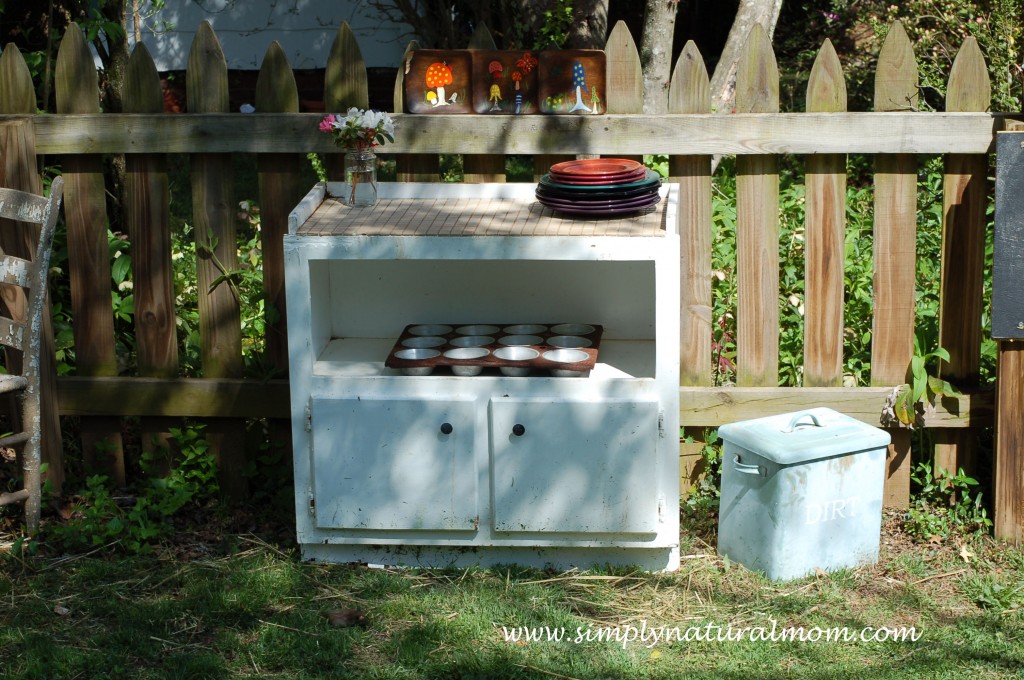
It was simple to assemble, using stuff we had around the house and no longer needed inside. Really, the possibilities are endless – using whatever you have on hand or need to clean out from your own kitchen cabinets. Here’s how we did it, where the stuff came from and what’d you find if you came to play.

Our Mud Pie Café is stocked with the following supplies

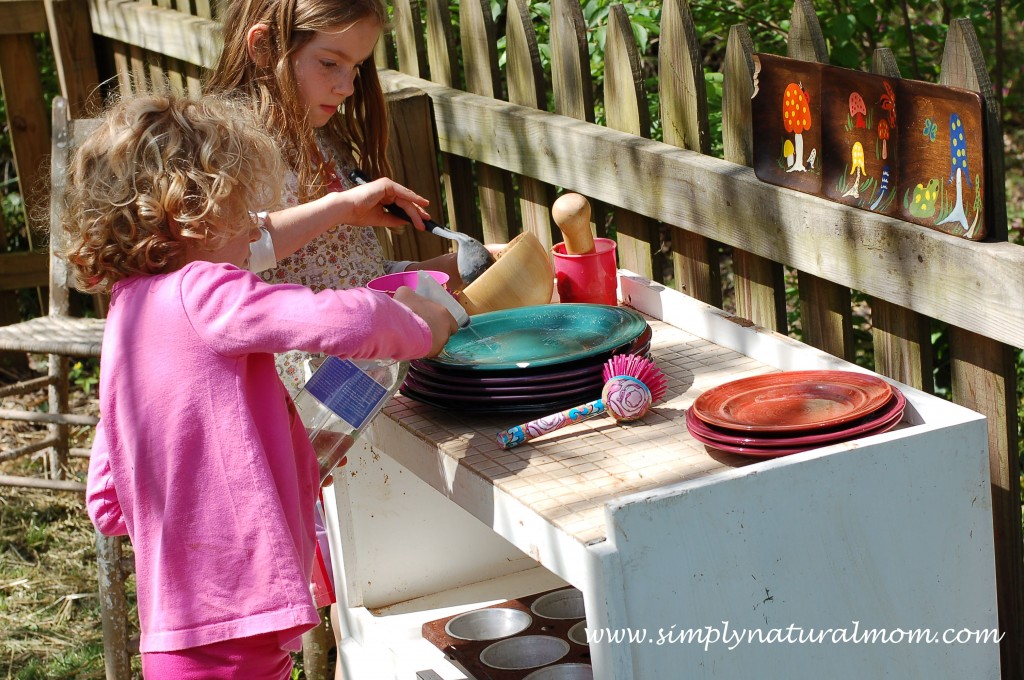
**Plates from a thrift store which were purchased a long time ago, for a mosaic project that never happened.

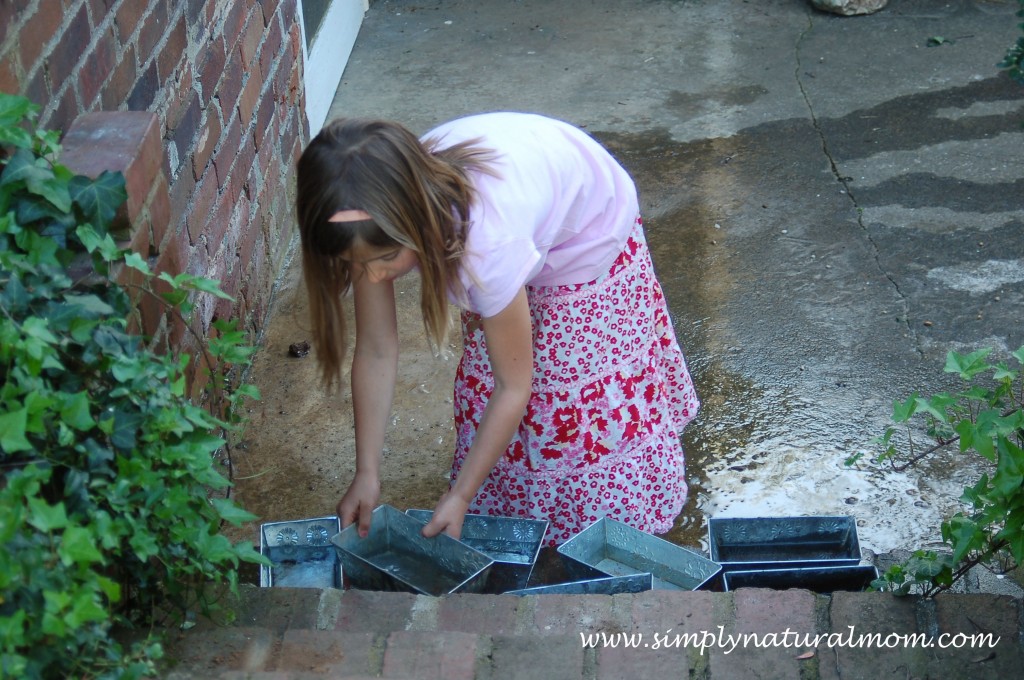
**Cake pans, old pots, mixing bowls and wooden salad bowls that were either bought from goodwill or declared too old and cruddy for my own kitchen.

**Plastic mixing spoons and spatulas from my kitchen that were replaced with metal ones.

**Old tablecloths that I no longer needed or wanted.

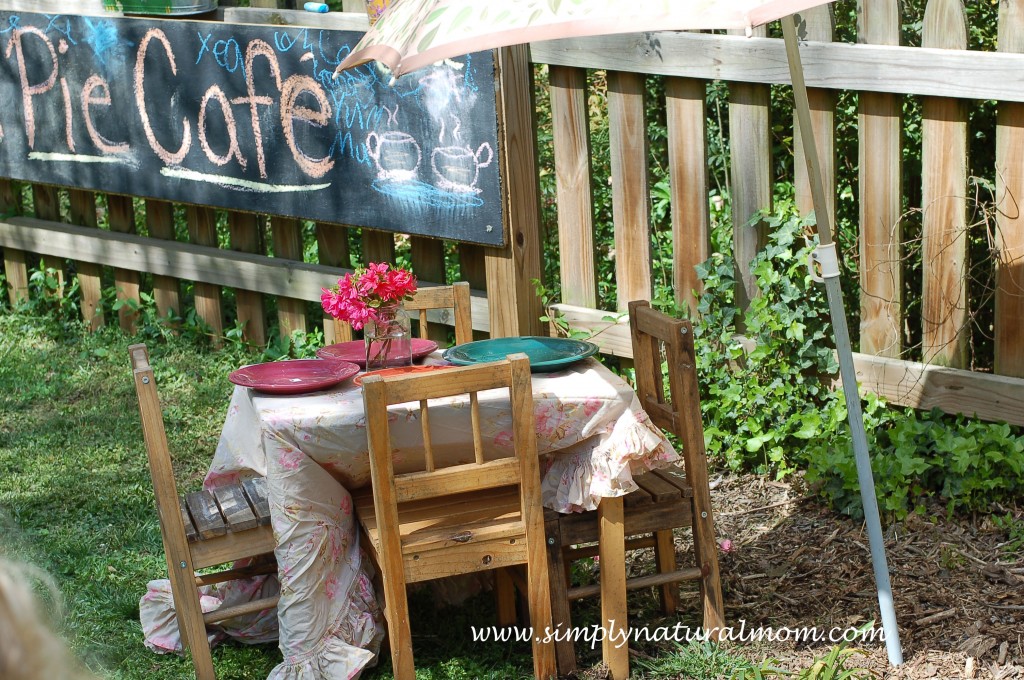
**Old jelly jars for the kids to cut flowers from the yard and use as vases to decorate the tables.

**Dried beans and expired flour from my kitchen cabinets.

**The green metal canister labeled “dirt” is left from my days of container gardening on an apartment deck in downtown Atlanta (in our pre-kid lives). My oldest daughter found it in the garage, filled it with dirt and put it in a handy spot for making mud.

**The girls took it upon themselves to stock their space with a squirt bottle and brush from the laundry room, to wash their dishes.

The furniture in our Mud Pie Café was all repurposed

**The cabinet dates back to my college dorm room, and was built by my dad. Then it migrated to my Mom’s 8th grade English classroom. After she retired from teaching and my parents prepared to move from the house I grew up in, I rescued it from their garage and it became a pet food cabinet on my porch. And now this – from a dorm kitchen to a mud pie kitchen. It makes me smile.

** The children size table and chairs was used as an art table until my kids needed a bigger space. It’s well worn and well loved. Now it will live the rest of its life outside in the yard.

** Previous owners left the two larger chairs and the small table in our garage when we bought the house. I love little gems like this.

**The umbrella is from one of those water and sand tables, and is something my kids have loved dearly – in so many ways other than the purpose of what it was intended to do. Really, this is how the best play happens!

**The chalkboard screwed to the picket fence was made using leftover wood from our home renovations.  It was simple to make.

So there you have it – that’s how our Mud Pie Café came together, using things we had around the house, in the garage and in my kitchen. Now the fun begins!

To see more photos,  visit the next post that featured our Mud Pie Cafe.

Filed Under: Family Tagged With: backyard basic play, backyard dirt, mud pie cafe, mud pie kitchen, playing in the dirt

  • « Previous Page
  • 1
  • …
  • 31
  • 32
  • 33
  • 34
  • 35
  • …
  • 47
  • Next Page »

Subscribe


Archives

Copyright © 2025 | Fabricated theme by The Pixelista | Built on the Genesis Framework
[footer_backtotop]