• Home
  • For the Newcomers
  • Iyengar Yoga Classes
  • Contact

posted on November 1, 2011 by Rebecca Simmons

Read about Knoxville’s new Salt Spa

When me and my girls (or my husband for that matter too) are feeling snotty, sick and needing a little R&R pick-me-up, we visit the Salt Spa at The Traditional Wellness Clinic. I refer lots of friends there, so they can check it out too. Just because I think more people should know about it and I want to support this local business.

We went last week when my girls were recovering from the stomach bug, for an added immune booster. We go as supplemental treatments to ear infections and strep throat too. When my girls are feeling ill they ask to visit the Salt Spa because it makes them feel better.

Until Sunday, the Salt Spa at The Traditional Wellness Clinic has been almost like a secret in our town. To understand what I’m talking about, and to read more about Tennessee’s first salt spa, read my features story on the Salt Spa in the Knoxville News Sentinel that ran on the front page of the Sunday Life section.

For the record I want to state that I have paid for all of my family’s treatments at The Traditional Wellness Clinic and Salt Spa. I was not paid by them to write this, nor did I receive any type of compensation by them in the process of reporting my story for the newspaper. 
Filed Under: Uncategorized Tagged With: knoxville, salt room, Salt Spa

posted on October 31, 2011 by Rebecca Simmons

A bucket of books for a birthday girl

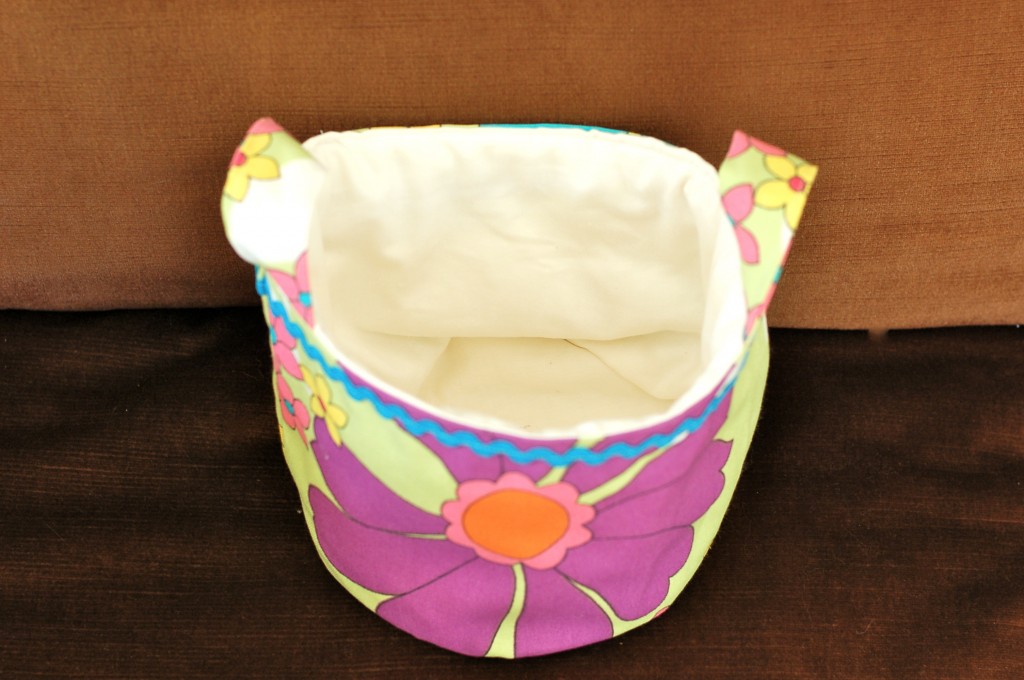
Getting ready for a birthday party this weekend, I put my new Burlap Bucket sewing pattern, designed by Maya Made, to good use. The gift was for a seven-year-old. So instead of  burlap I used a fun decorator fabric that proved thick enough to still do the job.

The bucket was easy to make and the pattern is practical for so many bucket uses, that I think I’ll be making more of these for teacher gifts come holiday time.

Here’s a look at the inside of our bucket of books, without the books.

Filed Under: Handmade Tagged With: bucket of books, burlap bucket, maya made, sewing birthday gift

posted on October 30, 2011 by Rebecca Simmons

Today three seems like the right number

I often, daily, obsessively really – wonder what is the right number of children for our family. Some days I think I could just keeping having them and sometimes I think I’ve had enough.

Friday my girls opened up packages from their grandparents and went straight to declaring a window for themselves each to decorate with their crafty gifts. In our dinning room there were three window for three girls. At that moment I said to myself, “Today three seems like the right number.”

People tell me you “just know” when you are done having babies. Some days I think I know what they mean.

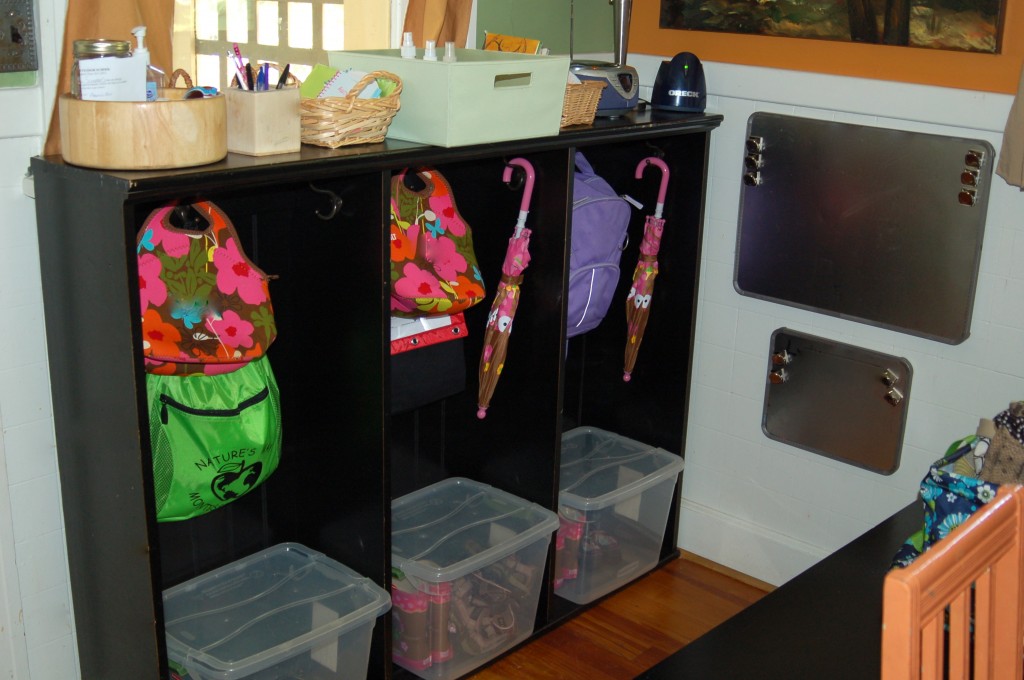
Another example of three being the right number is our three lockers, all set up here in a photo for the new school year. That day, three seemed like a good number.

It may sound silly to simmer down the number of kids you should have to the number of windows and lockers in your house.

I know in large families they would just pile it all in, sharing as need be. My girls already do share a lot. We encourage it heavily. But on these two days, and many more days lately, three seems like the right number.

Filed Under: Mothering Tagged With: how many kids to have?

posted on October 27, 2011 by Rebecca Simmons

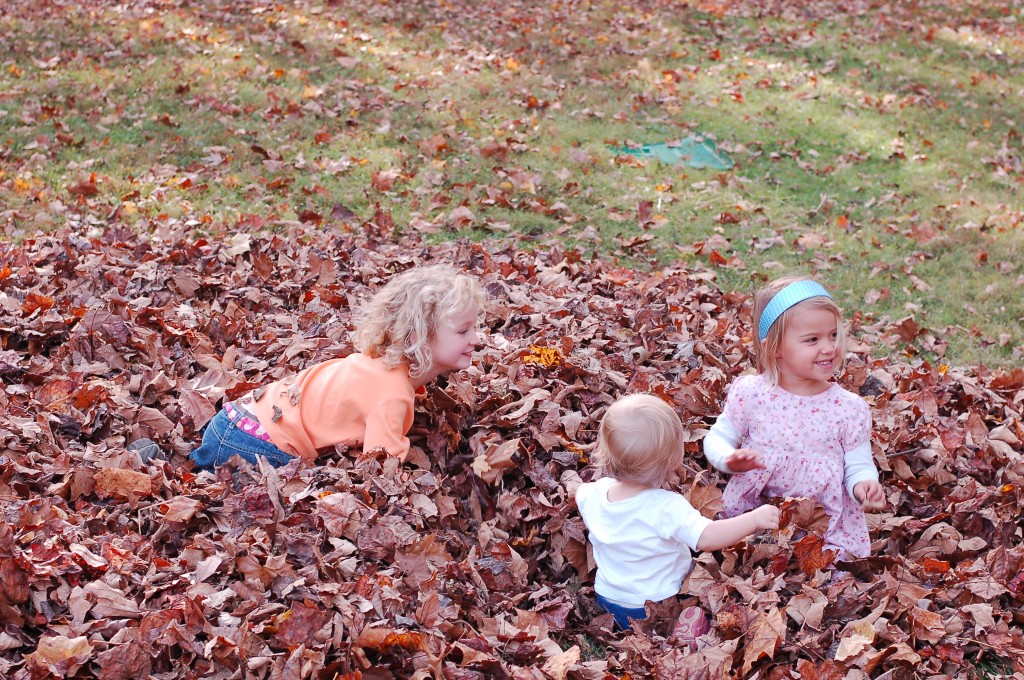
A leaf party! What a great idea.

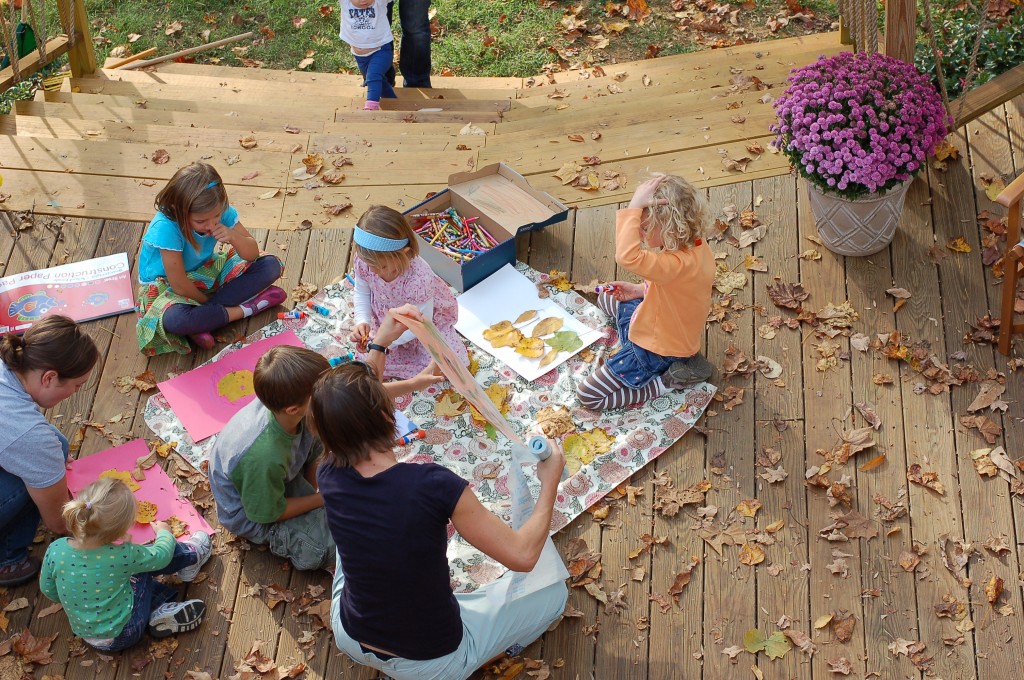
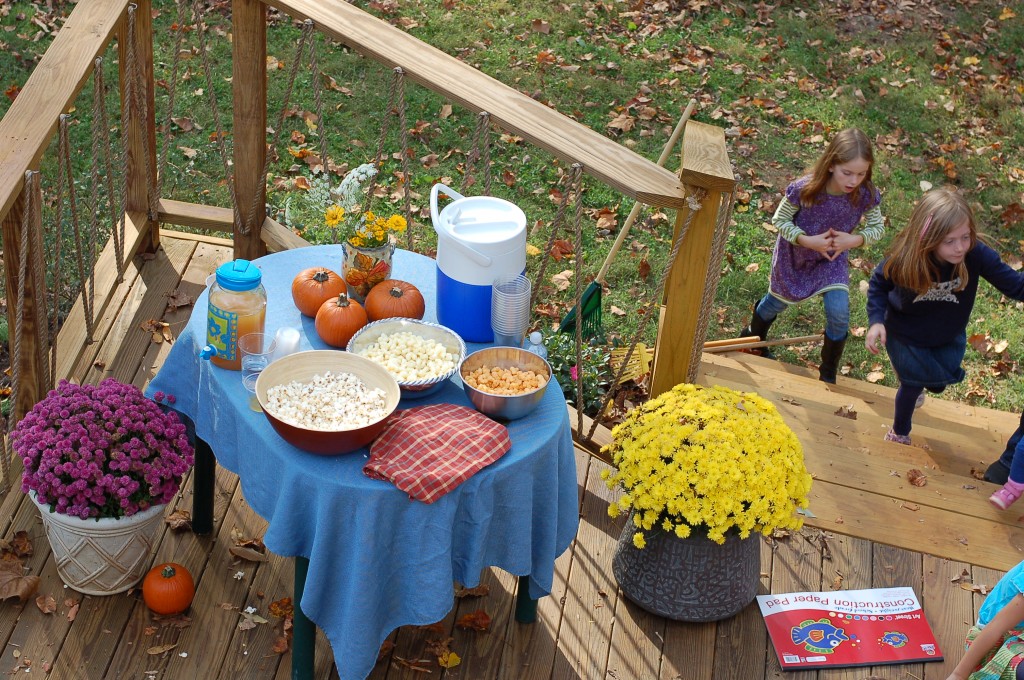
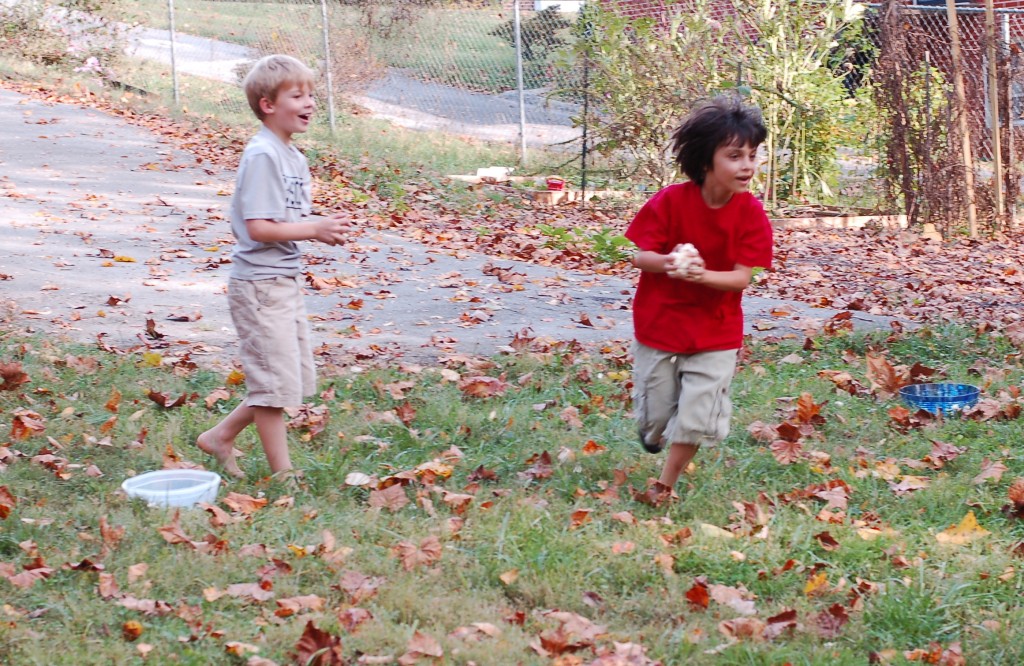
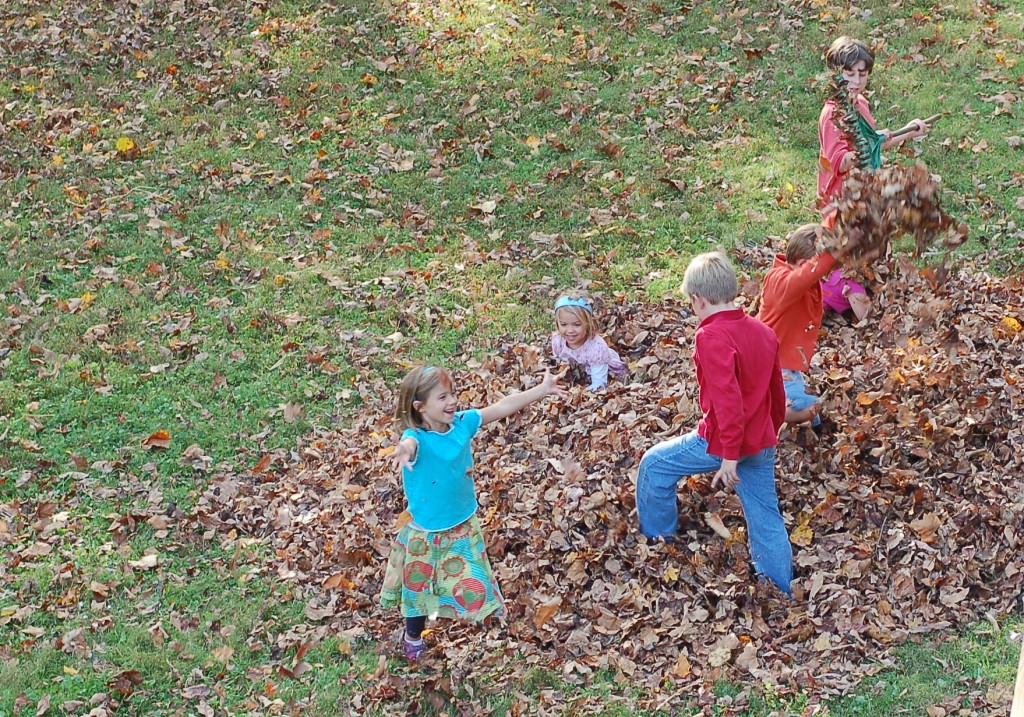
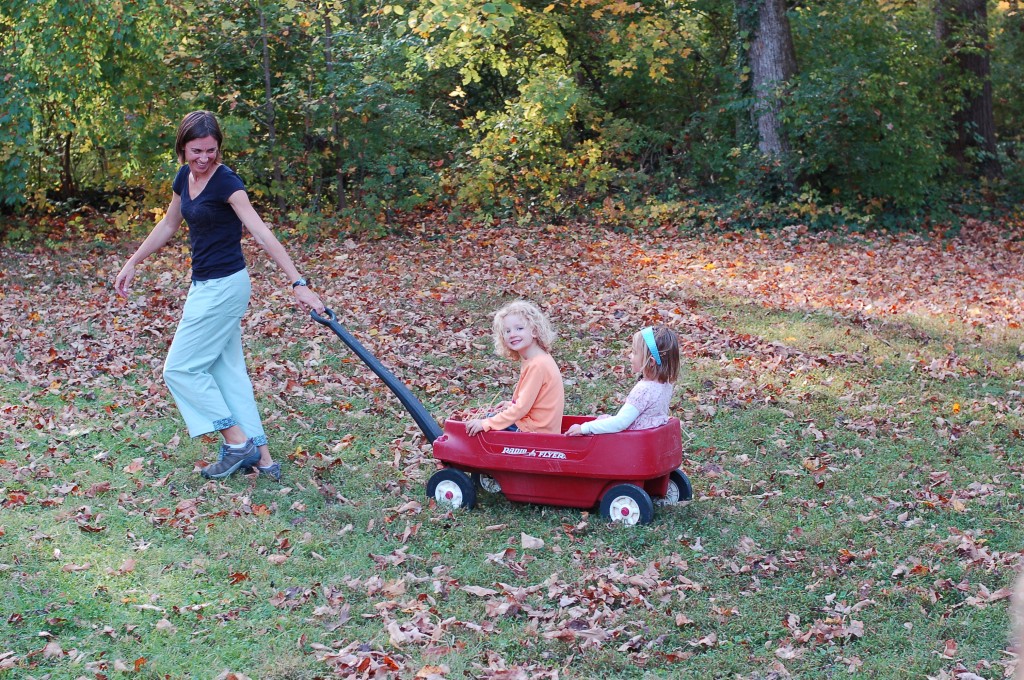
A six year-old in our neighborhood came up with this idea to have a leaf party. It was inexpensive, impromptu and fueled by kid imagination. I loved it, the kids loved it and the mama really embraced the idea too.

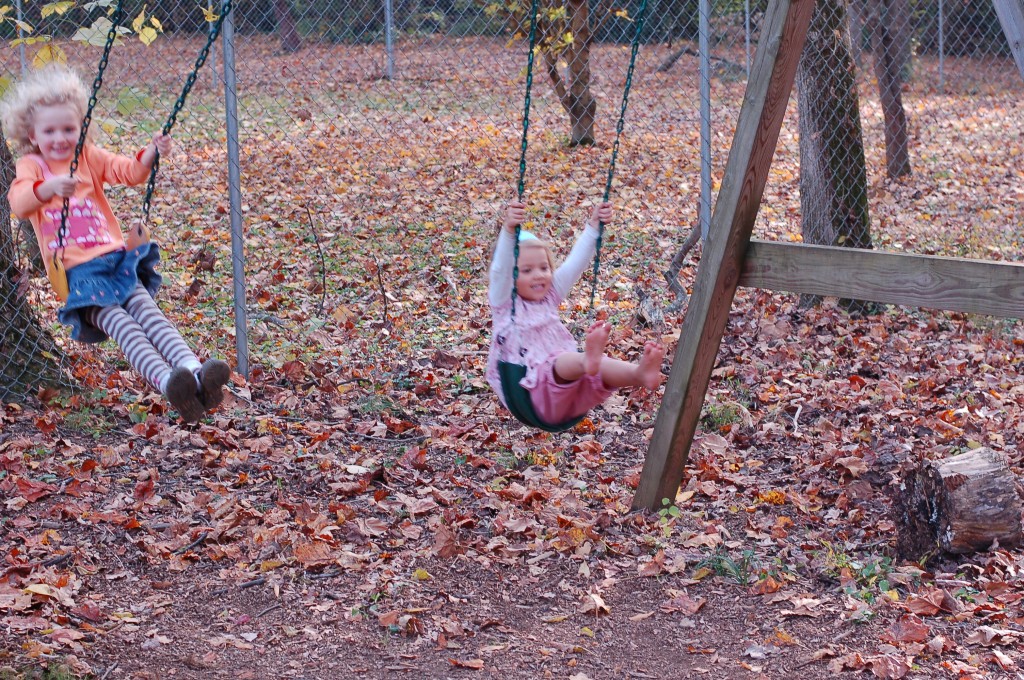
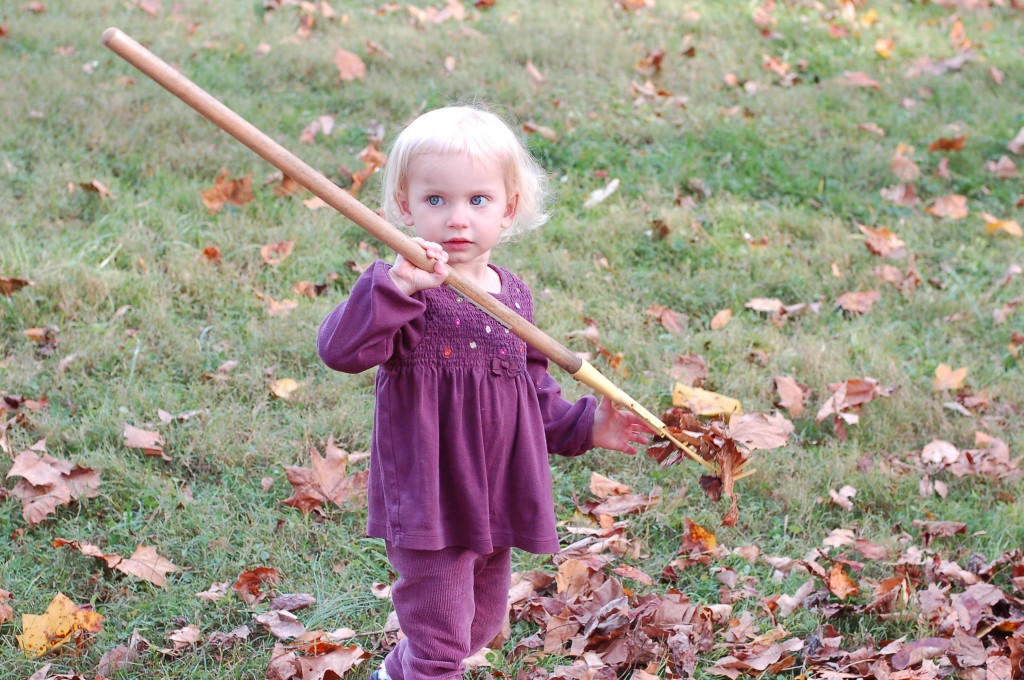
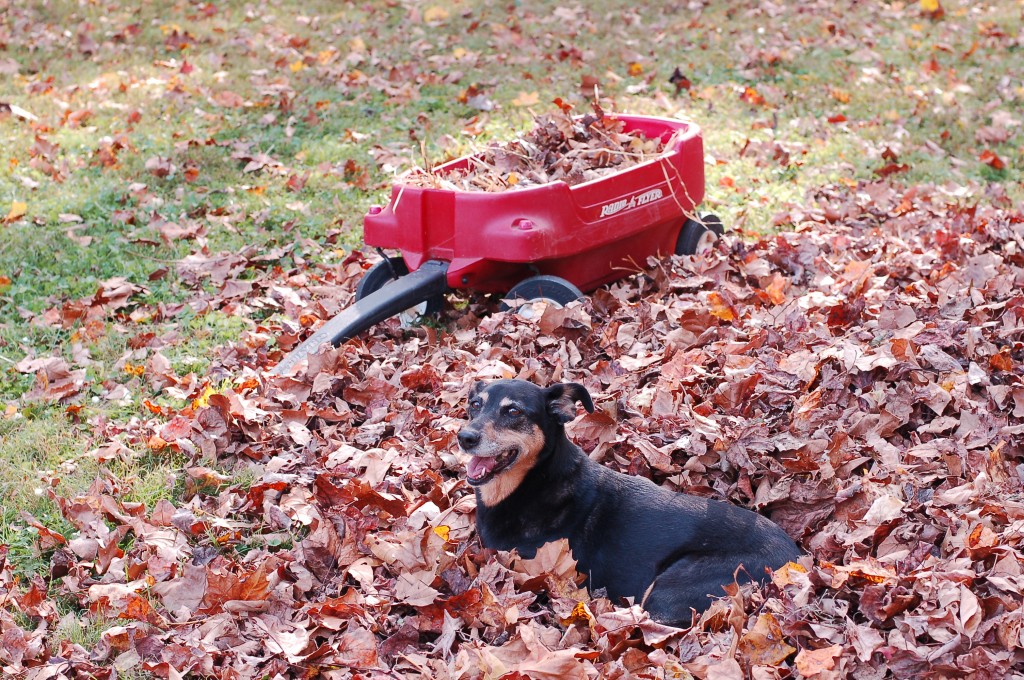
It was simple in nature, literally.  There was raking, jumping in the leaves, placemat making with leafs, popcorn relay races, pumpkin cookies, apple cider and “hay rides” in a little red wagon. As you can see from the photos below, it was an old fashion good old time, where all the neighborhood stopped by and even the dog Gretchen enjoyed herself.

Filed Under: Fall, Family Tagged With: leaf fun, leaf party, leaf placemats

posted on October 26, 2011 by Rebecca Simmons

Make a spooky Halloween banner for your mantle

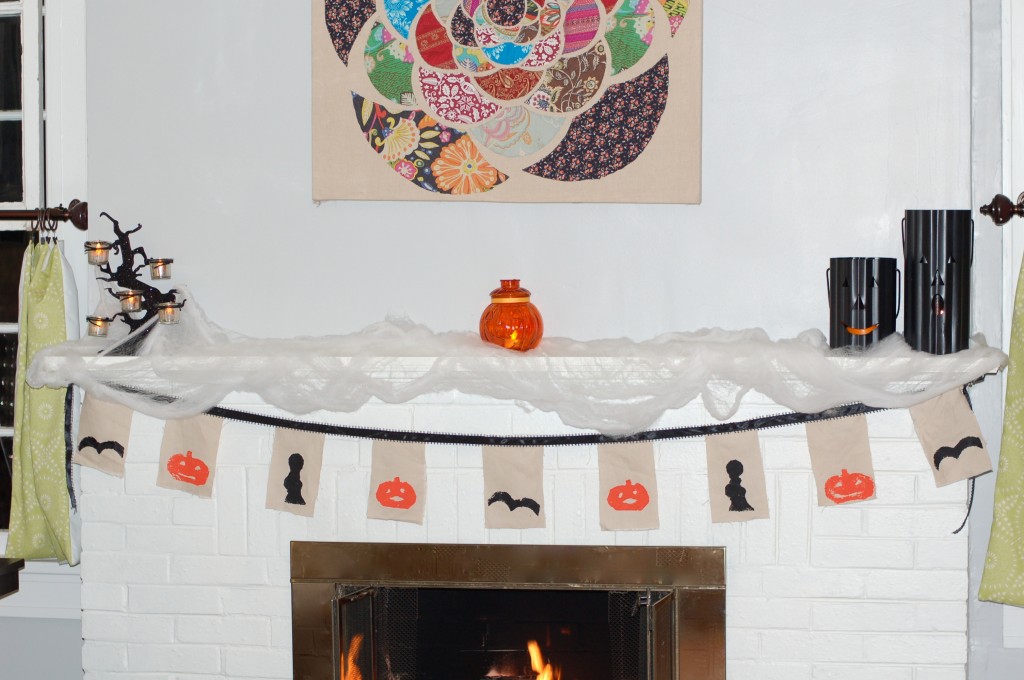
This year I decided it was finally time to start decorating our fireplace mantle for Halloween. To accomplish this we bought a few news things, reused something old, and made something new – the spooky Halloween banner.

When decorating I always try to add some homemade touches to things found in stores. And when buying from the store I strive to buy quality made things that will last year after year, becoming traditions of the season.

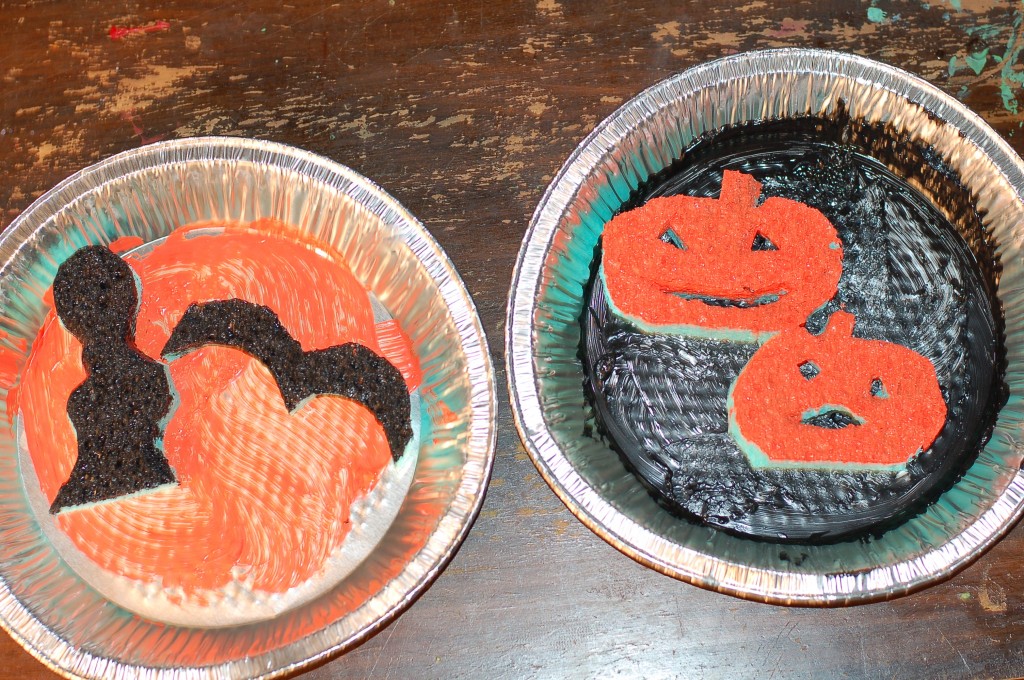
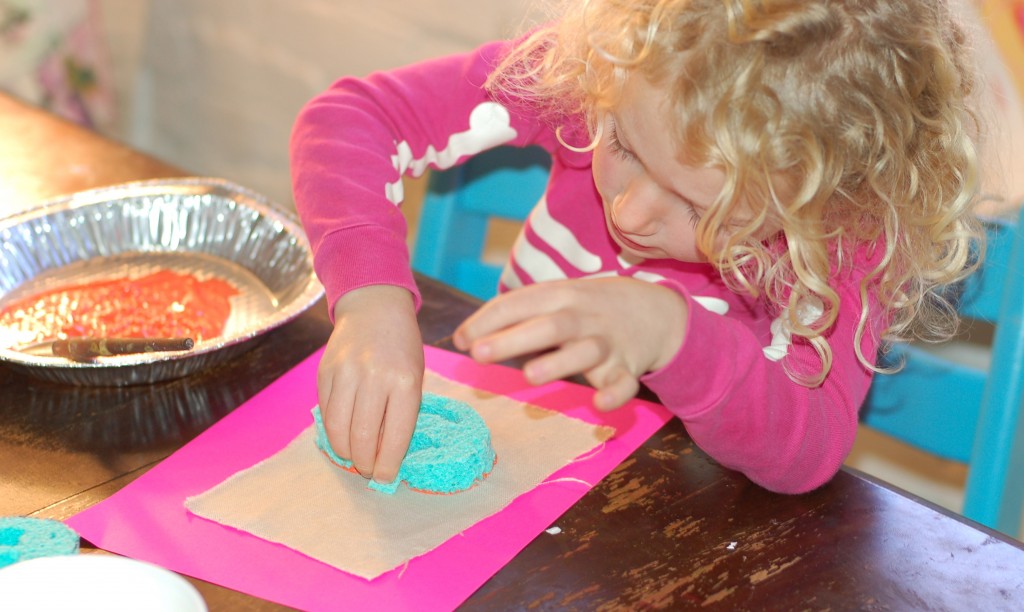
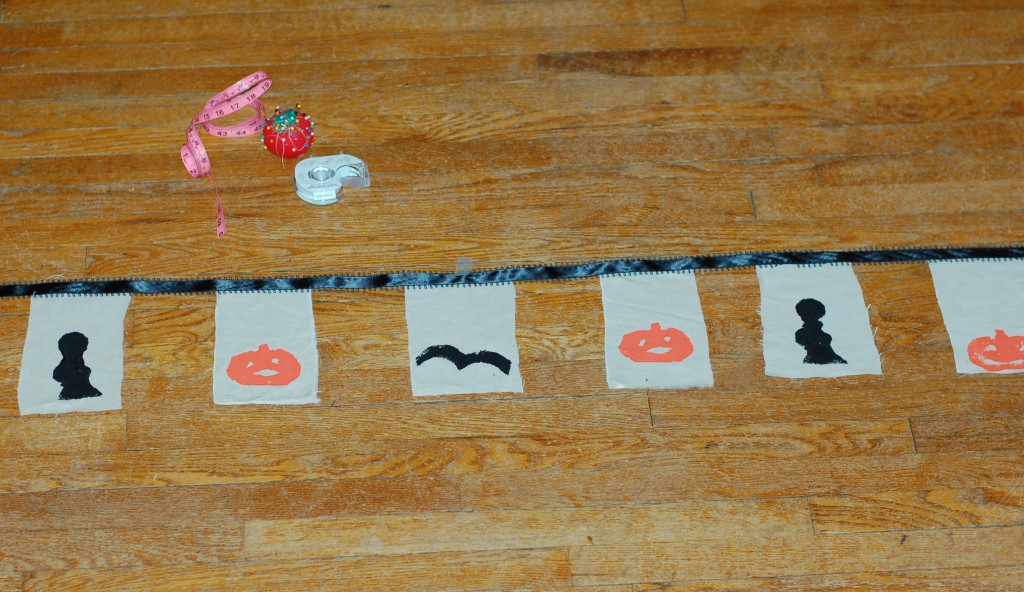
For the banner I started by cutting sponges into the shapes of a ghost, a bat and two pumpkins. As an alternative to sponges, potatoes are a more natural approach for making stamps. But they are difficult to cut so I took the easier route this time. My four-year-old did the sponge painting onto the fabric. {See all photos below}

On a separate green note, the pie tins we used to the hold the paint were saved and reused from previously enjoyed pies. We used acrylic paint so I just left the paint in the tins to dry and we’ll reuse them again for more painting later.

For the banner fabric that we used to stamp the sponge prints onto, I chose tan linen because I wanted it to stand out against our white brick fireplace. Plus I like the ways the edges naturally frayed on the linen, leaving them just so. Once the paint was dry the fabric pieces were sewn onto the black ribbon.

To get accurate measurements for how long to make the banner I started by measuring the length of our fireplace. Then in a very non-scientific way, I took my black ribbon (a spool with three yards of ribbon on it) and laid it out on the floor. I used tape to mark off the 82 inches matching the length of the fireplace, marking the middle of the entire ribbon first, then the ends. I left the excess length past the 82 inches in either direction to tie the finished banner to the mantle.  I spaced out my rectangular pieces of fabric sitting on the floor, pinned them into place and then sewed them.

Not a sewer? This project would work with glue too, or iron on Heat’N’Bond adhesive. But for the best longterm results, sewing is always best.

To hang our spooky banner I used the handy hooks from our Christmas stockings, which remain tucked up and out of sight all year long.

Filed Under: Fall, Handmade

posted on October 24, 2011 by Rebecca Simmons

Easy to make Halloween costumes

Halloween is a fun time to get creative. For me, the entire month of October is a busy time, with two of my three daughters (ages 2,4 and 7) celebrating birthdays. While I’ve always loved the idea of sewing them costumes from scratch, it’s an endeavor that I have never accomplished (or even attempted).

Instead, I find creative ways to use reuse what we have, while embellishing them with a few new accessories – using a combination of some sewn and some bought with the intention of them getting reused again too.  For me, it is a good mix. And for a lot of busy moms, it’s a doable approach to making a child’s costume that still holds the potential for creativity and the opportunity to avoid commercialized costumes.

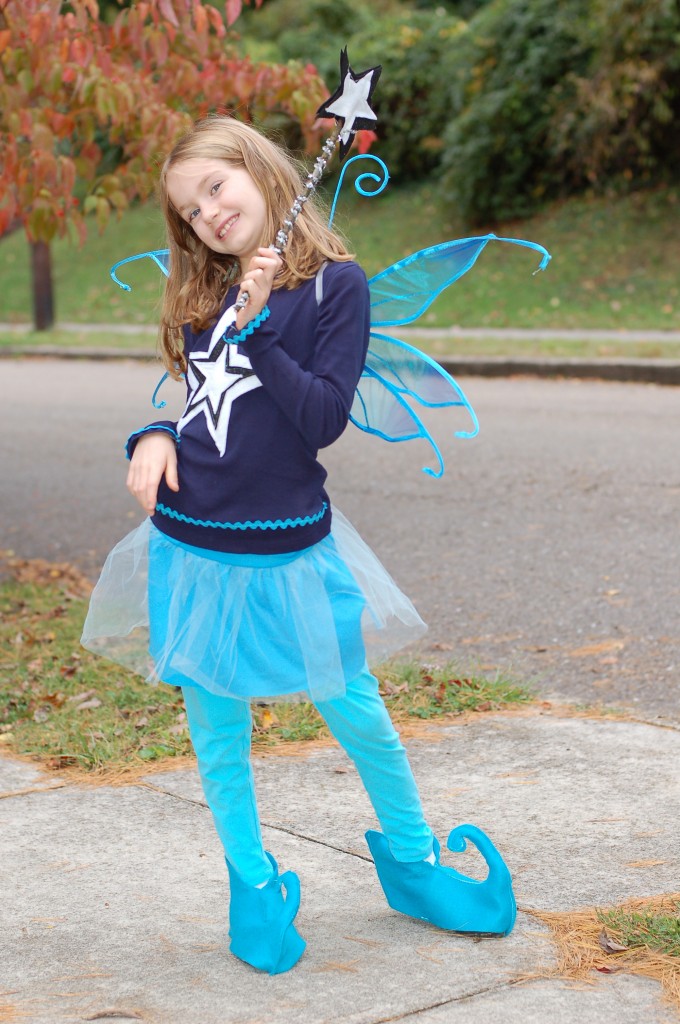
This year, my oldest daughter has chosen to be a Star Fairy, adapted from one of the Rainbow Magic fairy books published by Scholastic Books.  For her costume I bought the skirt and the wings, and the rest we had at home. On her shirt I sewed a three-layered appliqued star with rickrack sewn on the shirtsleeves and waistline. Her star wand is made from a tree branch found in the yard, with a felt-made star and wrapped with pipe cleaner for something shiny. Instead of buying new sparkly fairy shoes, we compromised on covering her everyday shoes with a fun fairy design, also sewn of felt.

Felt works nicely for quick projects like this because the edges do not ravel, it’s easy to sew, inexpensive (about 35 cents a sheet) and is something we keep readily available at home.  For my oldest two girls’ costumes, I used felt to decorate t-shirts we either had at home or I picked up at the store. These will be reused this winter as shirts or as extra undershirt layers for warmth. The same goes for the leggings under their skirts.

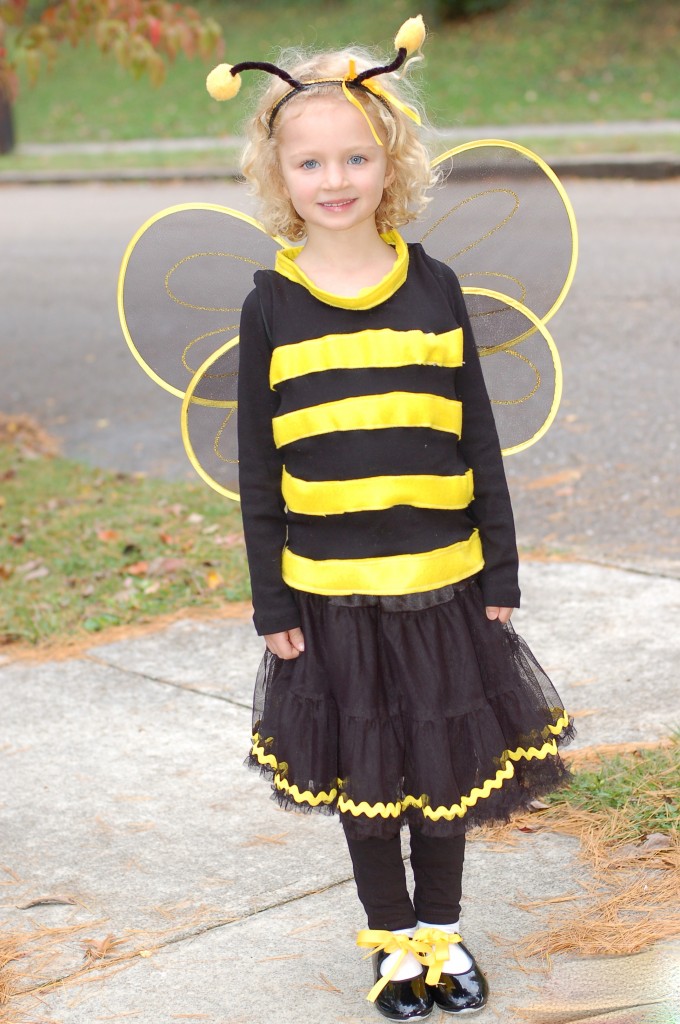
My middle daughter has chosen to be a yellow jacket – not to be confused with a bumblebee. She corrected me on that one!  Again, for her costume I bought the skirt along with the wings and antlers. On her top, I simply sewed strips of yellow felt onto a black t-shirt. I added the yellow rickrack to her newly bought black skirt. For the holidays I’ll probably sew a red ribbon over the top so she can reuse it as a fun Christmas skirt. Her shoes are hand-me-down tap shoes from our dress up pile, which I just added a yellow ribbon to from my stash of scrap materials in the sewing room.

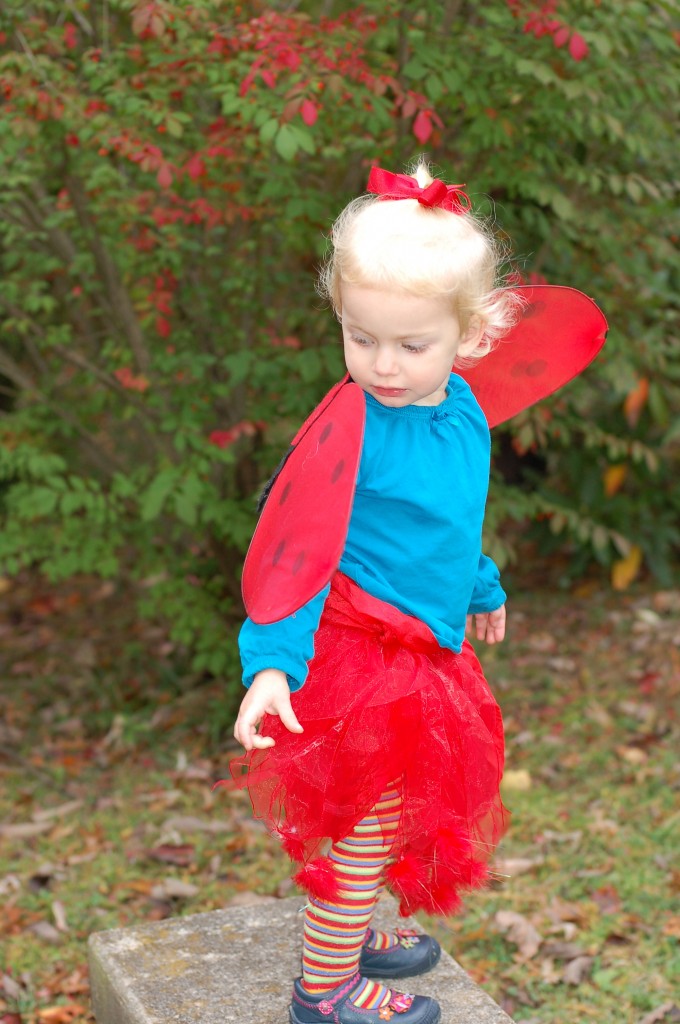
Wings and fun play skirts are something in our house that go into the dress up bins to be enjoyed again and again.  So when it came to dressing up my 2-year-old, that’s where we went first. Out came last year’s ladybug wings, paired with a red play silk and ribbon tutu skirt. In a hurry – getting ready for this post – I grabbed her striped tights and decided to call her a Rainbow Ladybug Fairy. Because, when you’re two, that is really all the fun you need. And, it’s what reusable costumes are all about!

For boys, the options are endless too:  Superman capes, cowboy vests, ghosts and more. I hope my sharing this has given you some inspiration of your own.

This post originally ran as a guest post on Flour Sack Mama, as a series of up cycled Halloween costumes. Thanks Flour Sack Mama for the great ideas and inspiration to feature this post! 

Filed Under: Fall, Handmade Tagged With: easy to make Halloween costumes, Flour Sack Mama, Halloween, up cycled Halloween costumes

posted on October 24, 2011 by Rebecca Simmons

Seeking relief for a four-year-old tummy

The good news is, so far the stomach bug stopped at just two girls. Nursing is the best cure for everything, so my toddler is bouncing right back to good health.

My husband jokes that I could change a flat tire with breast milk. I do think it fixes everything! I just wish I had such a fix for my four year-old.

It’s her first time with a bug like this. She never, I mean really seriously hardly ever, gets sick. So this feeling crumby is kind of foreign to her. She still talks about that “one time” she had a fever. So you can imagine what she has thought about all this throwing up business.

I tried to give her lemon ginger tea with honey to help ease her tummy. Even in the heart shaped mug with a pink straw, it didn’t go over so well.

What do you do to help your little ones feel better when the stomach bug hits?

Filed Under: Real Food Tagged With: sickness, stomach bug, tummy relief

posted on October 24, 2011 by Rebecca Simmons

Tribulations of the family stomach bug

It looks like it’s going to be slow going into Monday here. So far tonight, two out of my three girls are throwing up. There are bowls by the bedsides, a daddy mattress on the floor to be close by when duty calls, and me in bed with the littlest one while trying to nurse her back to good health.

We’re just waiting for the oldest girl to get the “urge to purge,” as my husband called it tonight. She is usually the first one to get sick, so we are quite certain it is coming. With just two at it so far, we are already on our third load of laundry. I’m on my fourth set of pajamas!

There is nothing worse in the family book of health than having everyone sharing a stomach bug. Time will tell if us parents get spared this time.

Our worst to date was when our second daughter was three weeks old. That bug started with our then two-year old and moved on to me. In addition to sleep deprivation there was me making the necessary trips to the white throne in between nursings – for the entire night. By morning it hit dad, which was when it got real adventurous with baby poop, puke and nothing but the diaper pail for me to aim for. Luckily our newborn wasn’t phased a bit.

Oh for the love we families share!

Overall we’ve been fortunate and haven’t – knock on wood – been hit by the awfulness of five simultaneous pukers.

We did however get hit by Strep Throat immediately followed by the Swine Flu in 2009 when baby girl number three was five days old. But me and baby were spared, thankfully!

Luckily in our little neighborhood we stick together in times of need. With one another dropping by necessary supplies on a doorstep when doors are not safe to open. It happened for us then, with an out pouring of new baby dinners. And I’ve done so for others, with new babies, or families of five who are sharing the love of a simultaneous stomach bug.

For now I’m going to tuck myself in with my toddler and hope that I won’t be needing to call for help tomorrow.

Filed Under: Mothering Tagged With: family stomach bug, puke, stomach bug

posted on October 21, 2011 by Rebecca Simmons

Visit my guest post today at Flour Sack Mama

This week Flour Sack Mama is doing a series of posts on going green for Halloween, from organic pumpkins to upcycled costumes. When she asked me to write a guest post, it was the perfecting timing for me to finally get started on my daughters’ Halloween costumes.

There is no way I could find time to sew three Halloween costumes. But I do figure out ways to incorporate reusable items with a few newly sewn embellishments to make the costumes shine. To read more, click on over to my guest post at Flour Sack Mama.

Filed Under: Uncategorized Tagged With: Halloween, Halloween costumes, homemade halloween costumes

posted on October 18, 2011 by Rebecca Simmons

Tips for talking about art with your kids

I think everyone has days when they pick their kids up from school and they wish they would tell a little more about their day. When it comes to art, talking about it should be fun! Even if they are still at home and just playing with finger paints.

In our house there is always a lot of art happening, in different styles, in different ways, with different mediums. Then there is always the girl who gets everything green and spends eight times longer washing her hands than painting.

Since my girls were young, like 18 months young, I’ve left out art supplies for them to be creative with. I try to respect everything they make – whether it is a gluey mess or a Picasso masterpiece, keeping in mind that this is serious business for them. My hope is that they never feel like they are too old to create, or that there is ever a wrong way of going about it.

They go to a Montessori school that has a full-time artist who teaches the children’s art classes. Recently she sent home a note to parents with tips about how to talk to your children about the art they bring home from school. I thought it was brilliant.

It feels a bit weird not to credit this special art teacher for her job well done – as I pass on her words of wisdom to you. But I’m just going to keep that knowledge to myself, out of privacy for the where my daughters spend their days, when they are not with me. I hope you understand.


Here is what Ms. Art Teacher had to say.


First off she explained that in her classes they focus on the process of creating rather than the product.

“When focusing on the process, art skills may not be mastered but the student has progressive successes such as holding scissors properly or gaining knowledge on perspective,” said Ms. Art Teacher.

Then Ms. Art Teacher shared ways to encourage conversations about art with children, that respects their work and offers open-ended discussion points.

Once the art comes home she gave the following tips for asking questions about their art.

1. Tell me about your picture…

2. Why did you choose blue?

3. Who is this?

4. Tell me how you made this.


Here are the statements she suggested making about the artwork that comes home. 

1. I can see a lot of detail in your work….

2. You choose many different colors in this artwork…..

3. I noticed the brushstrokes added texture to your painting….

4. I can see you used the primary colors…..


She also went on to explain some of the art vocabulary they use in class, from primary colors to warm colors, to shade and tint. So that parents can know some of the lingo to spark the conversations about art.

I love talking about art with my girls, to see their eyes light up when I’m interested in their work and to feel their sense of pride and excitement when they are asked to share about it. Even my 2-year-old will bounce off her toes to talk about “a bird” she made.

So yeah, I was happy to have Ms. Art Teacher pass on the inspiration for converstation. I hope it serves you well too.

Happy art times!


Filed Under: Mothering Tagged With: talking about art with kids

  • « Previous Page
  • 1
  • …
  • 42
  • 43
  • 44
  • 45
  • 46
  • 47
  • Next Page »

Subscribe


Archives

Copyright © 2025 | Fabricated theme by The Pixelista | Built on the Genesis Framework
[footer_backtotop]