• Home
  • For the Newcomers
  • Iyengar Yoga Classes
  • Contact

posted on December 3, 2012 by Rebecca Simmons

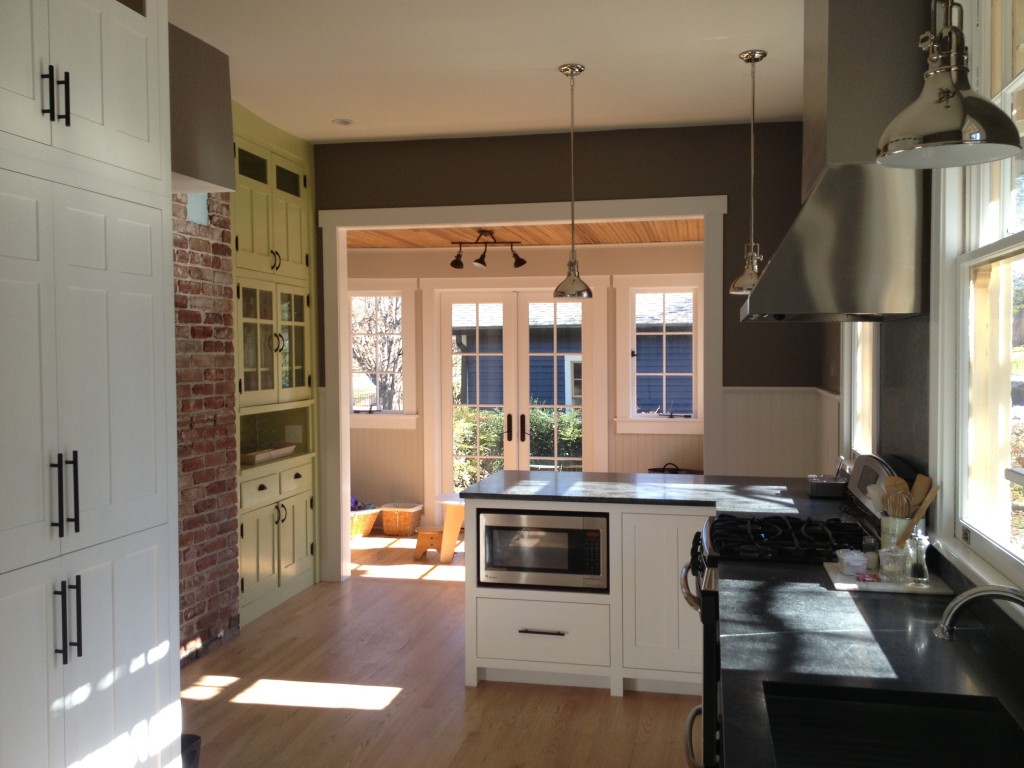
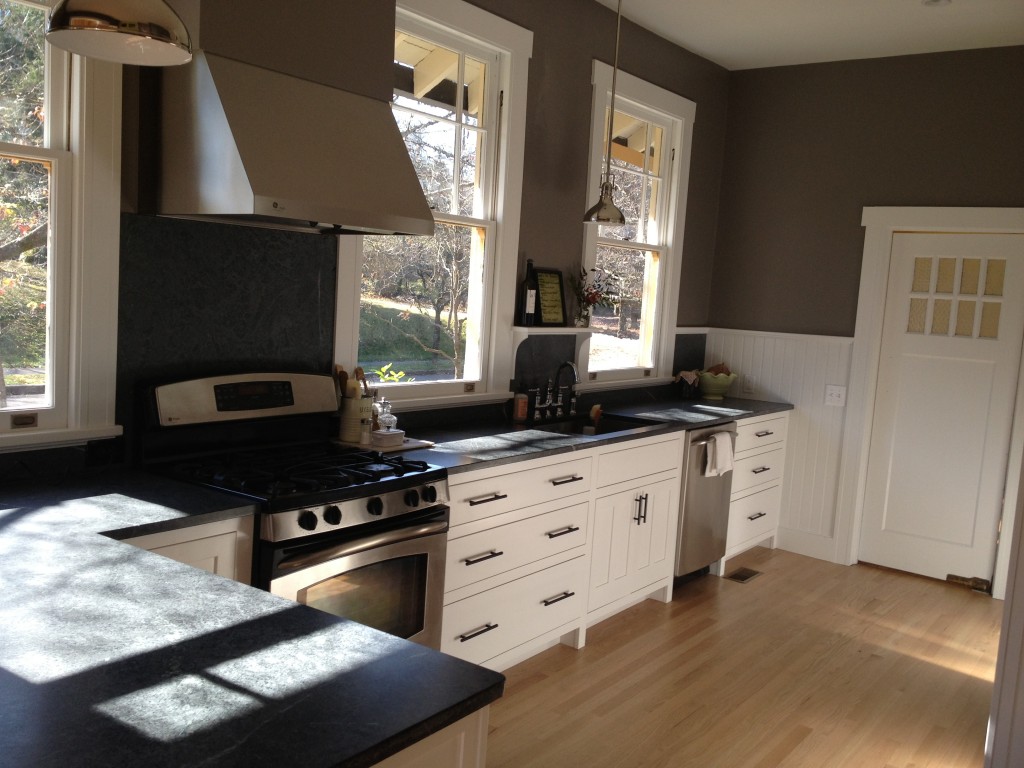
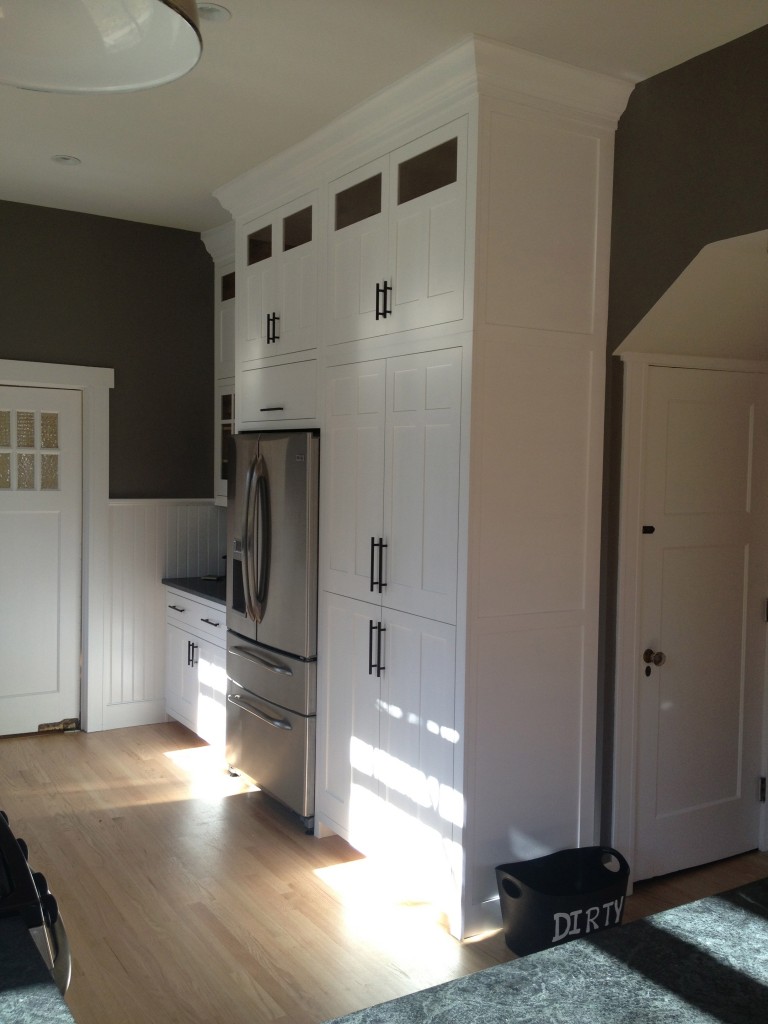
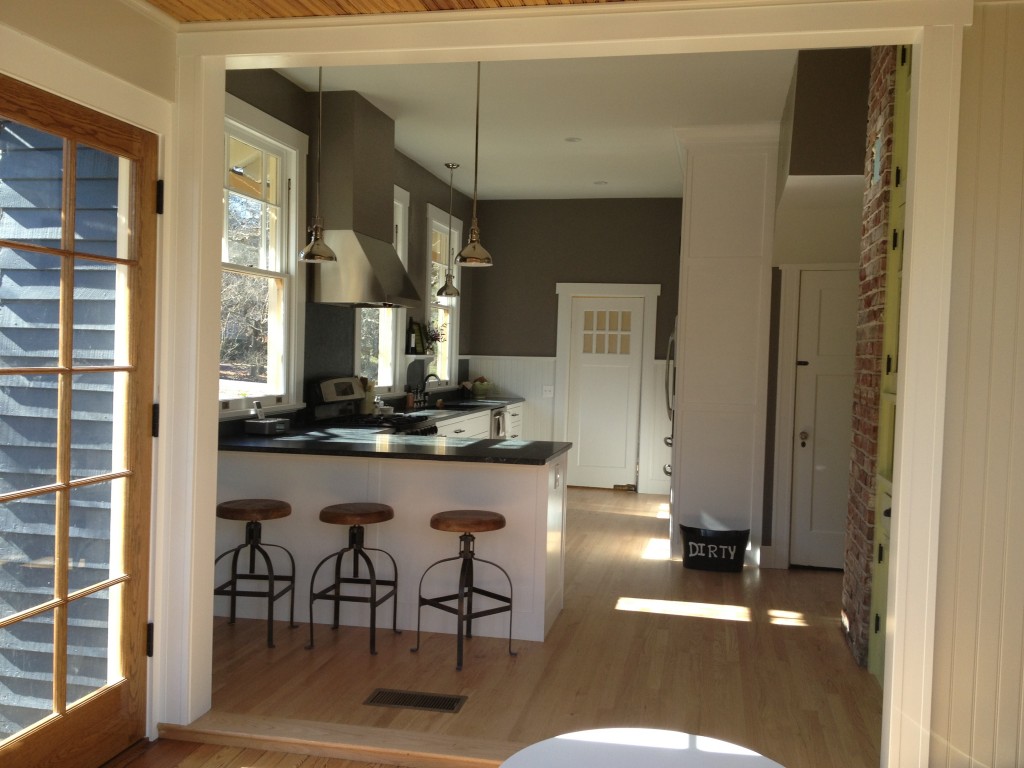
Finally, photos of our finished kitchen – Ta Da!

Living without a kitchen, or in the “fake kitchen,” for two months was hard. But it was well worth the results. And now, we are eating every meal here in our new space, happily at home.

Last week we did a weekly meal plan, something new and foreign to this family. Usually it’s me standing in the kitchen at 5:30 looking in the fridge to decide what to make for dinner. Yes we are loving the new kitchen.

I’ve had seven years of living in our house, built in 1919, to think about what kind of kitchen I would love to have. There were times when I wanted to rip out the old 1950’s metal cabinets and head to Home Depot for the quickest fix I could find. But I knew that wouldn’t really make me happy. So I waited – and waited and cursed my old kitchen until I couldn’t stand to curse it anymore.

It was important for me to honor the bones of our historic craftsmen house and the galley kitchen that we couldn’t do anything about given the house layout. But the most important goal was to have a space that functioned for our family. I wanted room for them to help me cook, be in the kitchen with me and not have to fight for the tiny bit of countertop space we had while baking cookies together. I also wanted a grown up kitchen. We’ve been at this parenting gig for eight years and I’m kind of done living in a kid proofed house. This new kitchen works for the kids, but makes mom very happy.

The pantry, drawers and fridge are all set up much like our old kid-friendly cabinets, having everything they need within their own reach – including the microwave where they heat up their own oatmeal, hot chocolate, cheese quesadillas, spinach pizza snacks, popcorn and more. The countertop height stools (from World Market) swivel to adjust the height, so from adults to three year-0lds, everyone can sit at the right height for them. There is also a child size table in the mudroom that get’s used a lot as well.

When we moved into our house I cut out a picture of a galley style family friendly kitchen featured in Cookie magazine. Their was a seating area and big doors leading to the backyard. I loved the concept so much that I held on to the photo for longer than the magazine stayed in print.

When it came time to hammering out the details with our contractors at Clinch River Custom Builder, I knew exactly the layout I wanted and the details that were important to me. I made all the decisions while my husband was at work and we didn’t have any professional designer help.

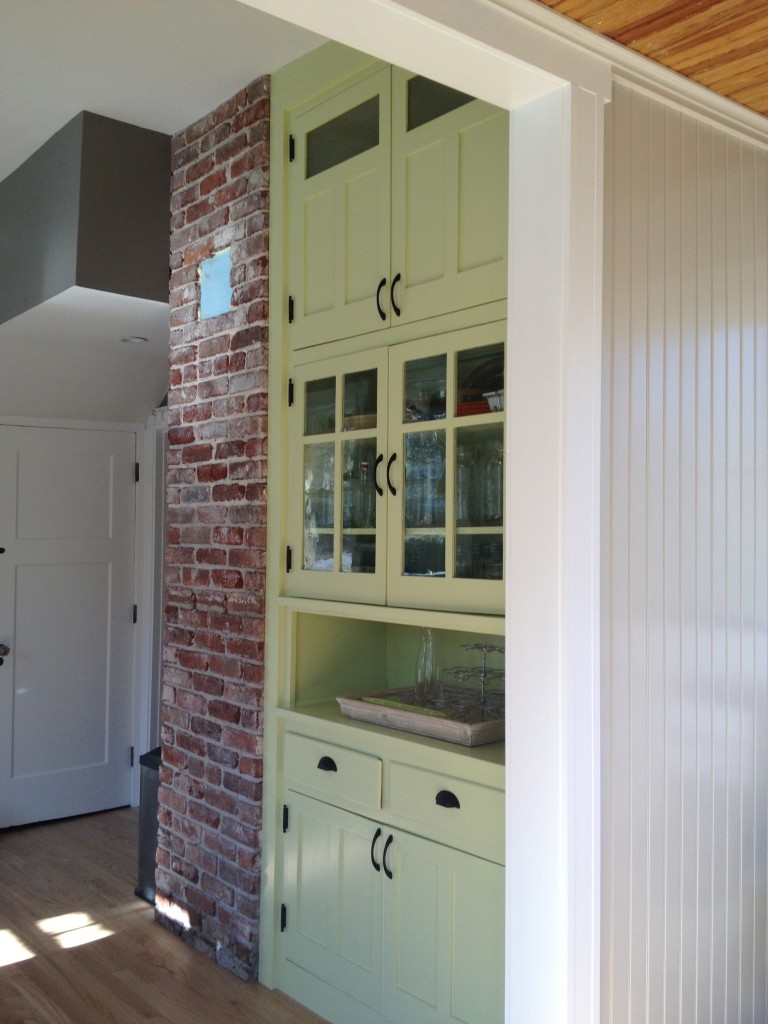
We put in custom hand built cabinets to match the one bank of cabinets that was original to the house, and countertops that are period correct to the house. We decided on soapstone opposed to the marble that I researched by visiting the Tennessee Marble Company headquarters. The old screened in porch was enclosed as a mudroom and opened up as part of the kitchen. All the windows and oak entrance door were custom made, by hand, to match the original windows of house. The kitchen’s original built cabinet was stripped and painted green.

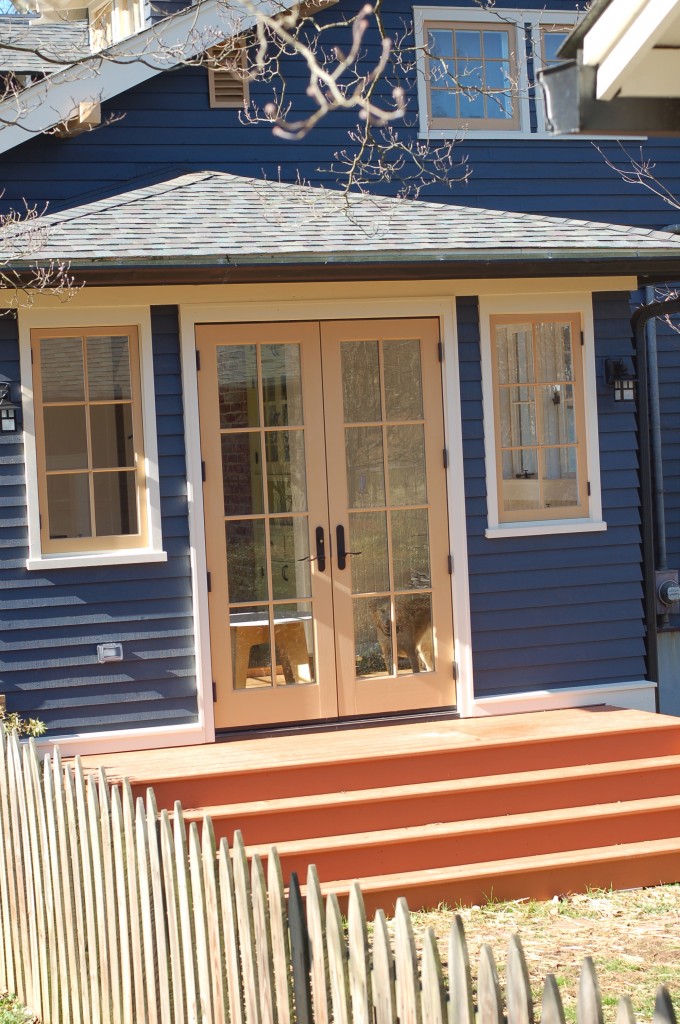
There are french doors with stairs that go directly into the backyard for the kids (and dog) to run and play inside and outside as they wish. We kept our seven year old GE Profile appliances and range hood because they worked just fine. We did get a new refrigerator with two freezer drawers that is a 24″ counter depth unit, to add to the sleek built in look. The chimney was exposed and the exhaust hole from the original wood burning stove (used to cook on back in 1919) was sealed up – I’m still looking for some artwork to cover the blue foam board.

This is outside the mudroom, leading to the backyard. And the backdoor off the sidewalk with a shot of the garage and the coordinating oak carriage doors – also built by our contrators. Fancy landscaping is still desired, hopefully before another seven years!
Filed Under: Family, Renovations Tagged With: Clinch River Custom Builders, Cookie magazine, craftsman style kitchen remodel, family friendly kitchen, galley style kitchen, kid friendly kitchen, soapstone countertops

posted on November 28, 2012 by Rebecca Simmons

Tips for taking professional photos with kids

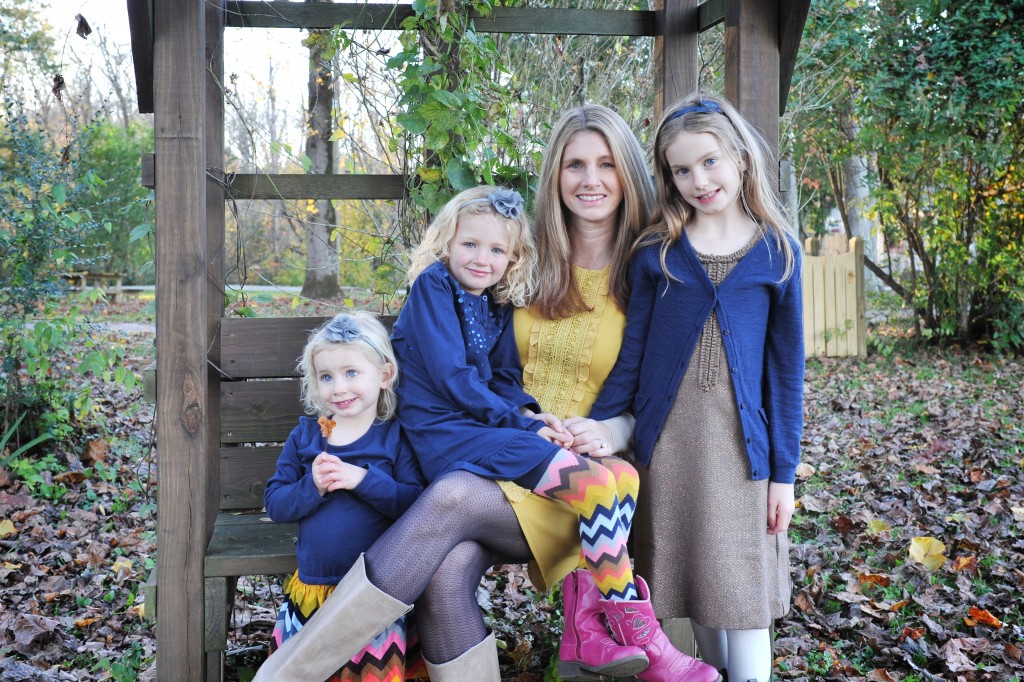
Getting heirloom quality, Christmas card like photographs of children with smiley faces is no easy task. As a mom I’ve learned what works best for us, and I asked our family’s photographer to share some advice as well.

We have our family pictures done every year by a local photographer, Lori Anderson of Simply Southern Photography. Sometimes we’ve had them done twice a year, when there were pregnancies and new babies.

We’ve been doing this since the fall of 2008. We’ve had times when the girls have fun with it and take some great pictures. But getting them to cooperate always takes a bit of bribery and creative ways to make it fun.

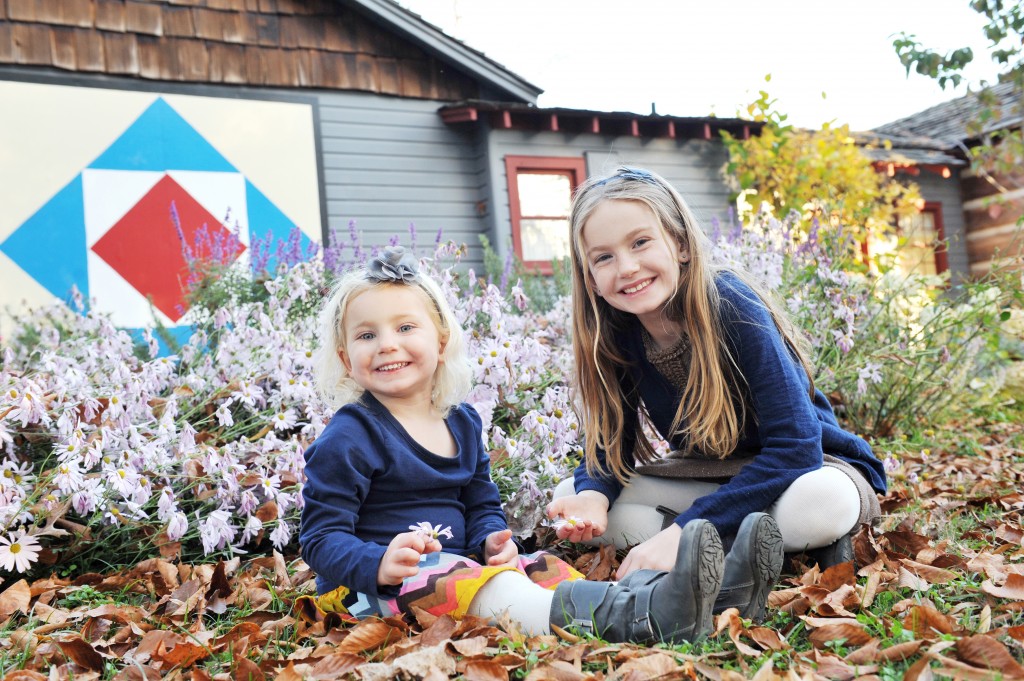
This is my first tip. Choose a place your children will find interesting, where they can be themselves. For us, that means being outside. With the exception of one new baby session, all our photo sessions are done outside.

Once I took my kids to a studio place for photos and the kids’ expression resembled a deer staring into a headlight, while the workers obnoxiously waved stuffed animals in the air behind the camera.

While taking photos of children, our goal is to let the kids be kids, while their photo is being taken and they explore what is around them.

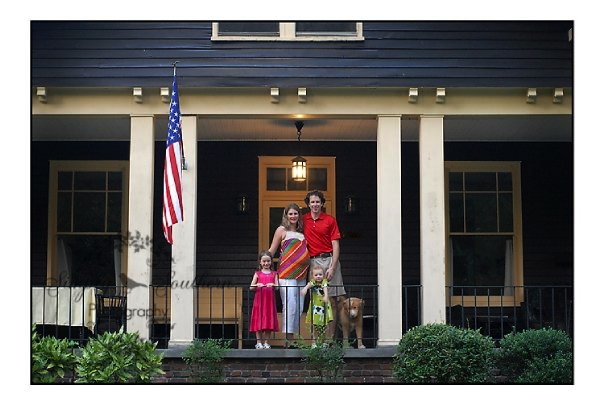
When I was pregnant we did a shoot walking through our neighborhood, and as the end of session treat we all ran through garden sprinklers as we walked home. The last photo taken was of our family standing on our front porch, soaking wet with the dog.

I loved that day. It was so HOT. But we had a great time and made fun memories.

Secondly, sometimes it pays off t0 let them take a favorite toy along for the photos.

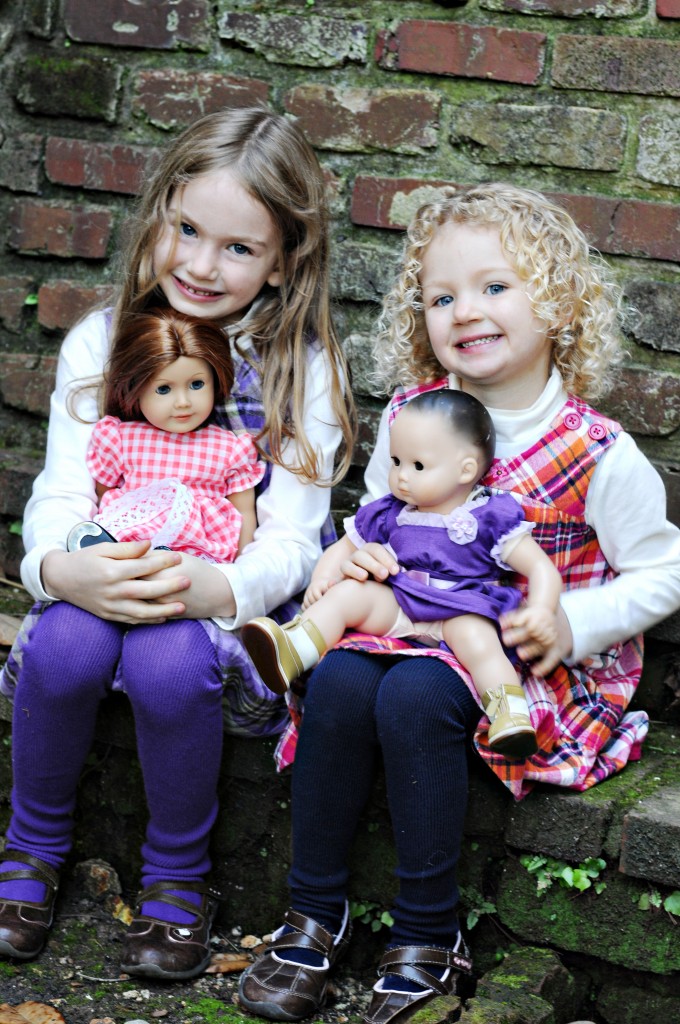
One time the girls brought their dolls with them, which were included in some of our photos. That was a treat and something fun for them.

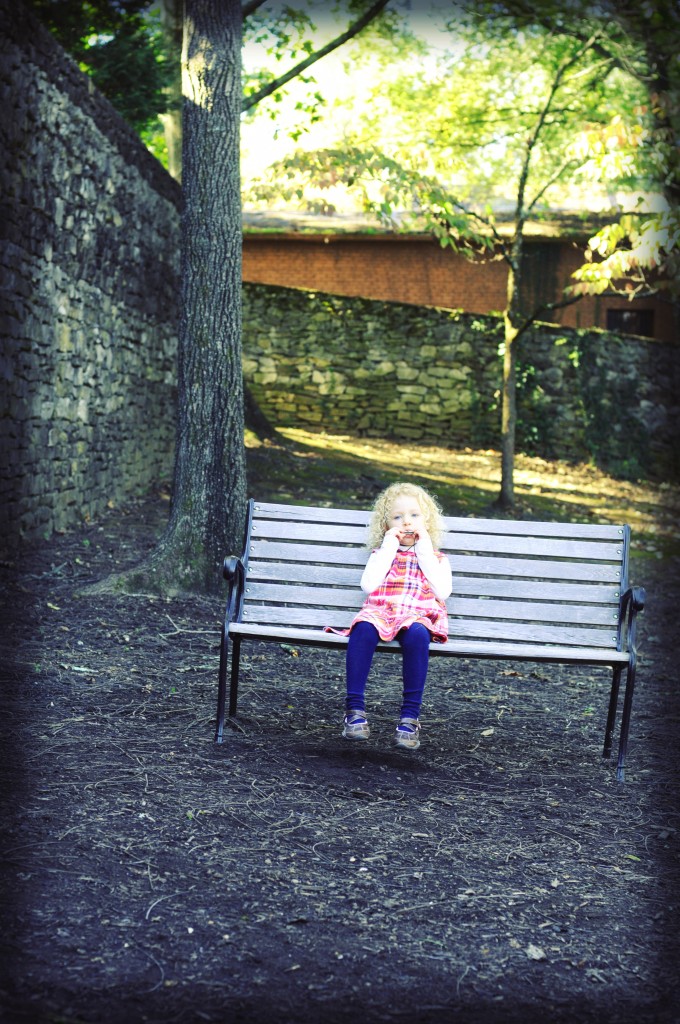
One of my all time favorite pictures of my middle girl was taken from a distance, with her sitting on a park bench playing a mini harmonica that was on her necklace. She was totally in her own little happy world.

That’s when I think you get the best pictures with children, when you go with the flow and let them have fun with the process. Plus you’ll have some photos to remind you of your child’s interests and personality at that age.

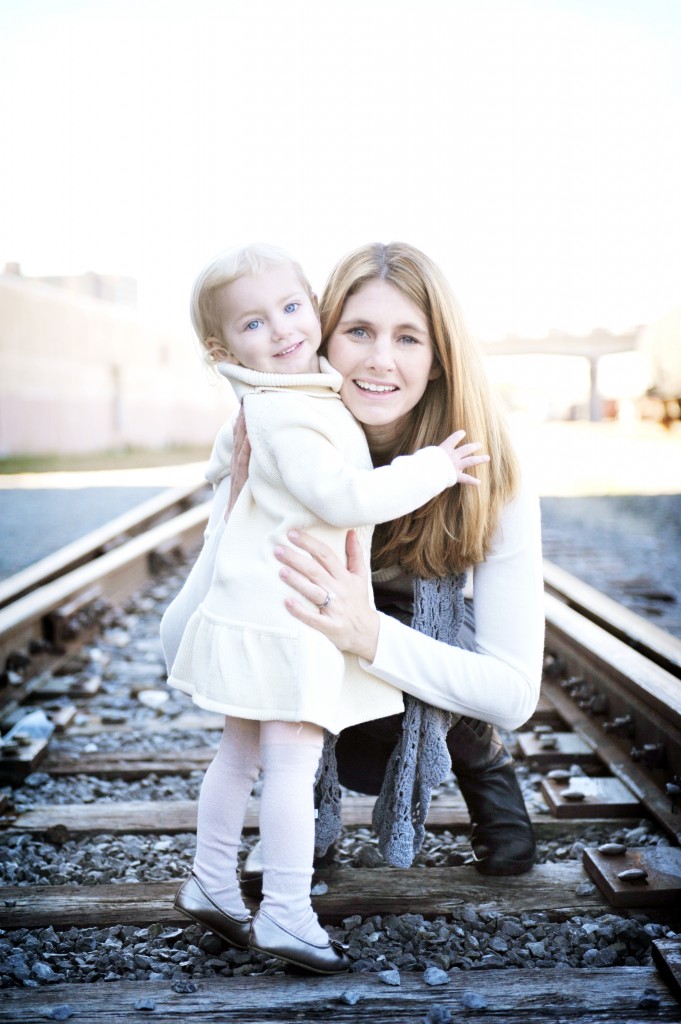
My other favorite session was down in the Old City of our small town where we walked on railroads and through rustic rundown train depots. There was so much for the girls to explore that they had never seen before, that they cooperated so well and Lori was able to get some amazing shots. I loved the artistic value to those.

My third speak-from-experience tip is to consult your children about their outfits. In the beginning days it’s nice to dress them how we see cute. But as they get older, they want to display their own style. And naturally, if they approve of their clothing they’ll be more apt to approve of having their picture taken.

My middle girl blindsided me with that one during our most recent photo session. She wanted her hair in a ponytail and I said no I wanted it down. She wished her tights didn’t match her younger sister’s dress and she would have preferred the headband I bought for my oldest girl instead. Can you say middle child???

As a result, the whole session was a struggle with her. I learned my lesson the hard way on that one.

The forth is, don’t attempt a long photo session with a change of outfit. My girls are usually done taking photos after about thirty minutes – and sometimes much less. Lori offers 30-minute mini session for a fixed price where you get a CD of all the photos. I think more photographers should offer this. It’s perfectly kid friendly.

Fifth, schedule photos for a time of day that is a good for your kids. Earlier in the day works best for us, before little ones naps get missed, and children approach the cranky dinnertime hours. For the older children be mindful of a time before they get involved in other play, and don’t want to be interrupted from doing something more fun. Who wants to stop playing in the dirt to go get dressed for photos?

In the appearance department I feel like it’s also worth noting – that runny nose seasons are impossible to avoid. So accept that and keep tissues handy. Photos of large sizes show every little detail!

I asked Lori Anderson for some advice on things parents can do when taking professional photos with kids, and this is what she said.

Try not to stress. Be calm, because the kids feel a parent’s stress.

While having boundaries is important, be sure not to over react to a child’s behavior during photos. A child who gets upset and cries for being fussed at is not going to yield good results.

For clothes, keep it simple and comfortable. Children do much better if they are comfortable.

Play it up and make the idea of taking photos seem fun. Look at photos from the last session, in preparation. A great idea is to give little ones a play camera so they are comfortable and know what is going on.

Make sure you work with someone who specializes in kids. Just because they are good at weddings, etc. doesn’t mean they have the patience to work with kids.

Don’t practice “cheese.” It is a bad word! It gives a strange smile.

It is okay to offer a “reward” to the kids. Portraits are very important to a parent and it doesn’t hurt to do that. As long as it’s a small treat, not too over the top or they will come to expect that.

* * * * *

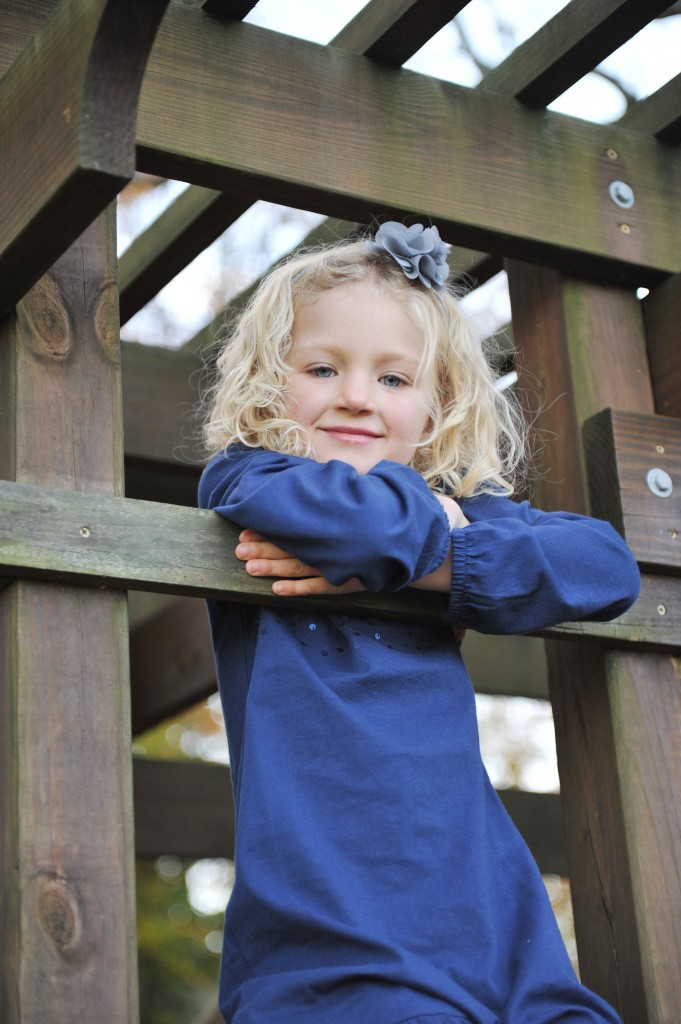
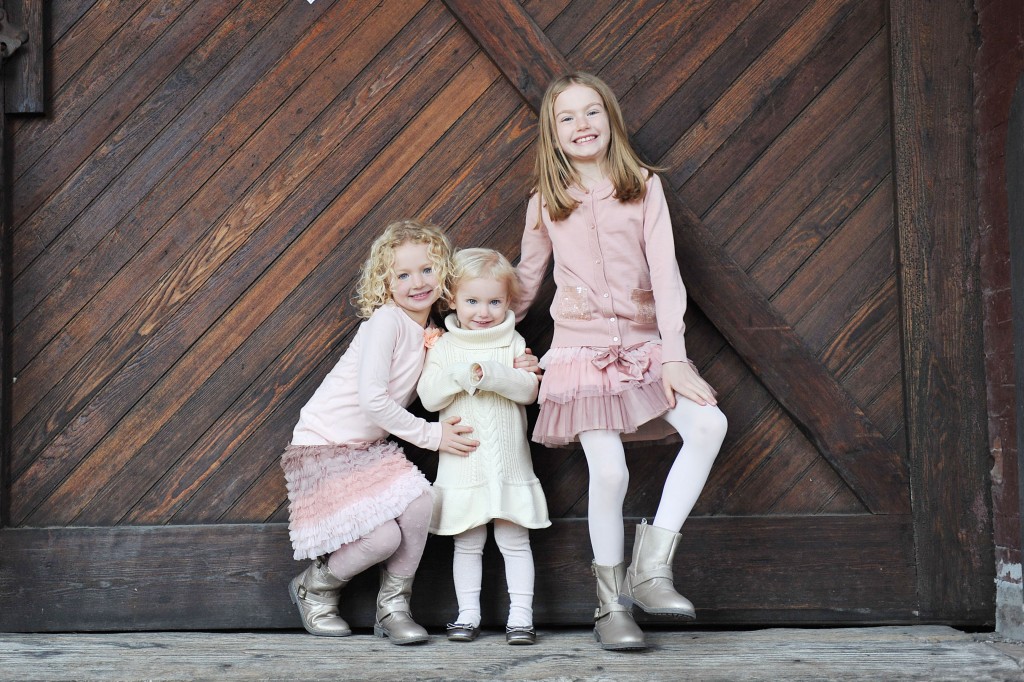
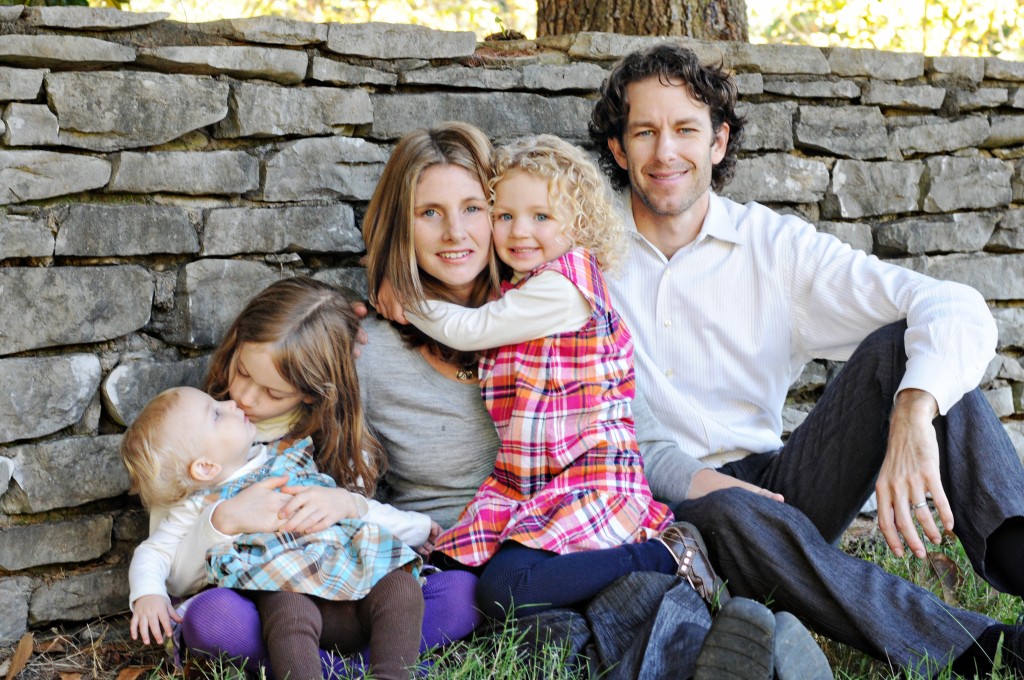
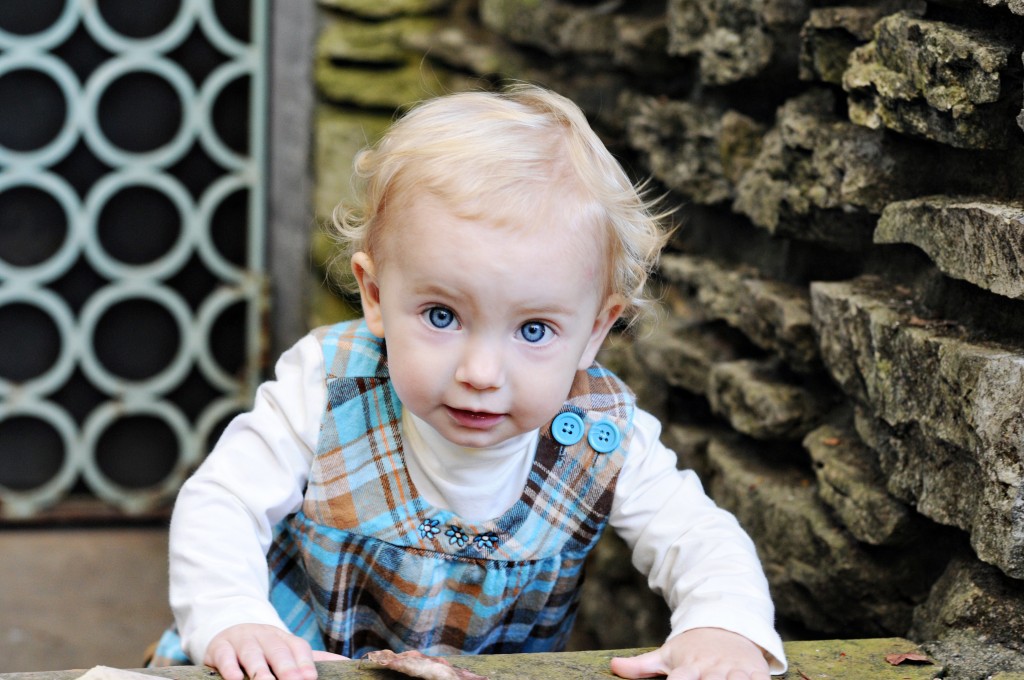
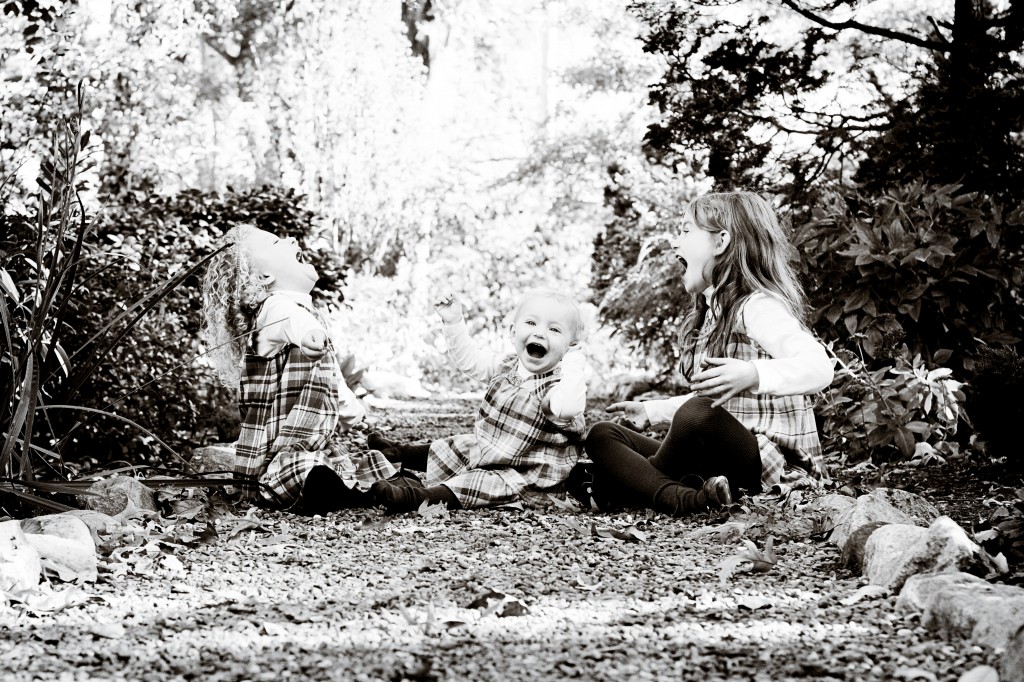
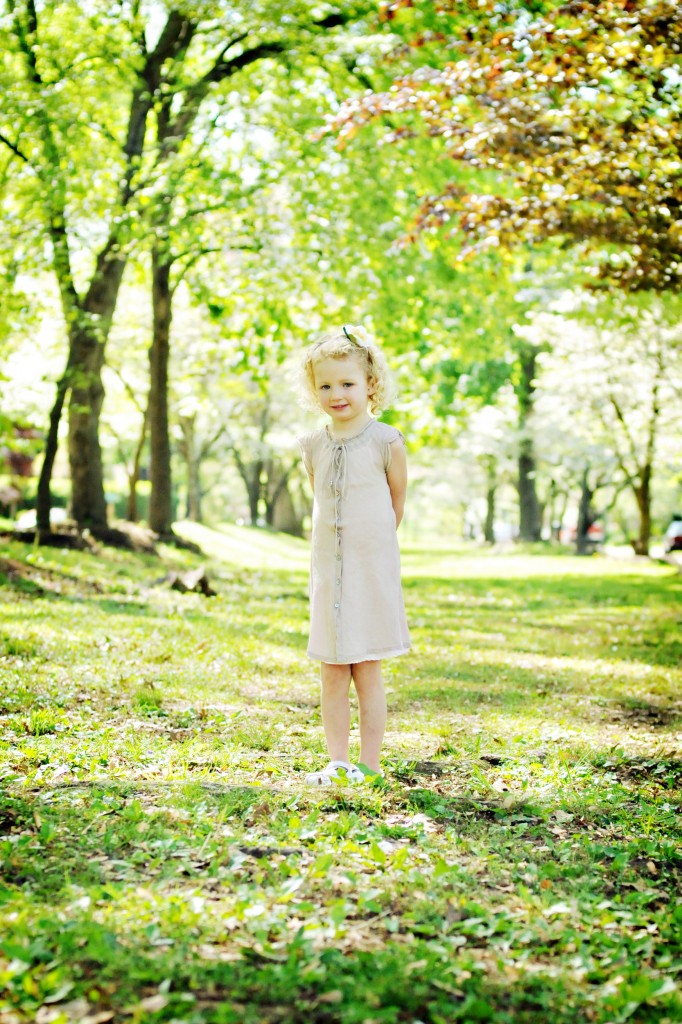
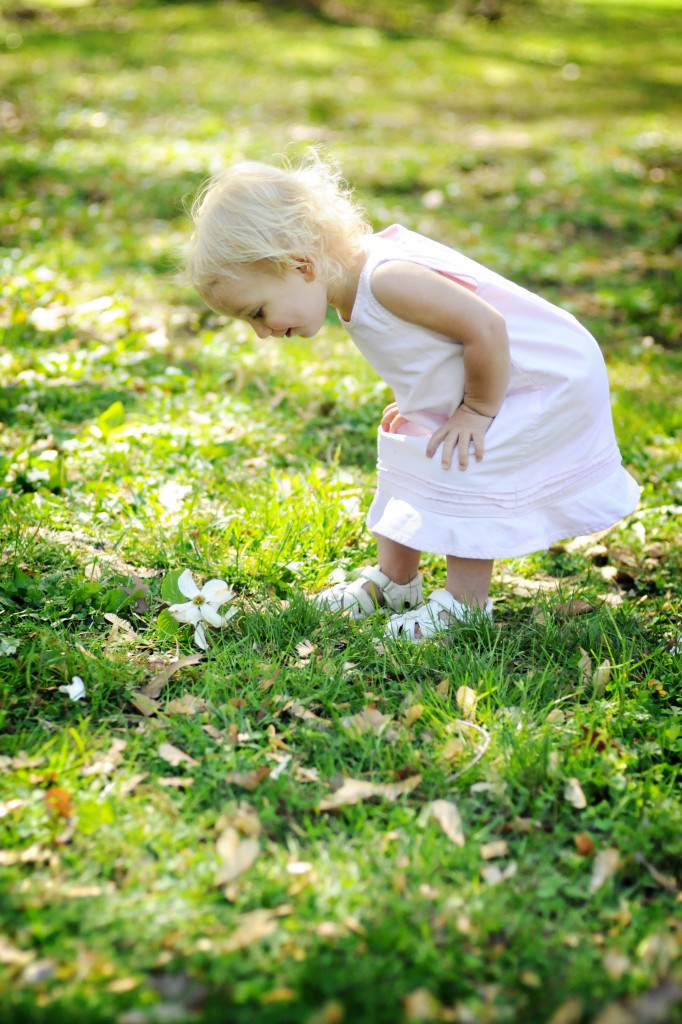
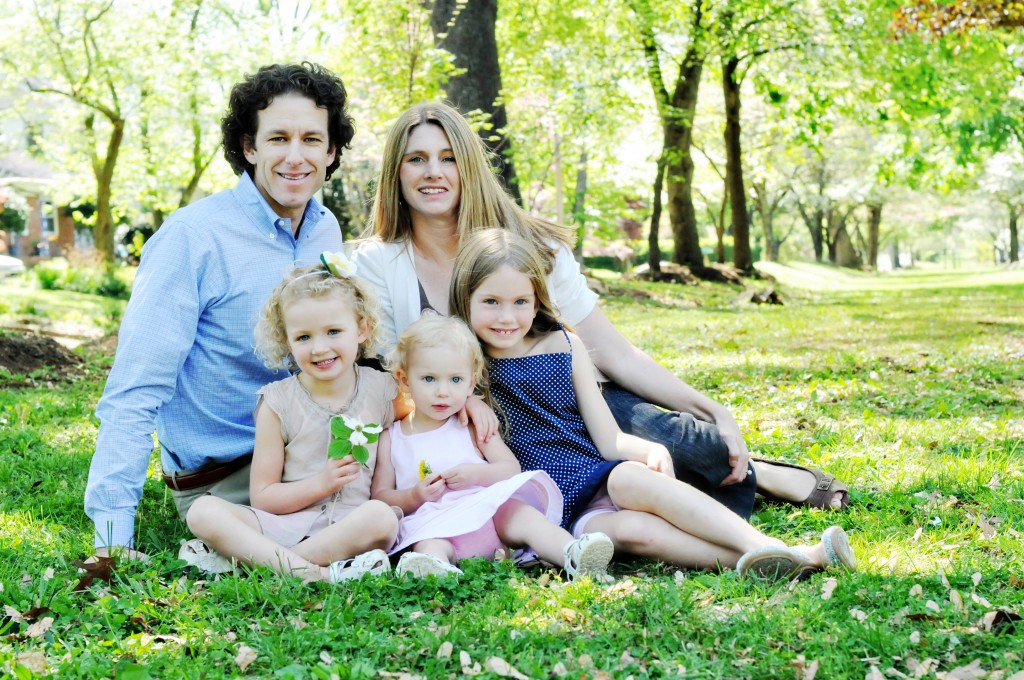
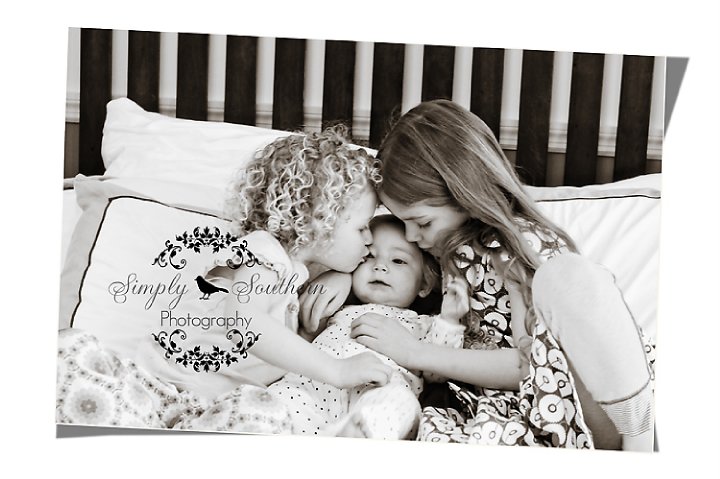
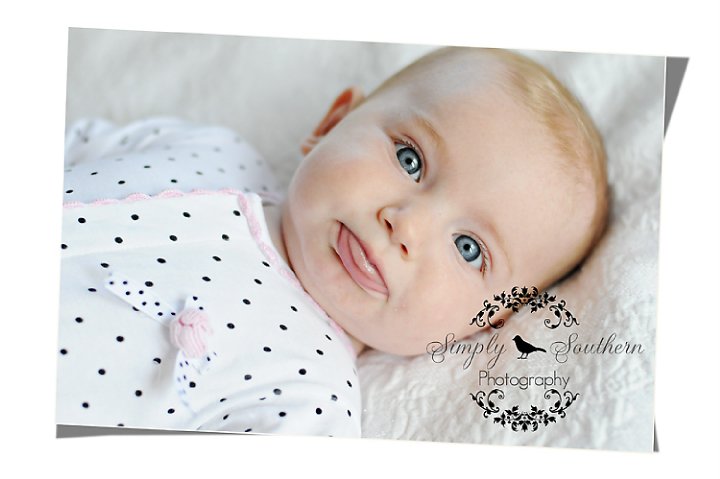
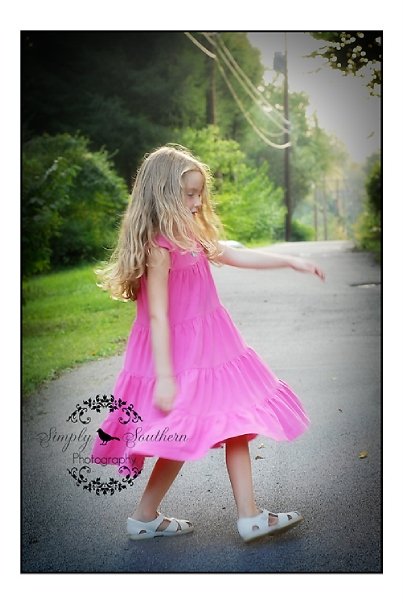
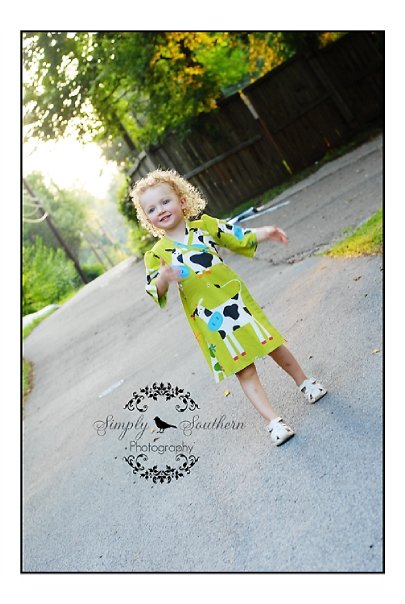
Here’s a little stroll down memory lane, with what turned into a huge list of my favorite pictures taken by Lori. When I think the girls are a mess and nothing good will come from a session, she always surprises me with goodies like these. It is a testament to hiring a good photographer who has patience and savvy to work with kids (Lori even has several of her own)! 

Please use this photo when pinning this post to Pinterest. Thank you kindly! 

Filed Under: Mothering, Tips Tagged With: getting kids to take good photos, Lori Anderson, Simply Southern Photography., tips for photos with kids, tips for taking professional photos with kids

posted on November 22, 2012 by Rebecca Simmons

Happy Thanksgiving!

Thanksgiving is a busy day with us splitting our time between our two separate families, which are two hours away from each other. We choose to do it this way because seeing family always means a lot to people, and we are always glad we did it.

This year one of our dinners will bring together 36 family members! There are second cousins meeting each other for the first time and cousins who seem all grown up since the last time I saw them.
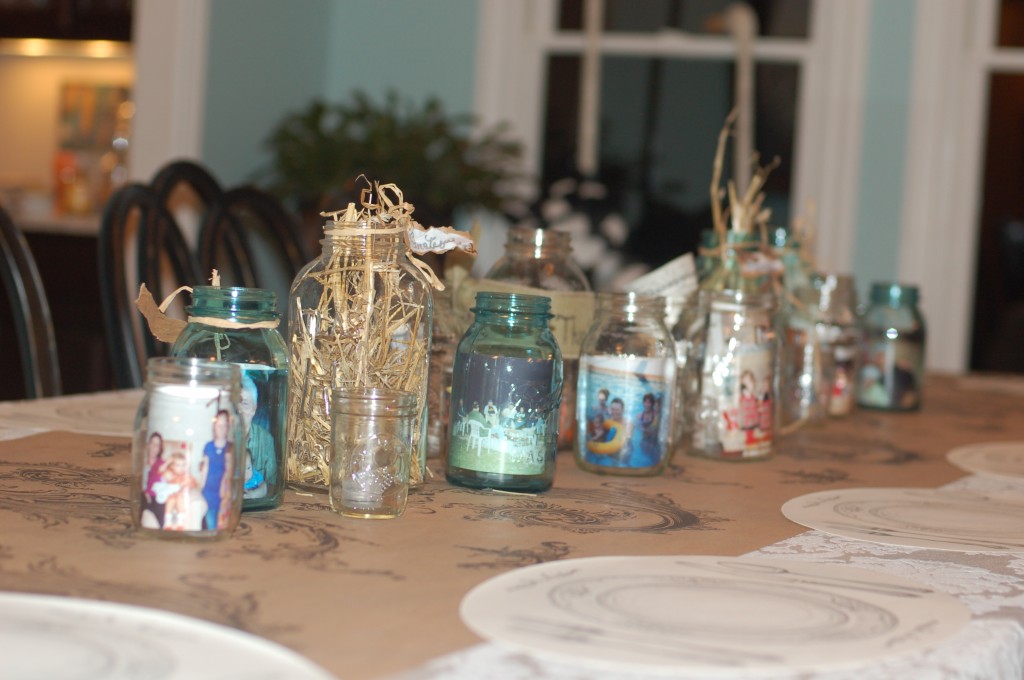
My aunt put together some beautiful table decorations for the adult table. She has a family event planning business called Cork and Copper, where they create and collect beautiful party decor they rent to clients.

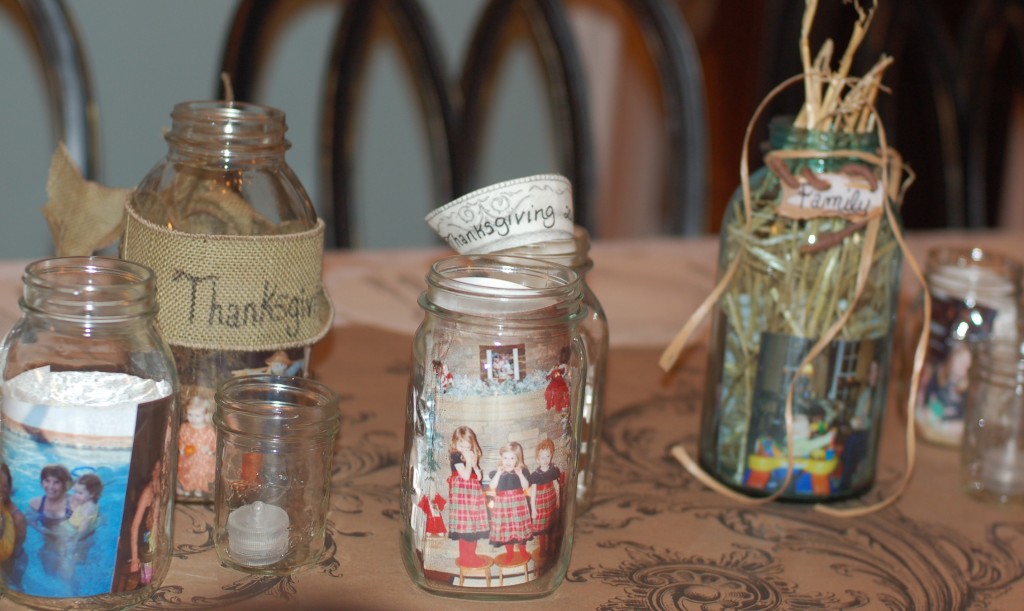
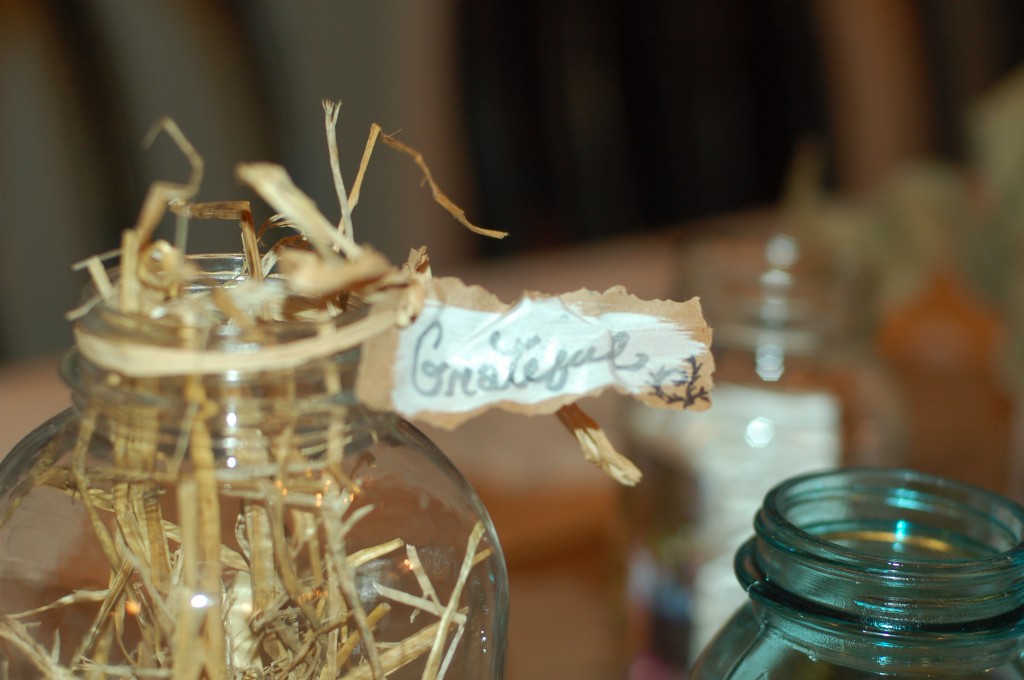
When I saw the table decorations on Wednesday I knew I wanted to share them with you. They are simply a collection of mason jars holding old family photos on display. Some have battery operated tea candles. Others are adorned with additional burlap ribbons, raphia or lettering that was created by painting on a brown paper bag.

Seeing the old family photos is what makes the decoraitons so special, and that there are 36 people from four different states who will be gathered around them. Now that is something to be thankful for!

In addition to this table, their will be a “young adult table” and a “kids table.” I think this is funny because at age 36 and with three kids, I’m still, essentially, sitting at a kid table. I’m totally fine with that.

I just secretly wish I got the kids table where we can draw on the table cloth. I’m sure I’ll be joining them at some point anyway, because I always do. And I’m very thankful for that too! As well as having a wonderful life with my splendid little family of girls.

Thank you for letting me share it with you. I’m grateful for this space here, and for every one of you who find your way here. Wether you are celebrating Thanksgiving or just having another ordinary day, I hope it’s a happy one!

Filed Under: Fall, Handmade Tagged With: mason jar photo frames, mason jar table display with old photos

posted on November 19, 2012 by Rebecca Simmons

Hall landing play nook reveal

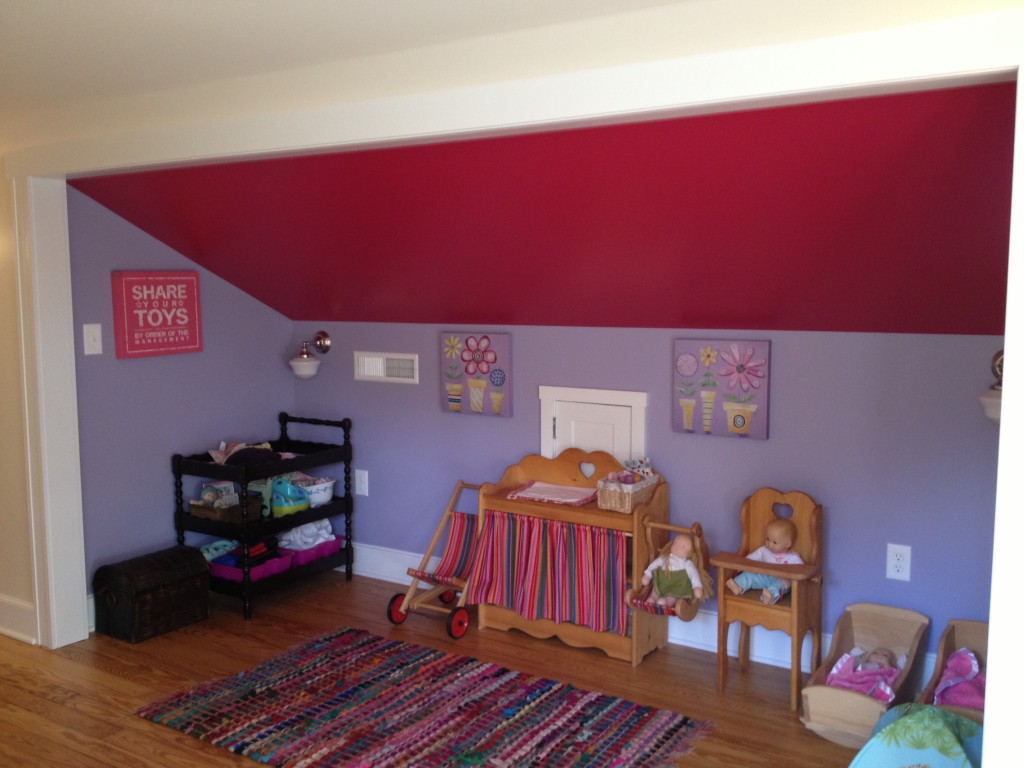
Previous to renovating the upstairs of our house there was a closet at the top of the stairs that had two sliding doors. The girls already liked playing in the closet, using it as a little fort space during the months when it wasn’t too hot to be upstairs.

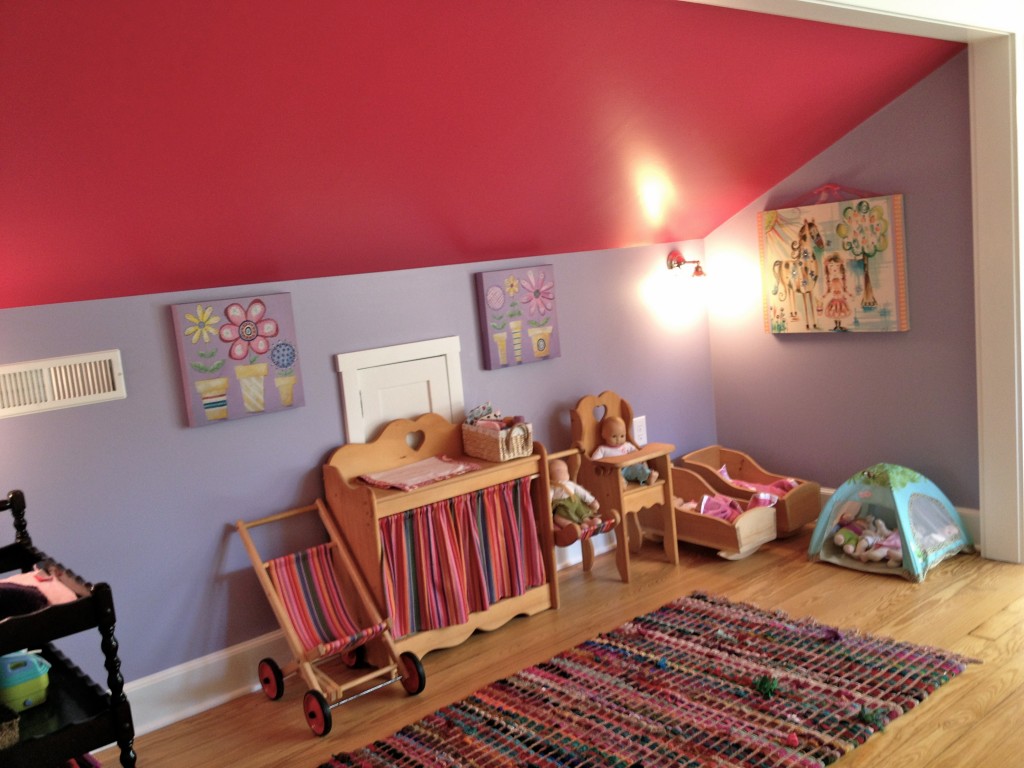
When the walls were torn down we found wasted space on either side of that previous closet space. Immediately, I saw it as a perfect play nook in the hallway, serving as an overflow space for the two girls who are sharing a room. Luckily there was extra pine hardwood flooring in the unused attic part of the house, which was moved to build the floor you see here. Also, the flooring allows for the space to count as added square footage to the house.

Right now it serves as a baby doll play area, and a corner with the doctor cart.

Later I imagine it as a study space, with desks as the girls get older. And like everything else, it will get shifted and recreated with every new phase these girls ring in.  But for now, it’s just perfect the way it is.

Filed Under: Family, Renovations Tagged With: closet play nook, hallway play nook, play nook

posted on November 17, 2012 by Rebecca Simmons

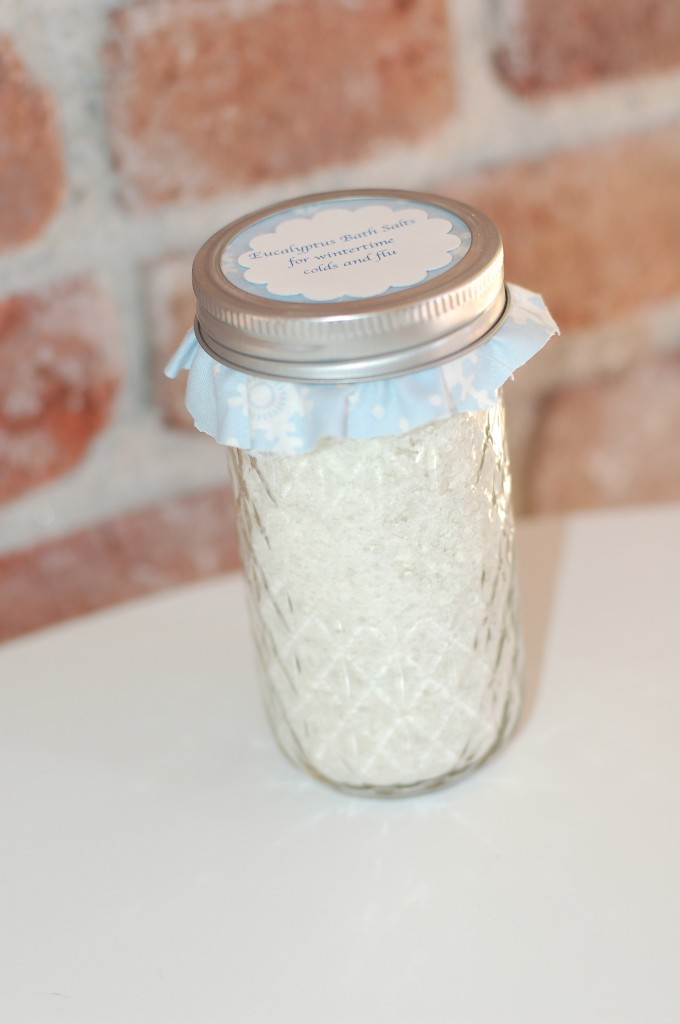
Eucalyptus Bath Salts for wintertime colds and flu

Homemade eucalyptus bath salts is our family’s go to comfort item for wintertime colds and flu. It makes great gifts as well, especially for teachers. Once you have the ingredients on hand, the supplies make a lot of bath salts. Just mix all the ingredients together and store in mason jars.

Eucalyptus Bath Salts for wintertime colds and flu 

1 cup baking soda

1 cup dry milk

2 cups Epsom salts

2 cups dead sea salts

1 tsp. olive oil

15-20 drops of Eucalyptus essential oil

It’s a quick and easy gift to make and the ingredients can be found at local grocery stores. The dead sea salts are bought in bulk, or by the pound, from organic grocery stores. I get mine at Earthfare. The eucalyptus oil can be found there as well. The mason jars are 12 oz. Ball canning jars. I used a scrapbooking punch for the label and fabric to dress up the jar. Scrapbooking paper can be cut and added to the top of the jar instead, with a bow to pretty it up.

I shared these during a holiday craft making swap over the weekend and they were a big hit. I was introduced to this gift making swap by my friend Melissa at Frugalissa Finds. It was great fun.


Filed Under: Handmade, Winter Crafting Tagged With: eucalyptus bath salts recipe, Frugalissa Finds

posted on November 16, 2012 by Rebecca Simmons

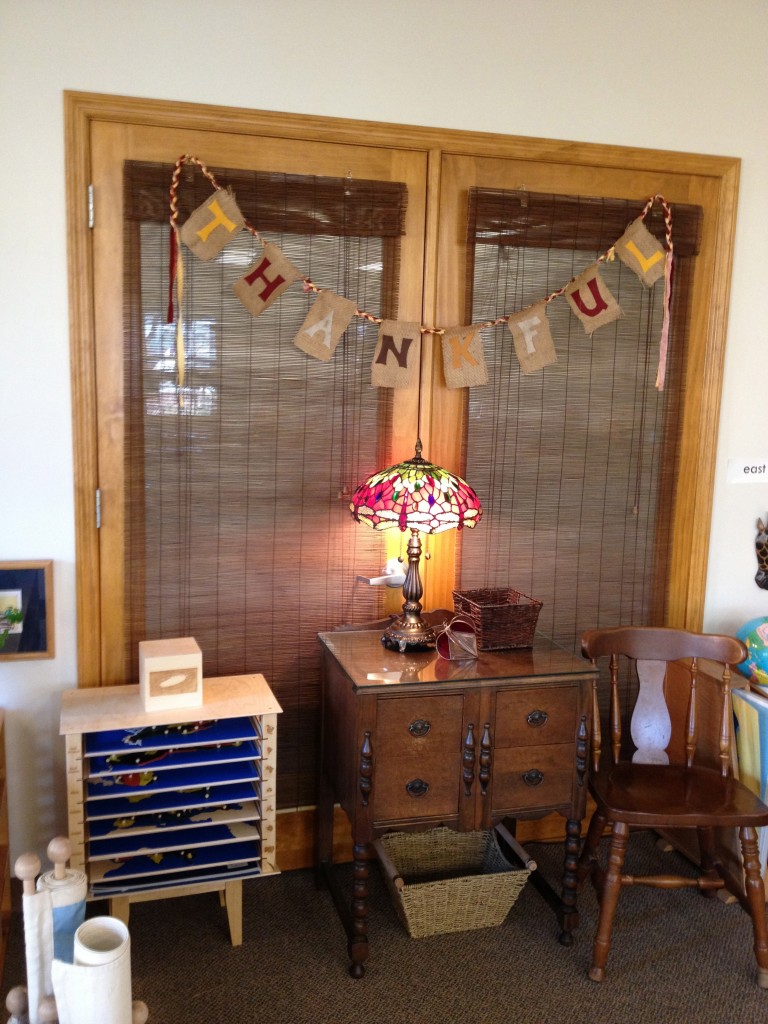
Last minute Thankful banner, for the classroom

There is a giant pile of burlap in my basement that I collected from a random source of authentic South American coffee bean bags. And it sits there, taunting me to make things with it. I have a thing for banners. I just love them. And I have a thing for burlap. I just want to make stuff with it.

So here we have, a last minute Thankful banner made from felt, scrap fabrics braided together as rope and …. burlap.  It was just one of those things I felt like I needed to make. I needed to get my hands on something crafty, draw out letters, cut fabric and sew — there was just something therapeutic about it. The music was cranked up. And for 90 minutes I started with an idea and ended with something I myself was thankful for – that quick opportunity to start and finish something.

The girls were at school so it was uninterrupted bliss, sitting in my kitchen with the sunlight pouring down on me. The piles of life, here and there scattered around the house, sat still. Being ignored.

The banner ended up finding a home hanging up in my middle daughter’s classroom, as a decoration for their Thanksgiving parent breakfast. It was a perfect place.

I am very thankful for the enriching and loving experience my children gain at school, and then for every second after school when I am so happy to scoop them up into my arms and heart.  I’m thankful for the times my girls spend there, and even more so for the times I miss them which makes me love them even more.

I love that my homemade banner hangs in my daughter’s classroom, serving her with a little reminder from home, and a piece of me. And then, when my toddler enters that class next year she too will enjoy it hanging there during this thankful season, for the three years she’ll enjoy this very same classroom with the very same teachers.

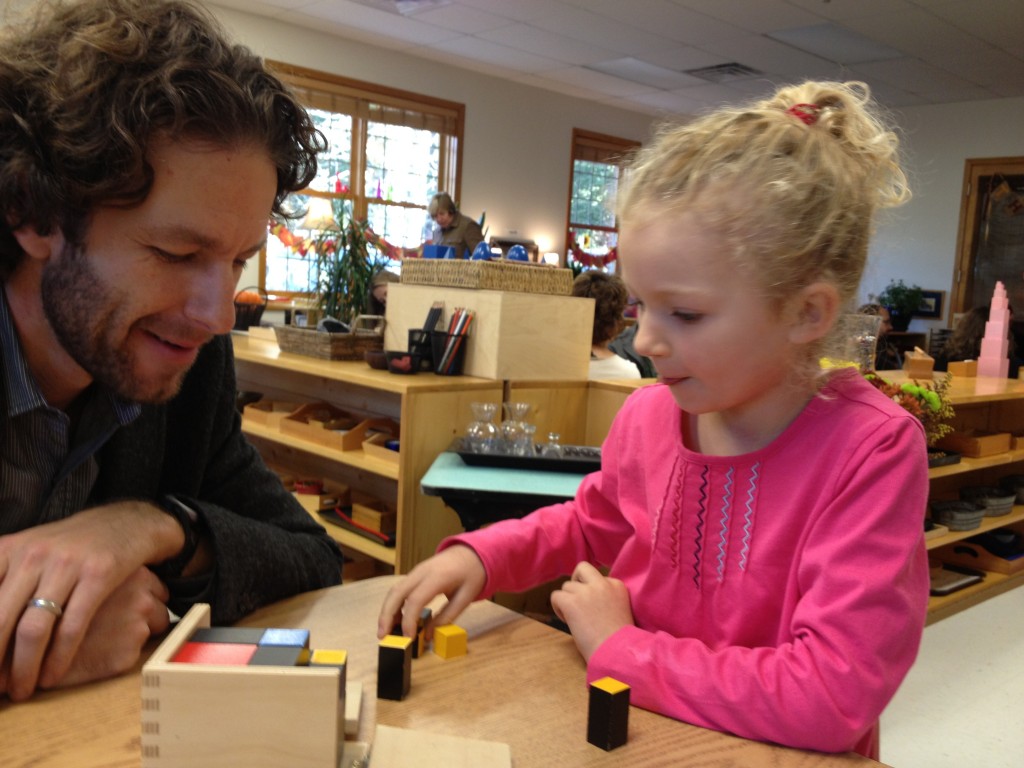
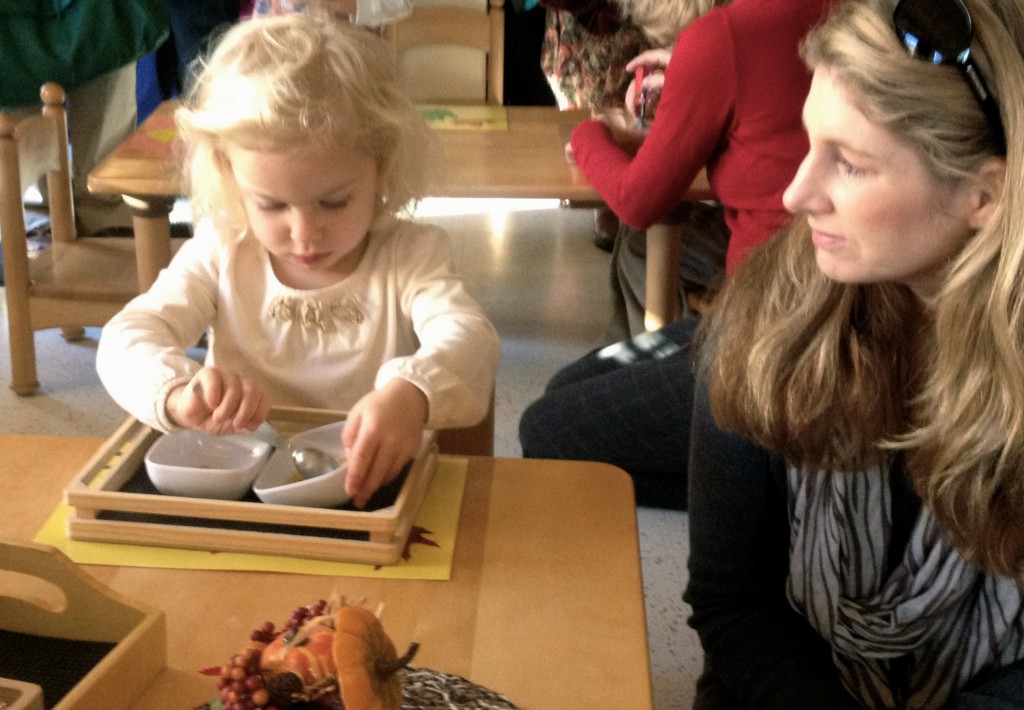
Since it was a parent breakfast, and that I should be including myself in more of life’s pictures with my daughters, here are some parent shots of my girls choosing lessons at their Thanksgiving breakfasts. My oldest daughter’s Thanksgiving event is next week, where the students bake deserts for the parents and invite us into their classroom. I can’t wait!

Filed Under: Fall, Montessori Tagged With: montessori, Thankful banner

posted on November 12, 2012 by Rebecca Simmons

For now on they will pack their own lunches

In passing, the 10-year-old spending the afternoon at our house slipped into the conversation, “when I pack my lunch.”  I had to ask, does she packs her own lunch every day? The answer was yes.

Her mom told me their kids starting being responsible for packing their own lunches when they started going to school. Her daughter, and her teenage son, also take weekly turns doing the family’s laundry.

Errrk. Hold up! What am I doing wrong over here????

Both parents in their household work, the mom travels a lot, and so the kids naturally fend for themselves more often. And in this case, I think it’s a really good thing.

Thinking about this, I realized I do way too much for my children. I know from the Montessori standpoint what children can do for themselves, starting as toddlers. But I must admit – It takes SOOOO much longer that way. And the younger the children, the more steps you have to take to prepare the environment for small children to successfully do things themselves.

In the long run I know it is better this way.

That’s why in our new kitchen the girls will be packing their own lunches, the night before school, just after dinner.

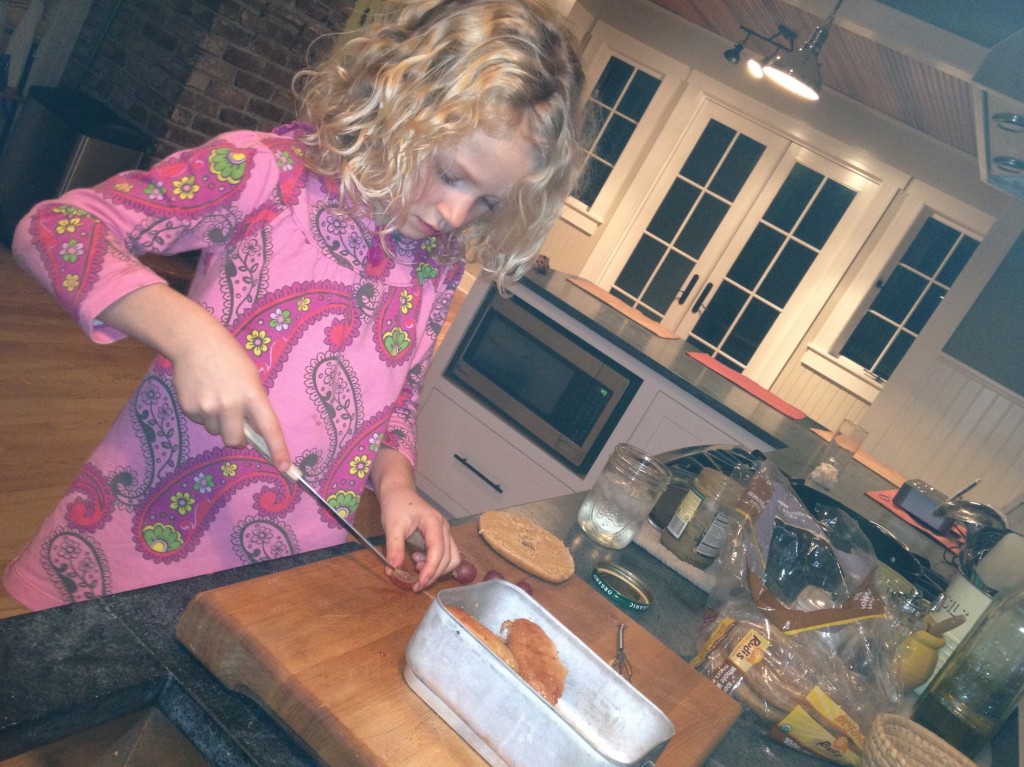
My  8 year old was so excited Sunday night that she had her lunch packed before I finished my dinner. She packed her favorite hummus wraps, whole wheat flat bagels with cream cheese, and grapes. She asked me if that was a healthy lunch. We talked about having a grain, a protein, a fruit and a vegetable. Per our short conversation, she wrote her own guide on how to pack a good lunch and made a note to include carrots next time.

My 6 year old was eager to pack her lunch too. I stood by, making sure she was using the knife properly to cut the seeds out of the grapes, and that she was able to maneuver the apple cutter.

My 3 year old helped too, because she will not miss an opportunity to spread sunflower seed butter (it’s a nut free class due to allergies) on bread.

Adding to the fun of packing their lunches, was the excitement of being in our new kitchen – that we officially moved into this weekend. Consider the photo a sneak peek!

I know every night won’t be that easy, or fun. And we’ll have to bump up our dinnertime, to make time for lunch packing in order to keep a decent bedtime. But I think this new chore is worth it.

And I should admit, packing three lunches a day is not a chore I like doing. So bring on the helpers!
Filed Under: Montessori, Real Food Tagged With: kids packing lunches

posted on November 11, 2012 by Rebecca Simmons

Fighting off colds and fall sickness

These days we’ve found ourselves doing whatever we can to stay well, and avoiding sickness that surrounds this this time of year. For us this means more rest, more afternoons at home, visits to the salt spa, eucalyptus oil in dehumidifiers, lemon and honey tea, vitamin C drinks, antioxidant packed smoothies, my oldest girl waking me up at 5 am to help her do the neti pot, and lots of fresh air.

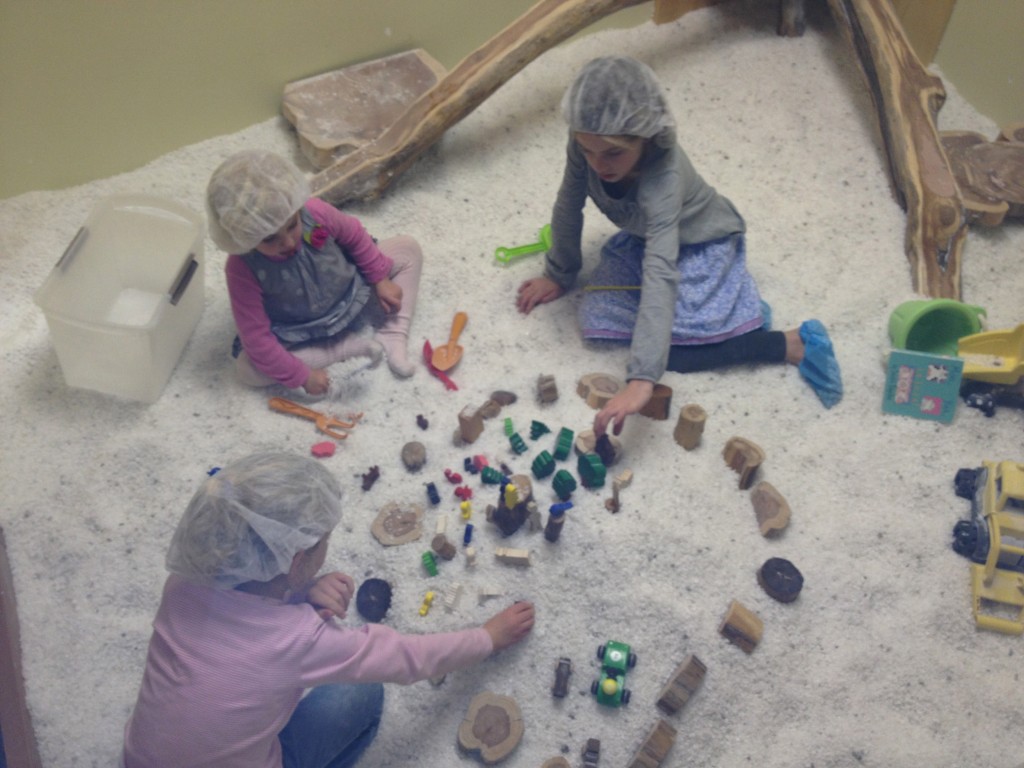
Here is where we spent our Friday evening, and Saturday morning, at  Knoxville’s Salt Spa.

I’ve written about the salt spa before when I detailed some of our favorite natural remedies for alergies in a post this past spring. Lots of the same things apply to fall colds and congestions. Also, here’s the recipe to our Immune Boosting Popsicles, a post on why we don’t get the flu shot, and how we lived to tell about it when we DID get the flu. Tis the season!
So far we have been able to ward off anything more serious, like the several cases of strep throat going around at school. And I hope it stays that way.

How are your kids holding up this fall?

Filed Under: Fall, Family Tagged With: knoxville, Salt Spa

posted on November 9, 2012 by Rebecca Simmons

A Simple Moment

A Simple Moment is a post that appears here every Friday.
A photo I want to remember of a simple moment, with a few simple words.

If you are inspired to do the same, leave a link in the comment section for all to see and read.

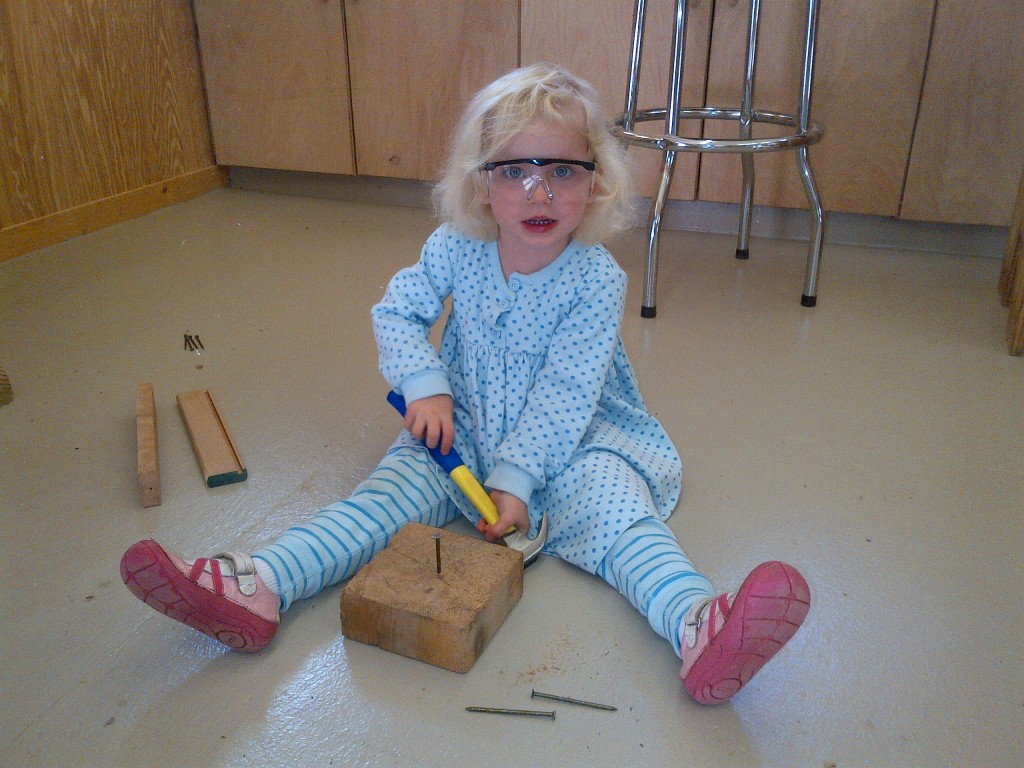
My little girl had her first tool time at Gramps’ Workshop last weekend. I have to say, watching her swing that hammer with such determination and vengeance scared the dickens out me. But as a watchful mom, I did my best to not say a word.

A Simple Moment was inspired by SouleMama. Visit her site to see many more moments.

Filed Under: Simple Moments

posted on November 6, 2012 by Rebecca Simmons

Moms, take your kids and vote!

I make an effort to stay clear from anything political here – it’s just not that kind of platform.  But it’s voting day!! And moms don’t get a break from their kids to go vote.

Yes there is early voting in some states. But I still prefer the hoopla of voting day. It’s exciting to me.

Therefore I wanted to show my support for moms, by saying I have taken my kids with me to vote many, many times. 

There is a post over at The Stir laying out the 411 about taking your kids with you to vote. It never dawned on me that someone might think they are not allowed to take their children with them to vote. It did dawn on me that moms might not want to take their kids with them, and that it might deter them not to vote.

The Stir post brought back some voting memories. Starting eight years ago with my four-week-old baby and the time husband and I took turns going in to vote, with the other one staying in the car. I was a new mom then and the germ factor scared me.

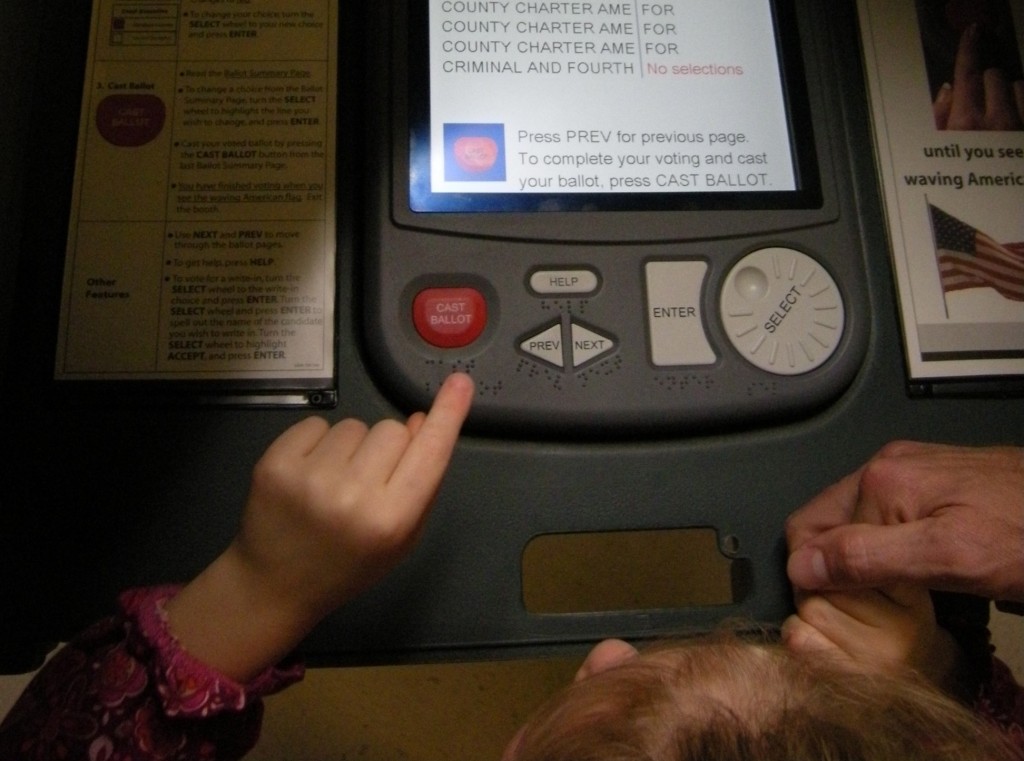
Four years ago my husband and I took that four-year-old, and our two-year-old, voting with us to teach them a lesson and let them each push the big red “cast ballot”  button.

During the last four years I’ve voted alone with a new baby, a toddler and with all three of my kids in tow – like the time they had to stand outside my voting booth because we couldn’t all fit in it together!

My point is – kids grow up, eight years goes by very fast (there is an unintended policial joke in there whichever way you want to swing it), and working the mom job should not stop you from going out to vote. Moms go together, watch each other’s kids, or take them with you – just vote!!!

It’s only one day and it DOES make a difference.

Filed Under: Mothering Tagged With: take your kids to vote, The Stir take your kids to vote, voting with kids

  • « Previous Page
  • 1
  • …
  • 19
  • 20
  • 21
  • 22
  • 23
  • …
  • 47
  • Next Page »

Subscribe


Archives

Copyright © 2025 | Fabricated theme by The Pixelista | Built on the Genesis Framework
[footer_backtotop]