• Home
  • For the Newcomers
  • Iyengar Yoga Classes
  • Freelance Writing
  • Contact and Socials

posted on August 10, 2013 by Rebecca Simmons

Saying goodbye to summer

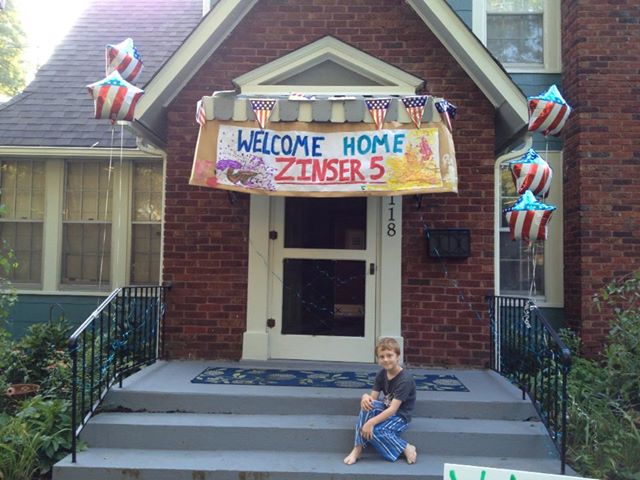
Some of our last days of summer were spent at the beach. I just could not let summer go by without some sand in my toes. In spite of my husband being too busy to take off for a traditional beach trip, I decided I wasn’t was too busy. And I booked a trip I thought I could handle solo with just the girls. In the end, it worked out where he joined us for half of our short four day trip.

It was fun. Too short. And the girls really missed the pristine beaches of the Florida gulf, where we usually go. But I proved that YES I could totally do a trip with just me and the girls. However, the girls really prefer having us all together – daddy included. Which I think is really sweet.

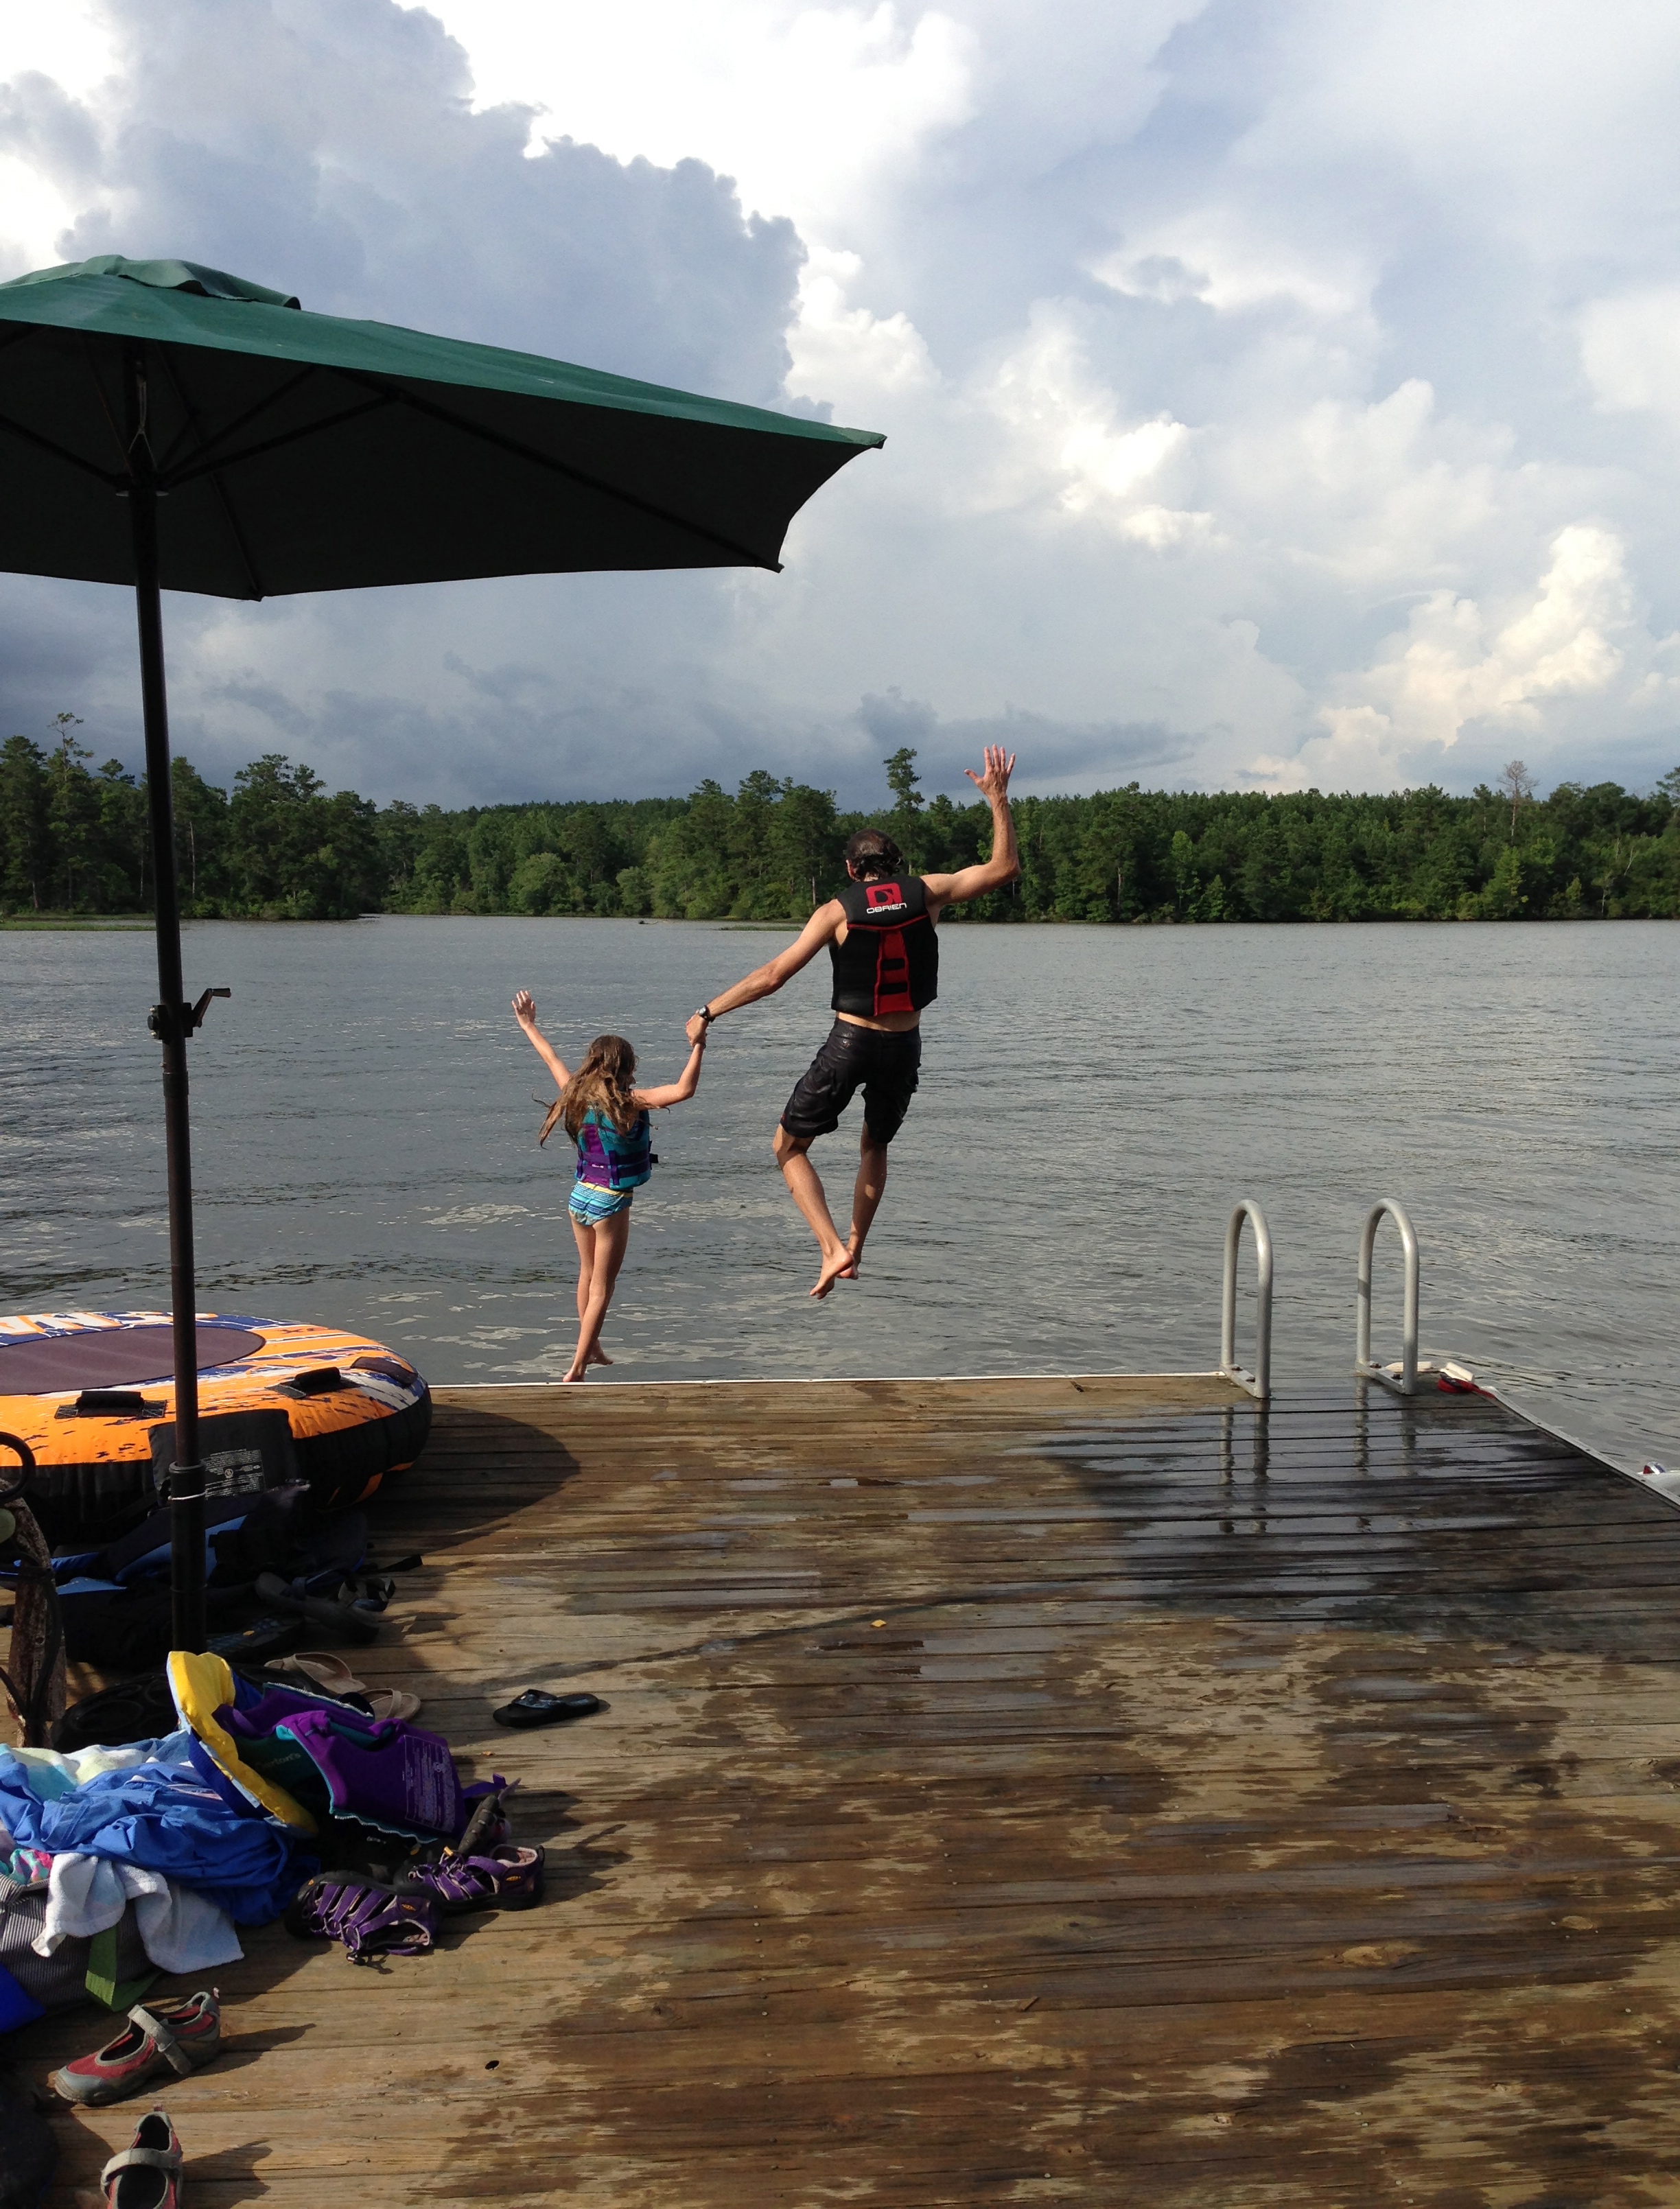
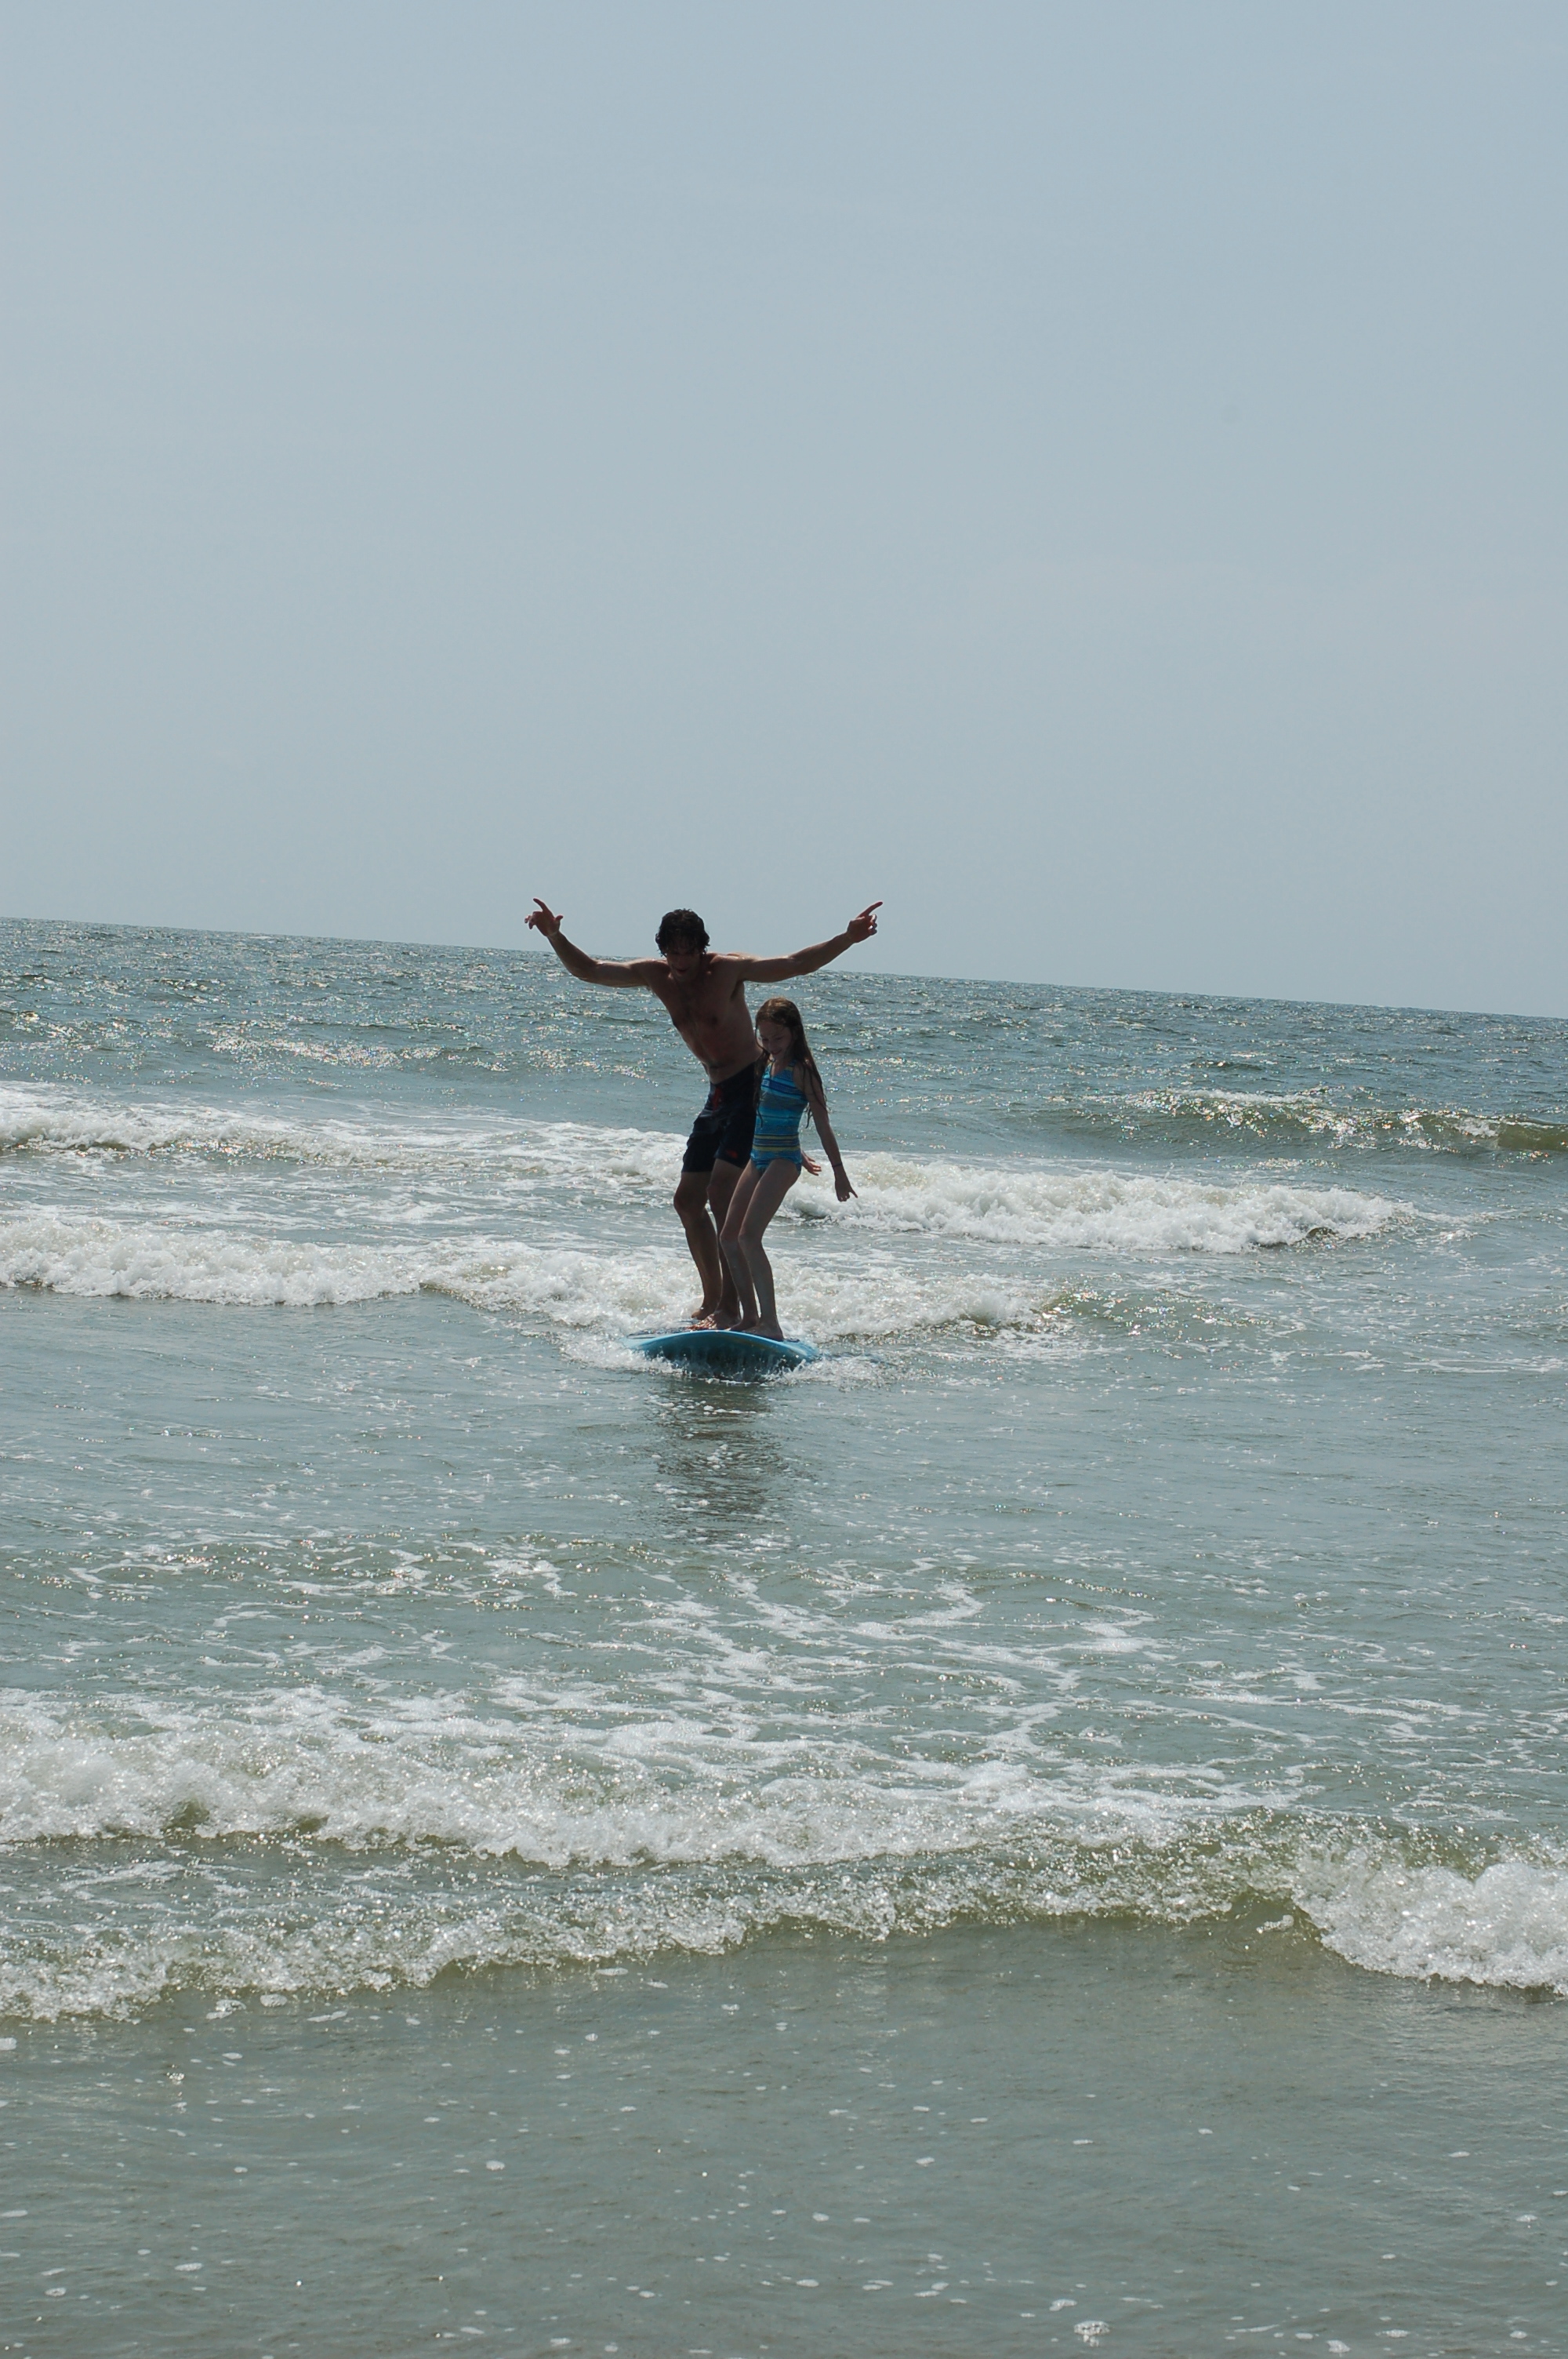
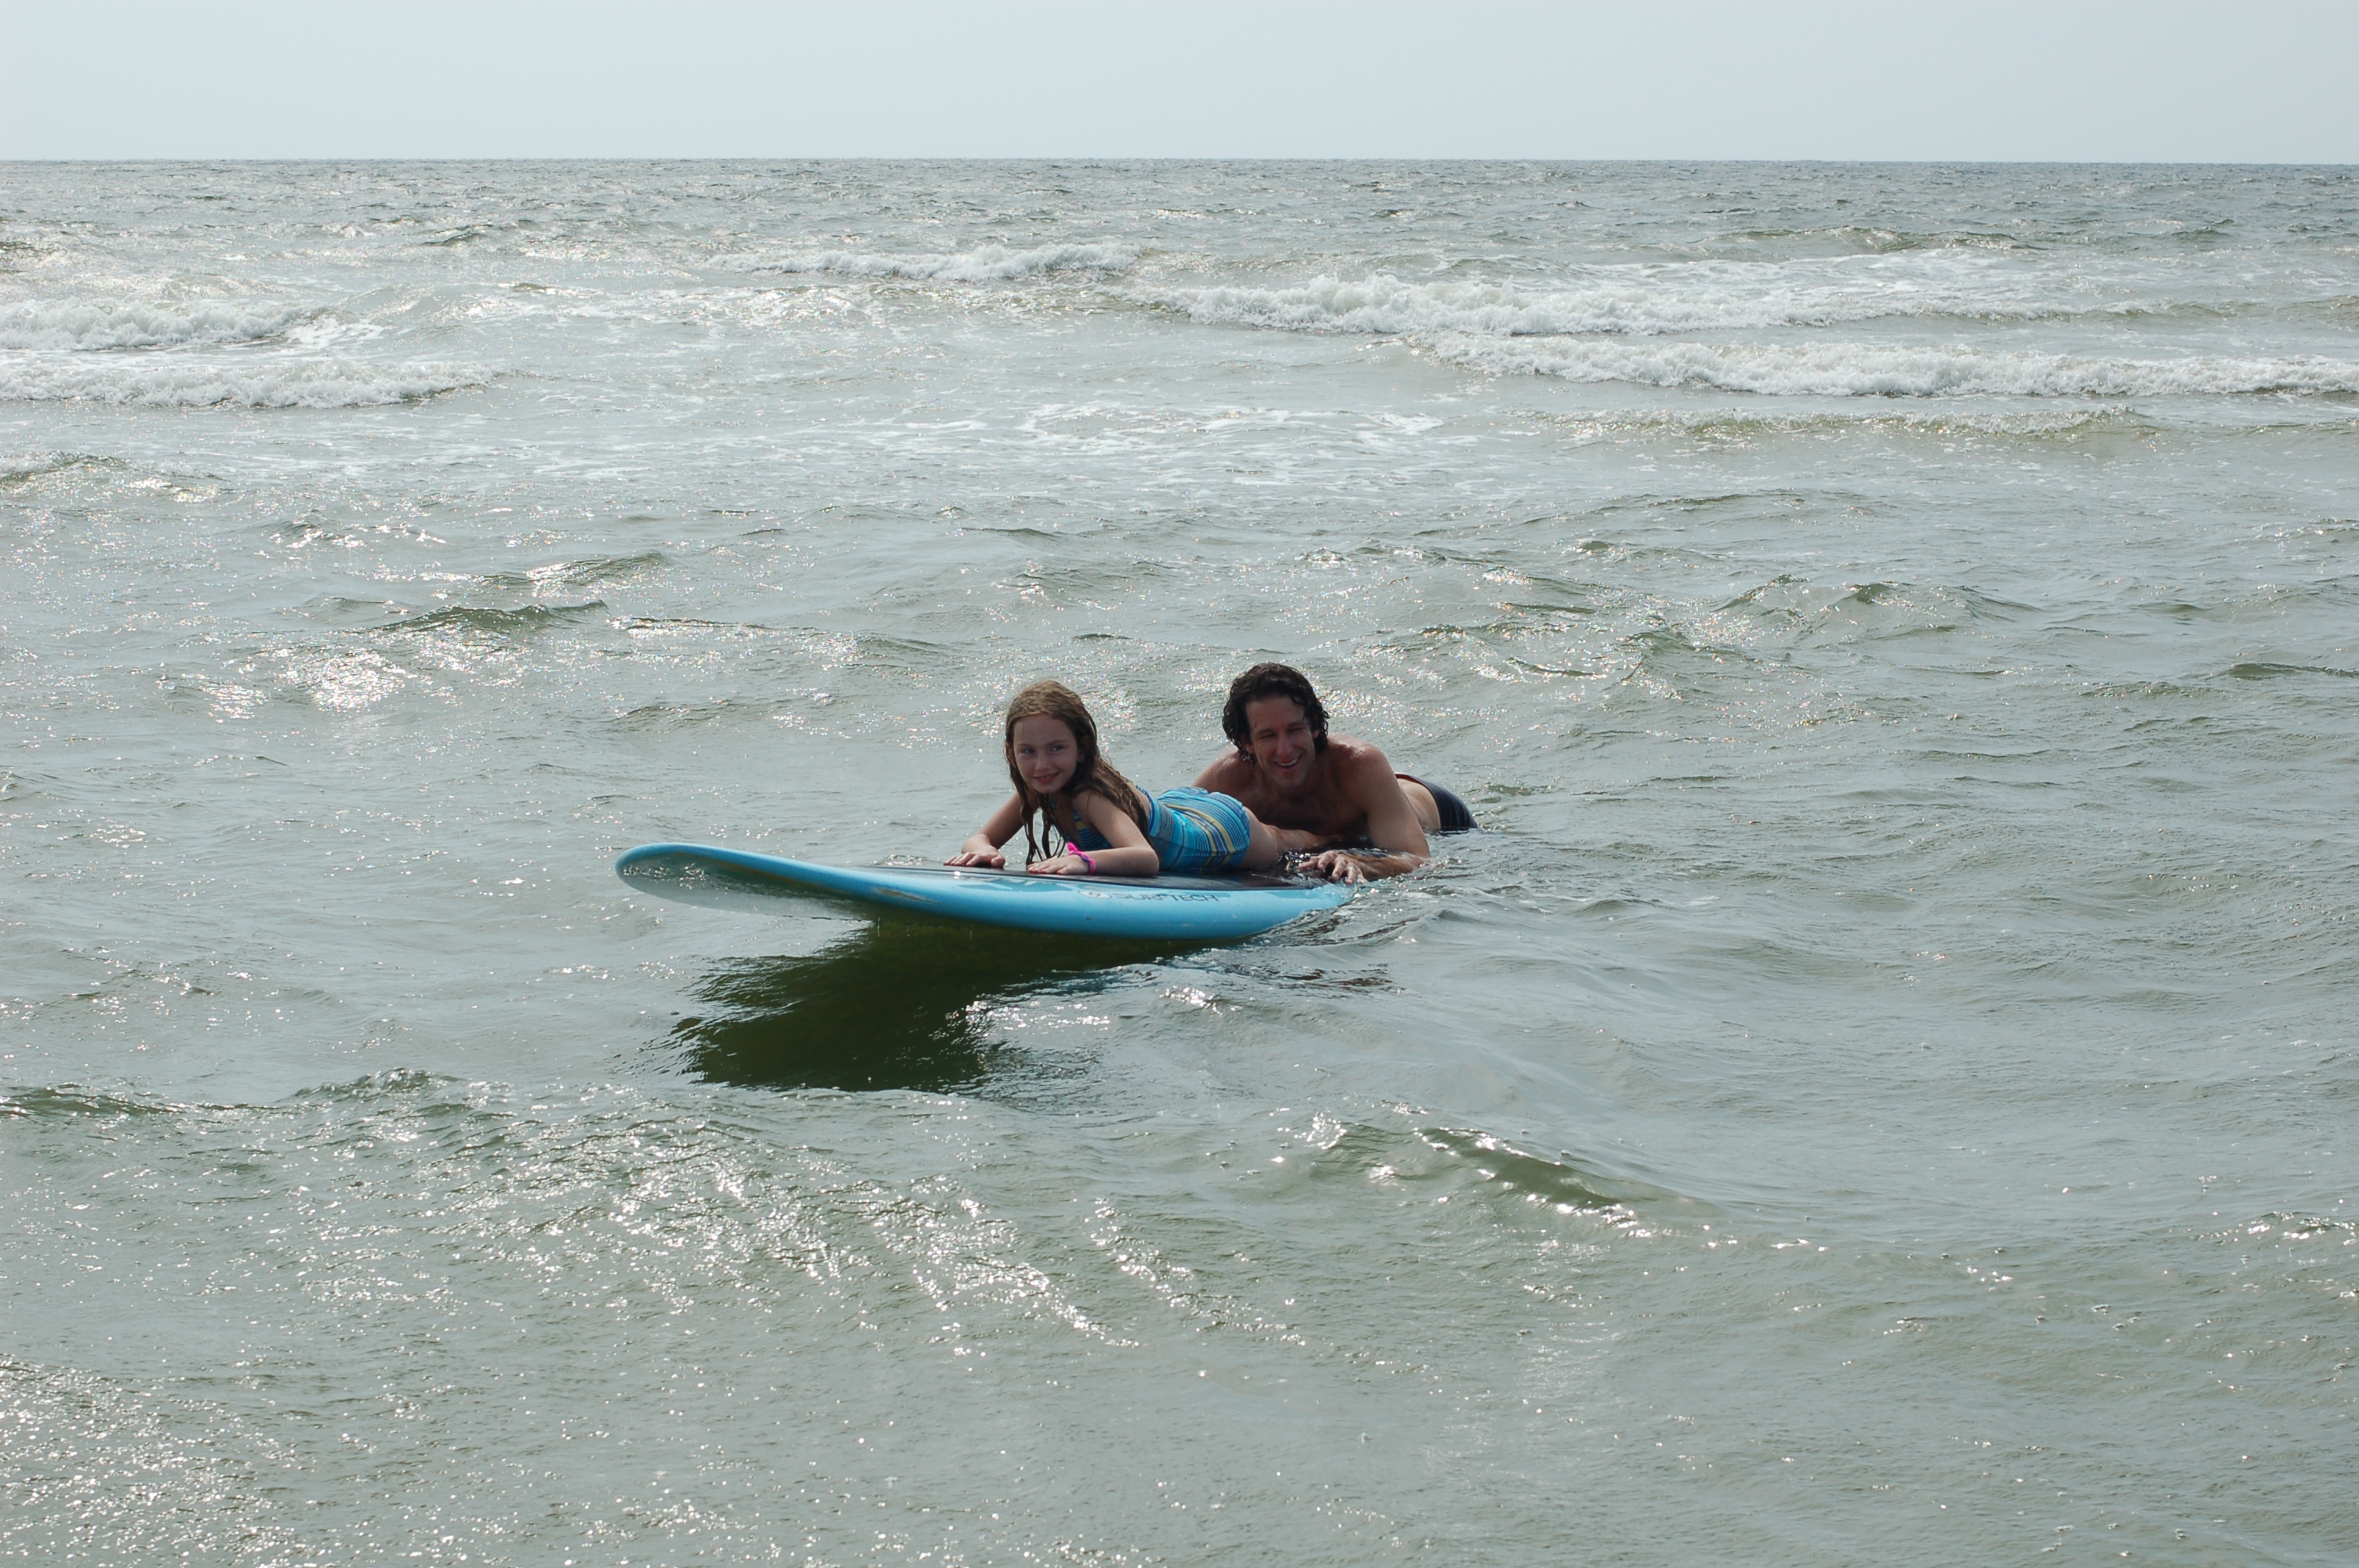
He is, BTW, the fun one who brings the surf board. 

DSC_0283 DSC_0196

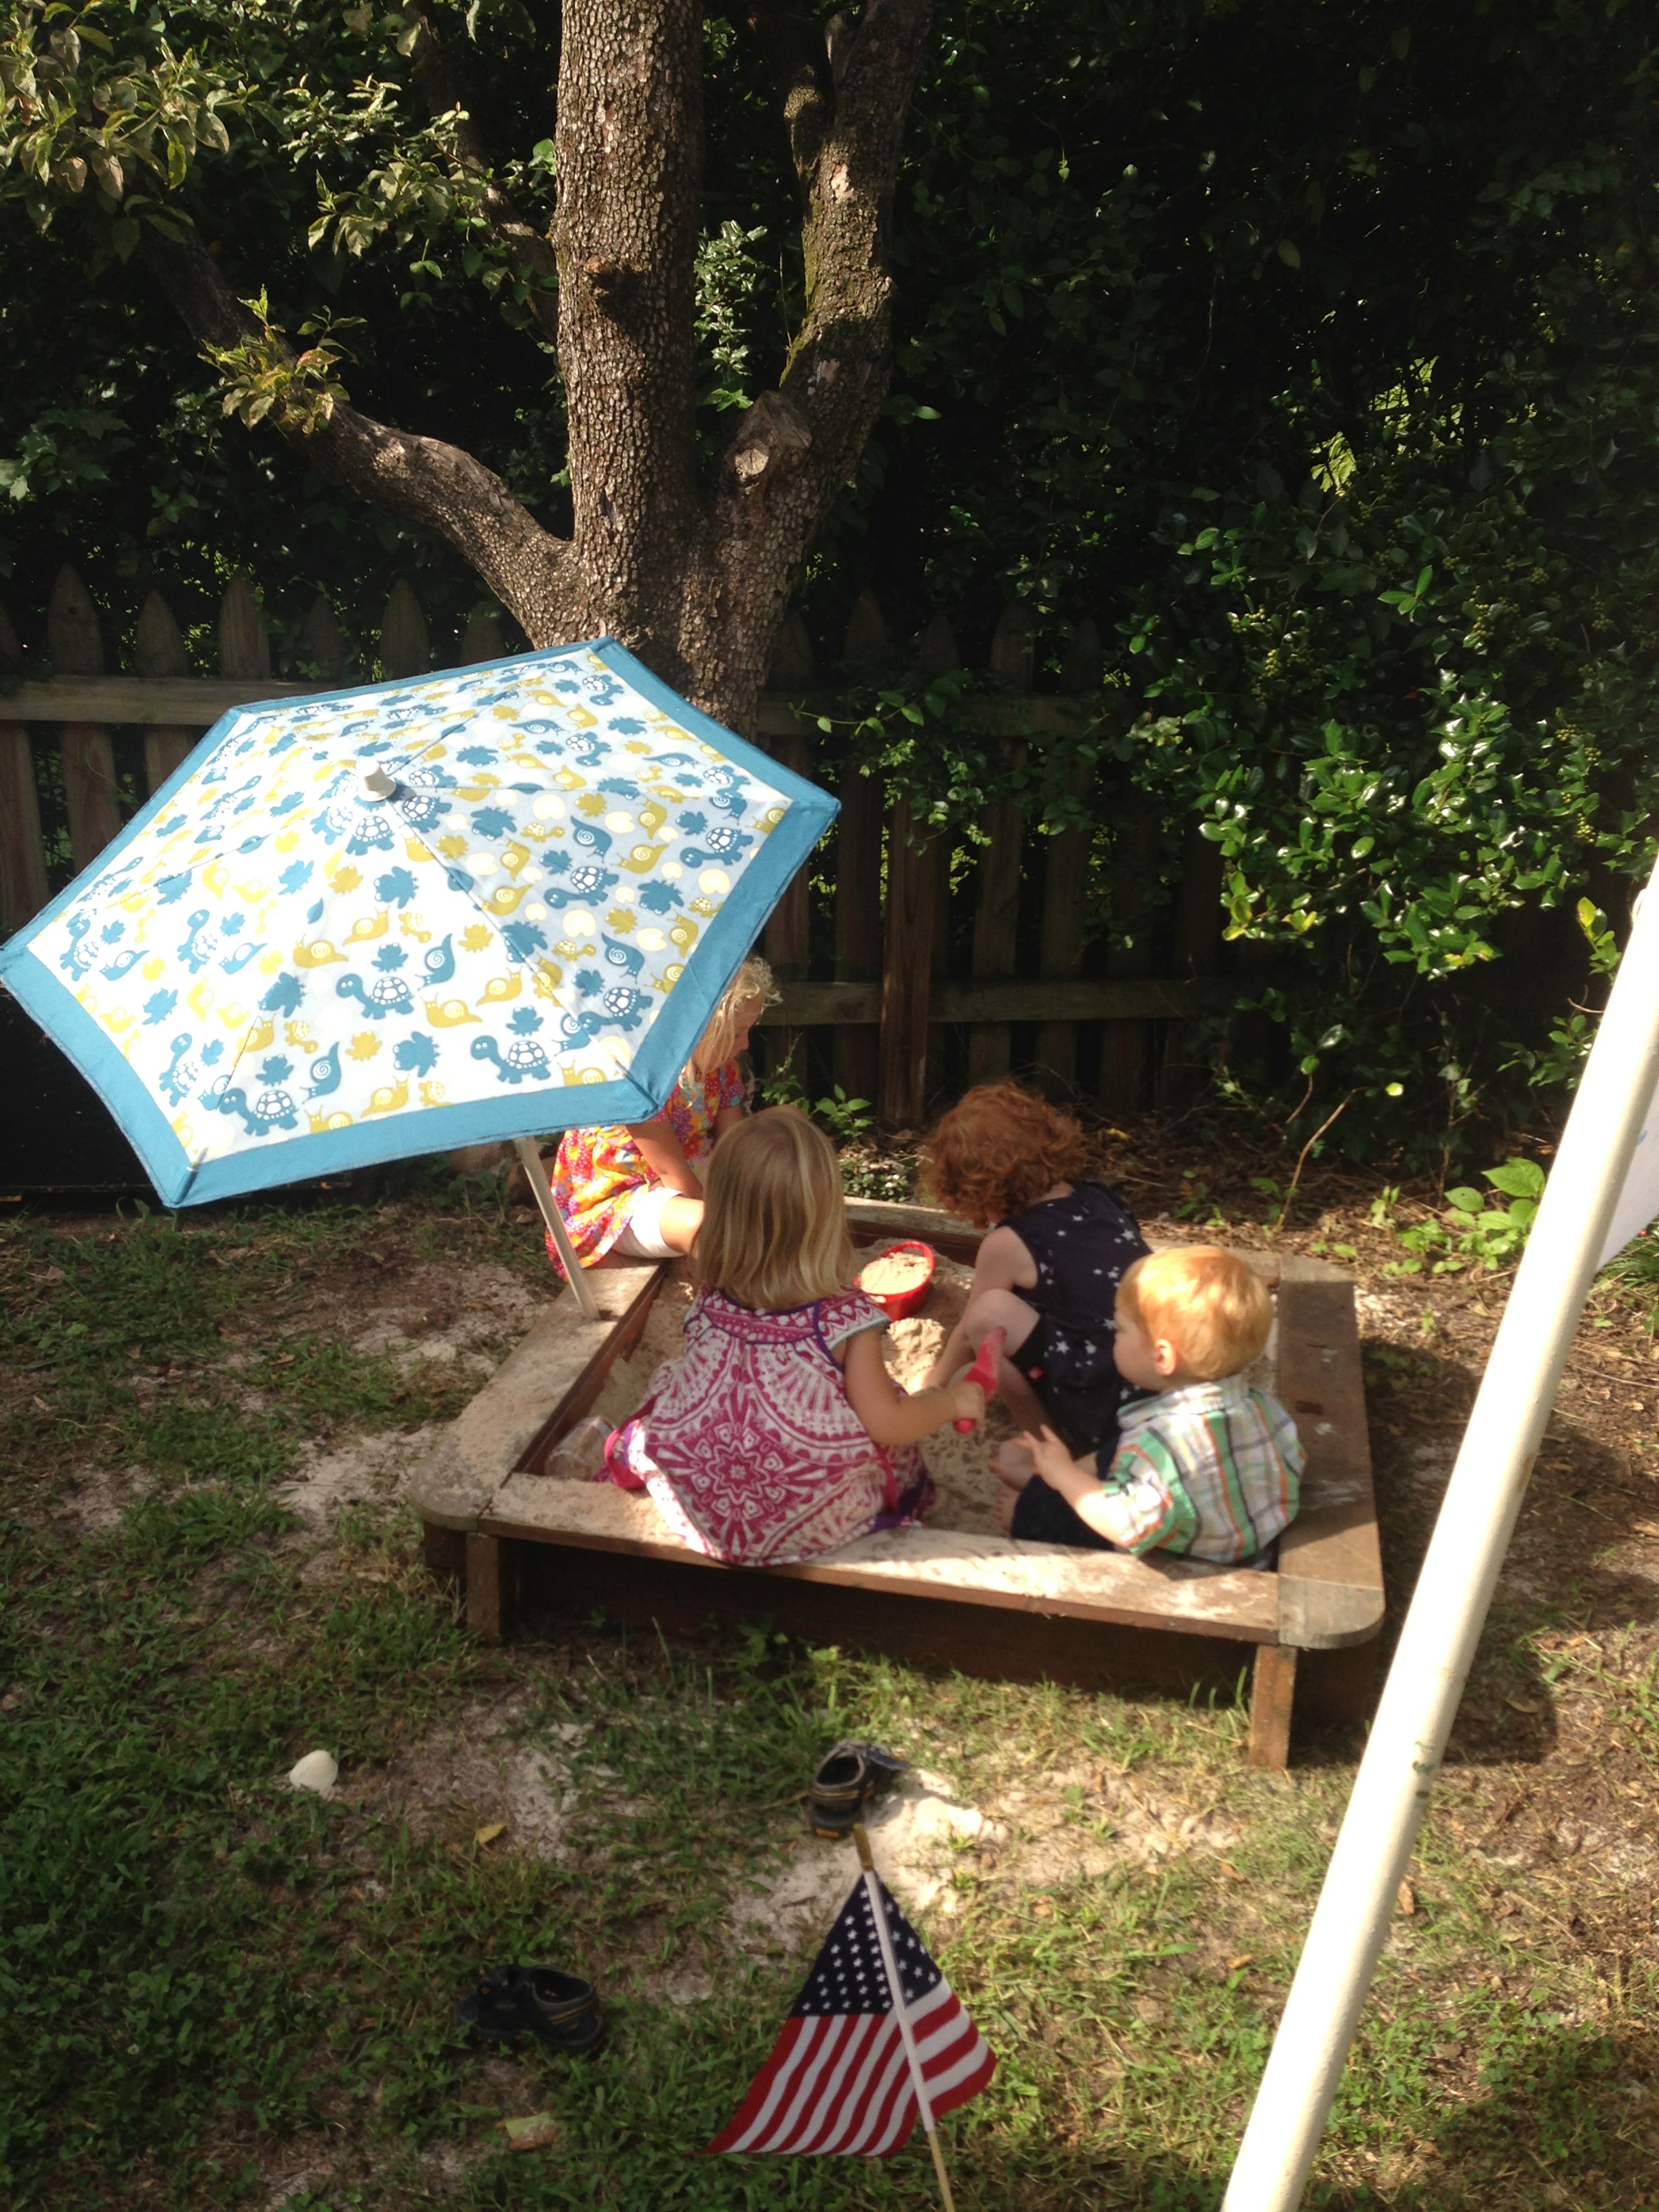
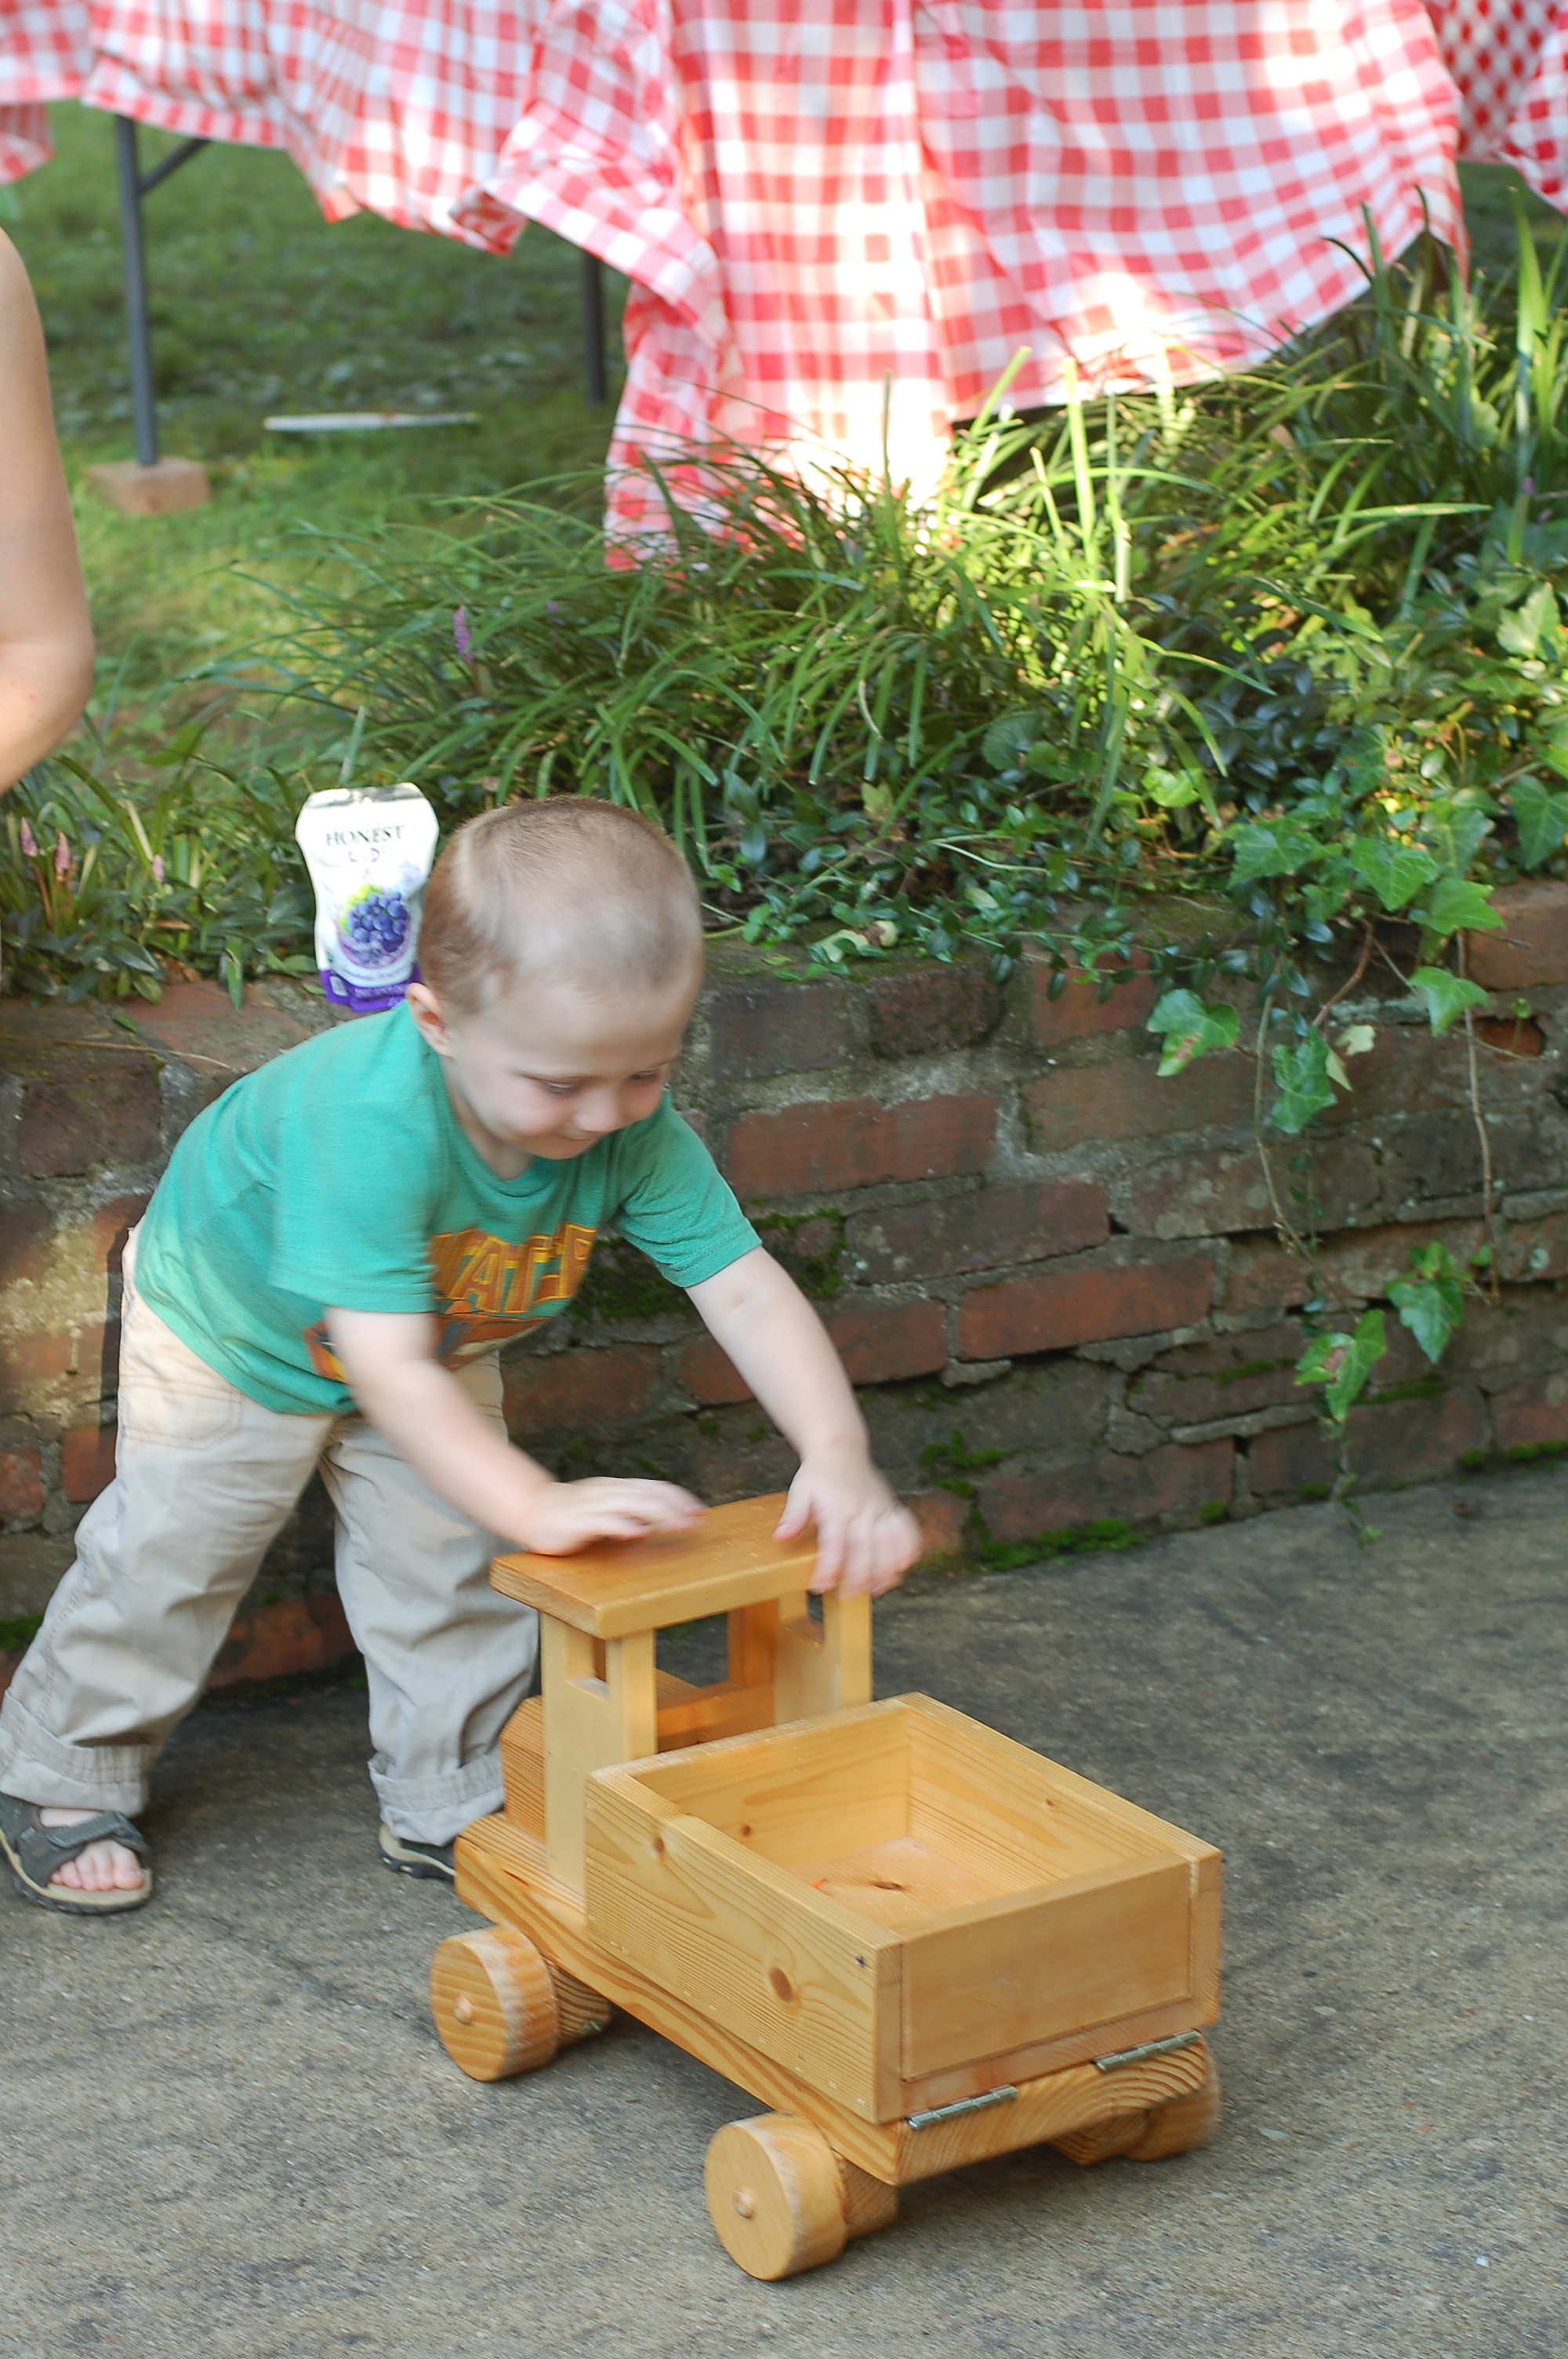
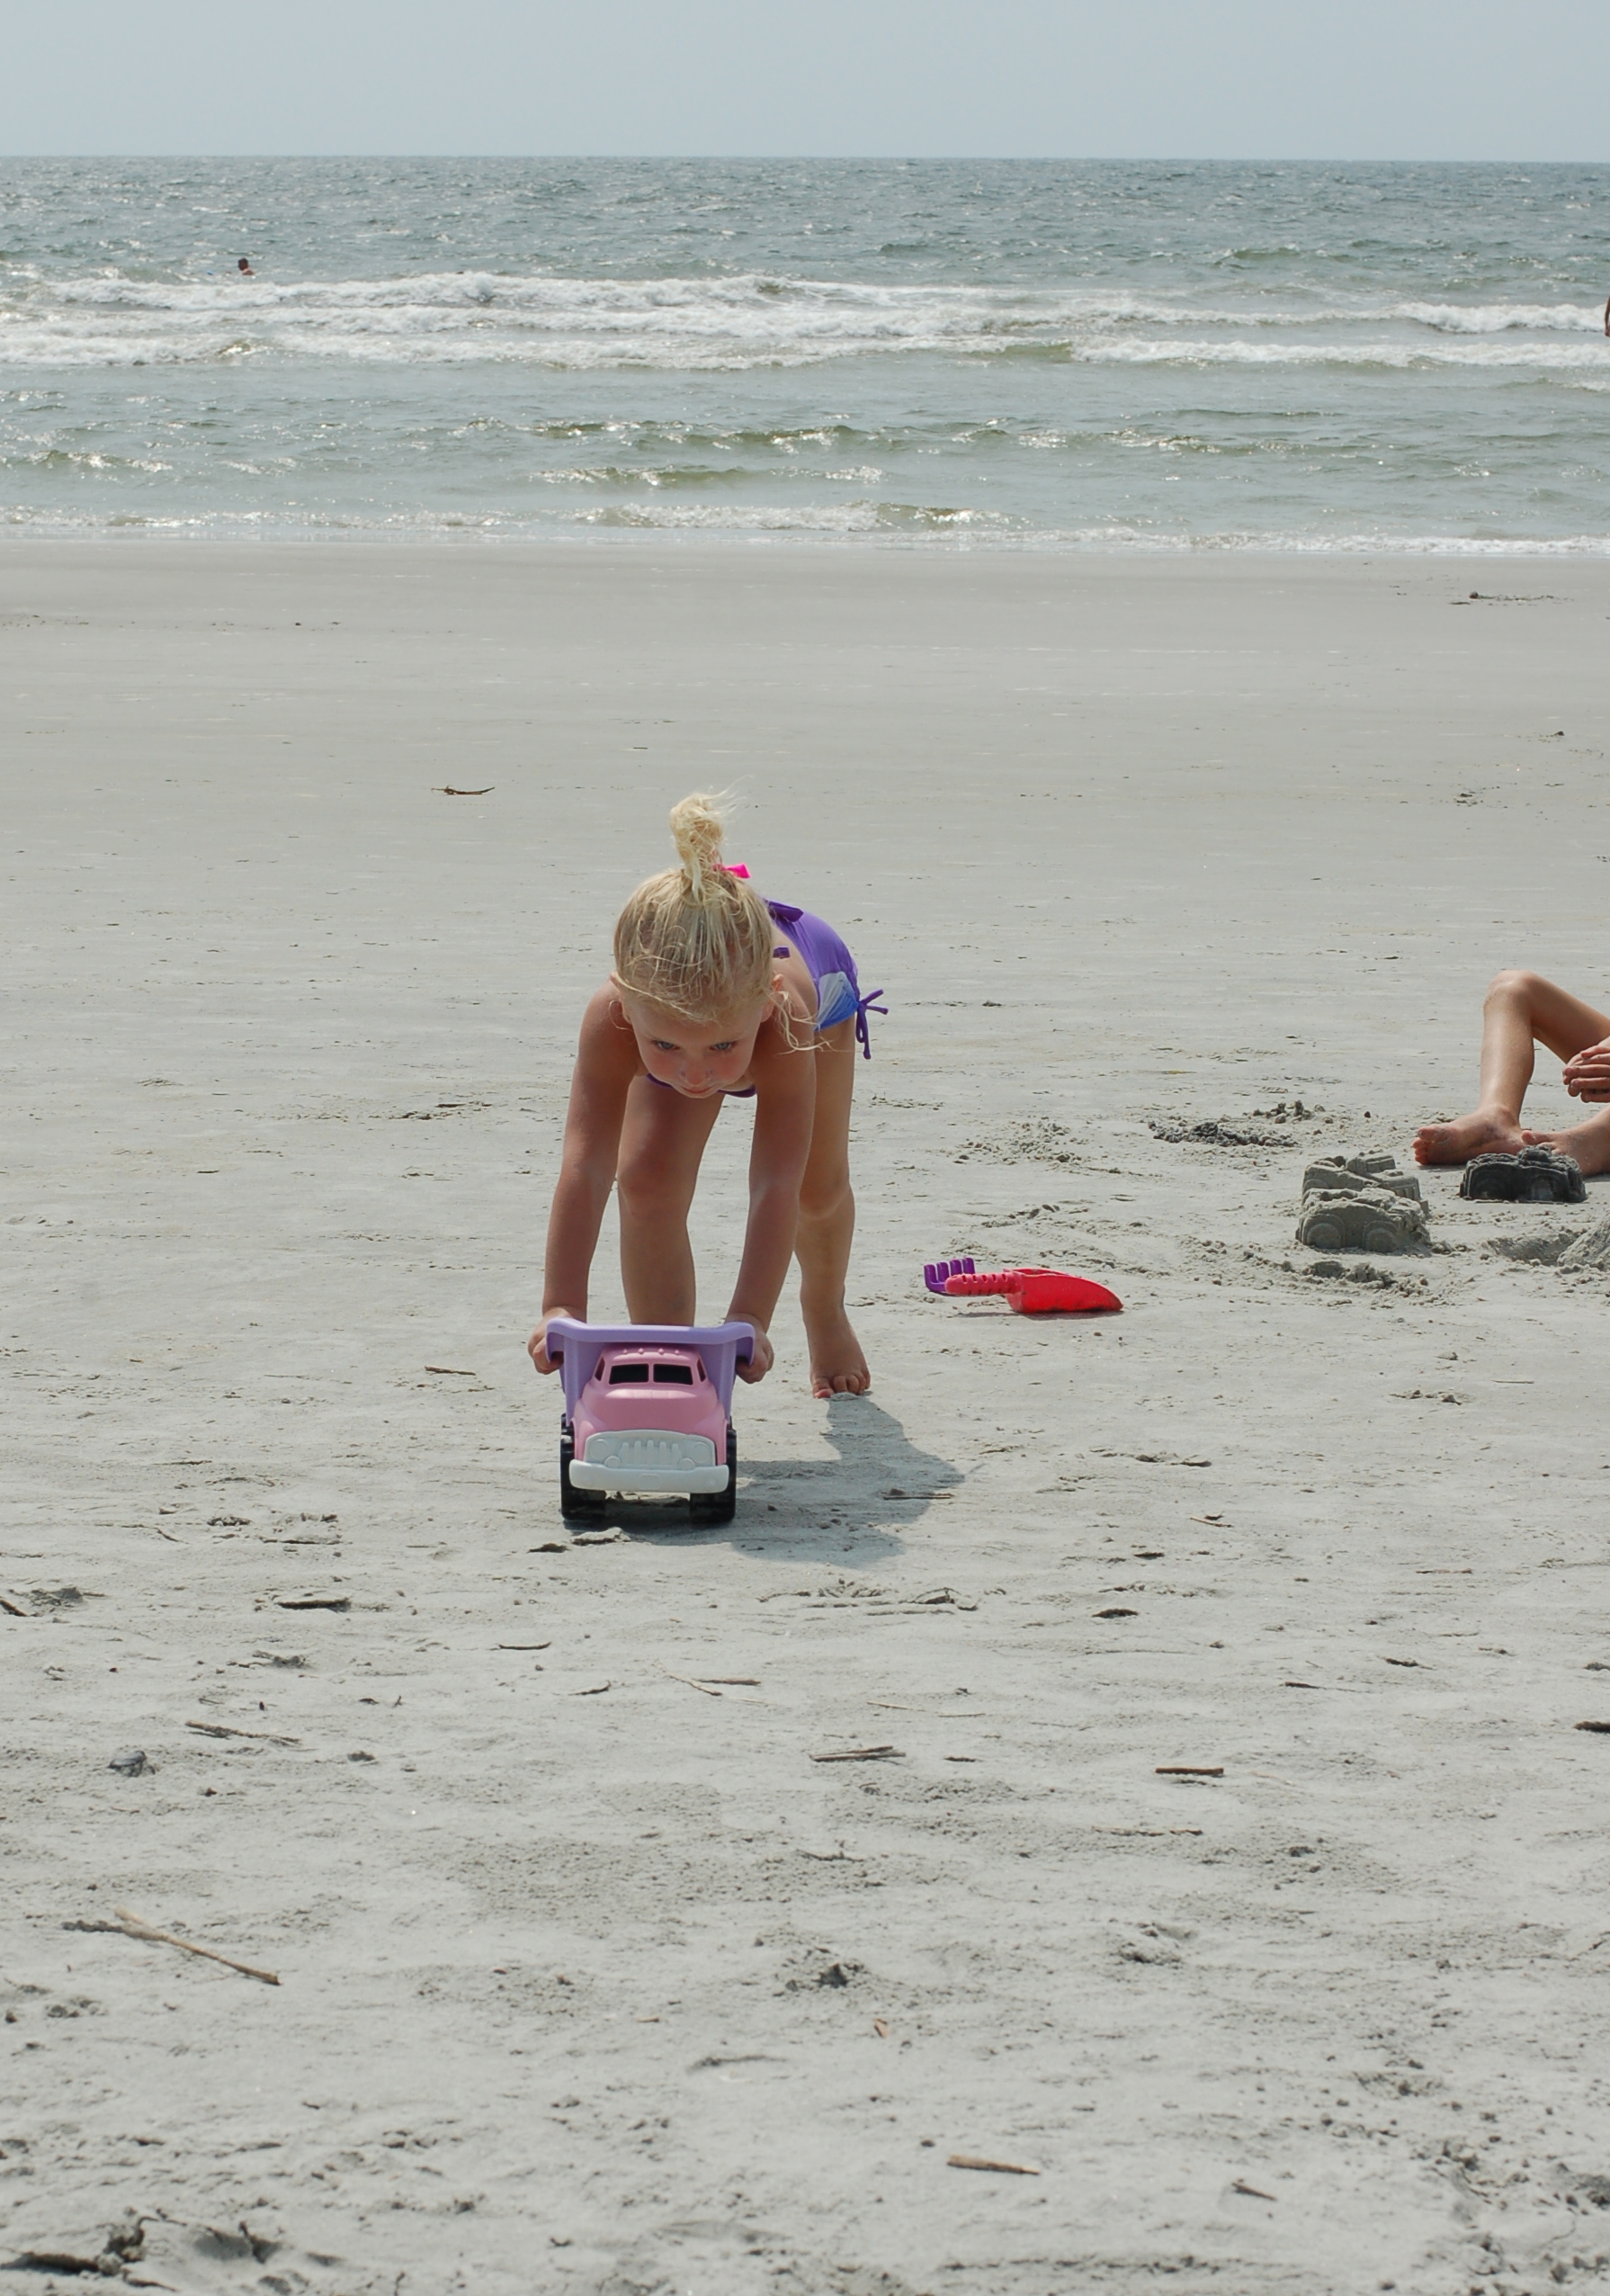
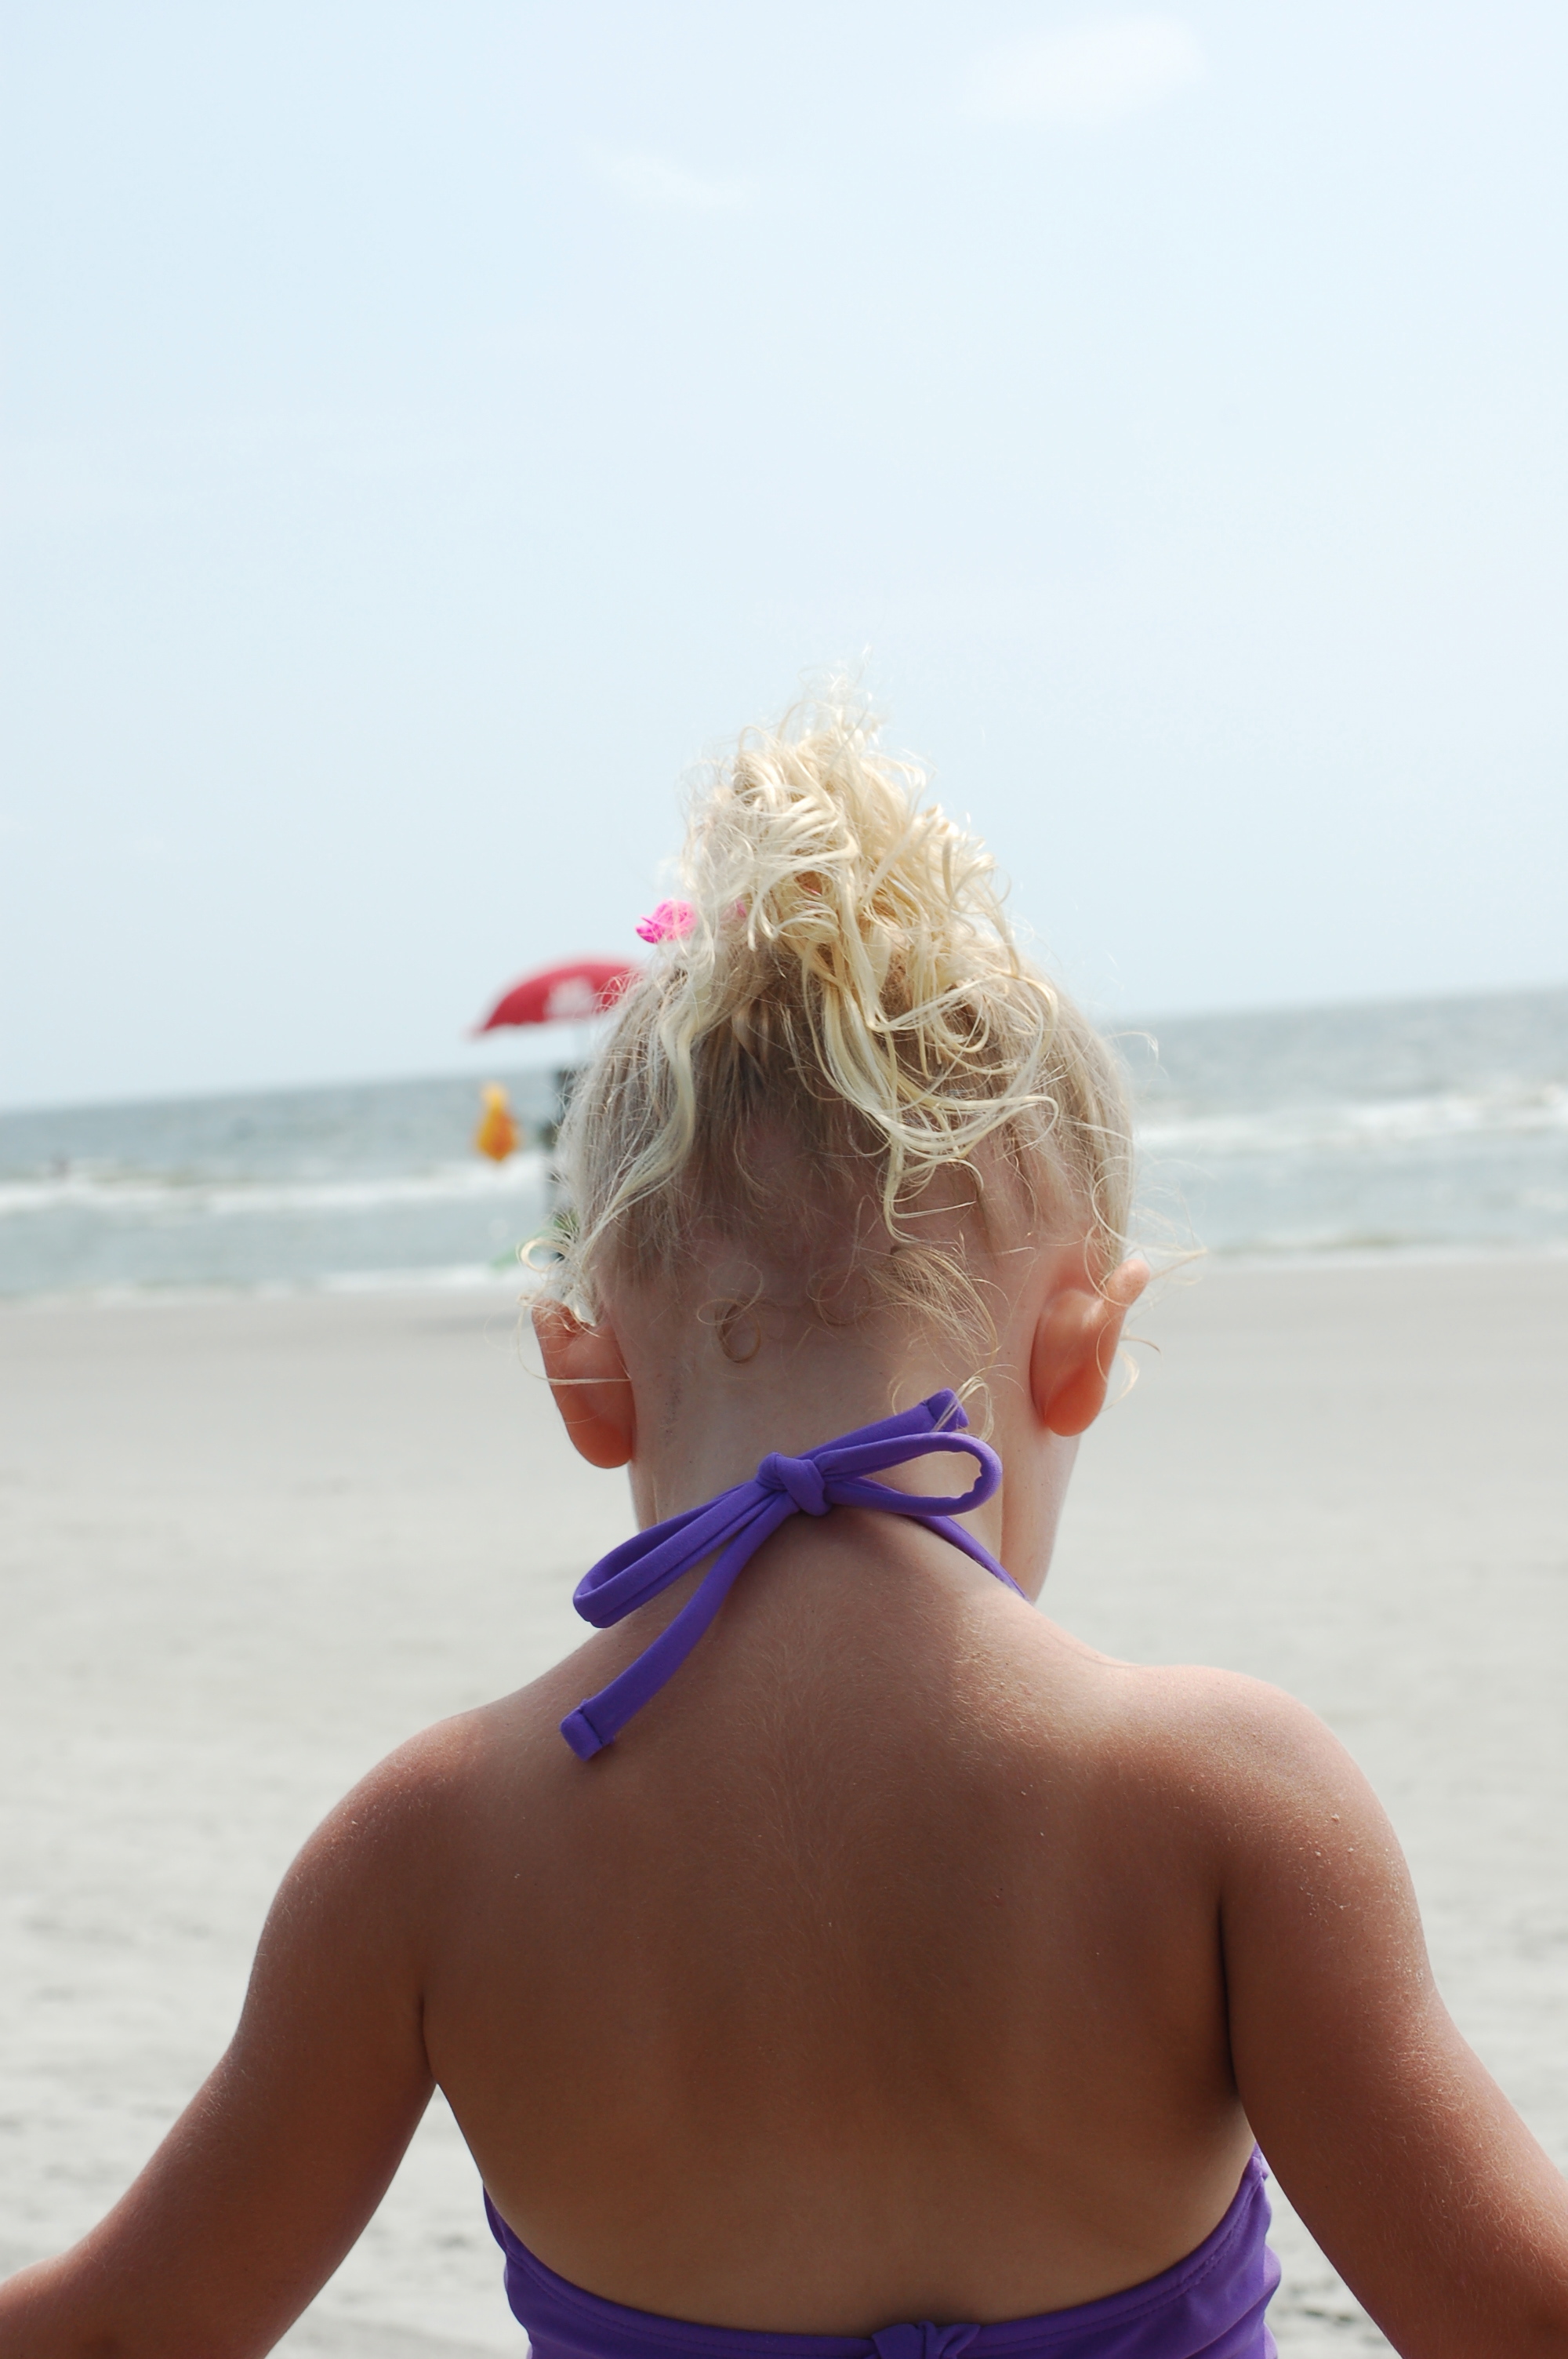
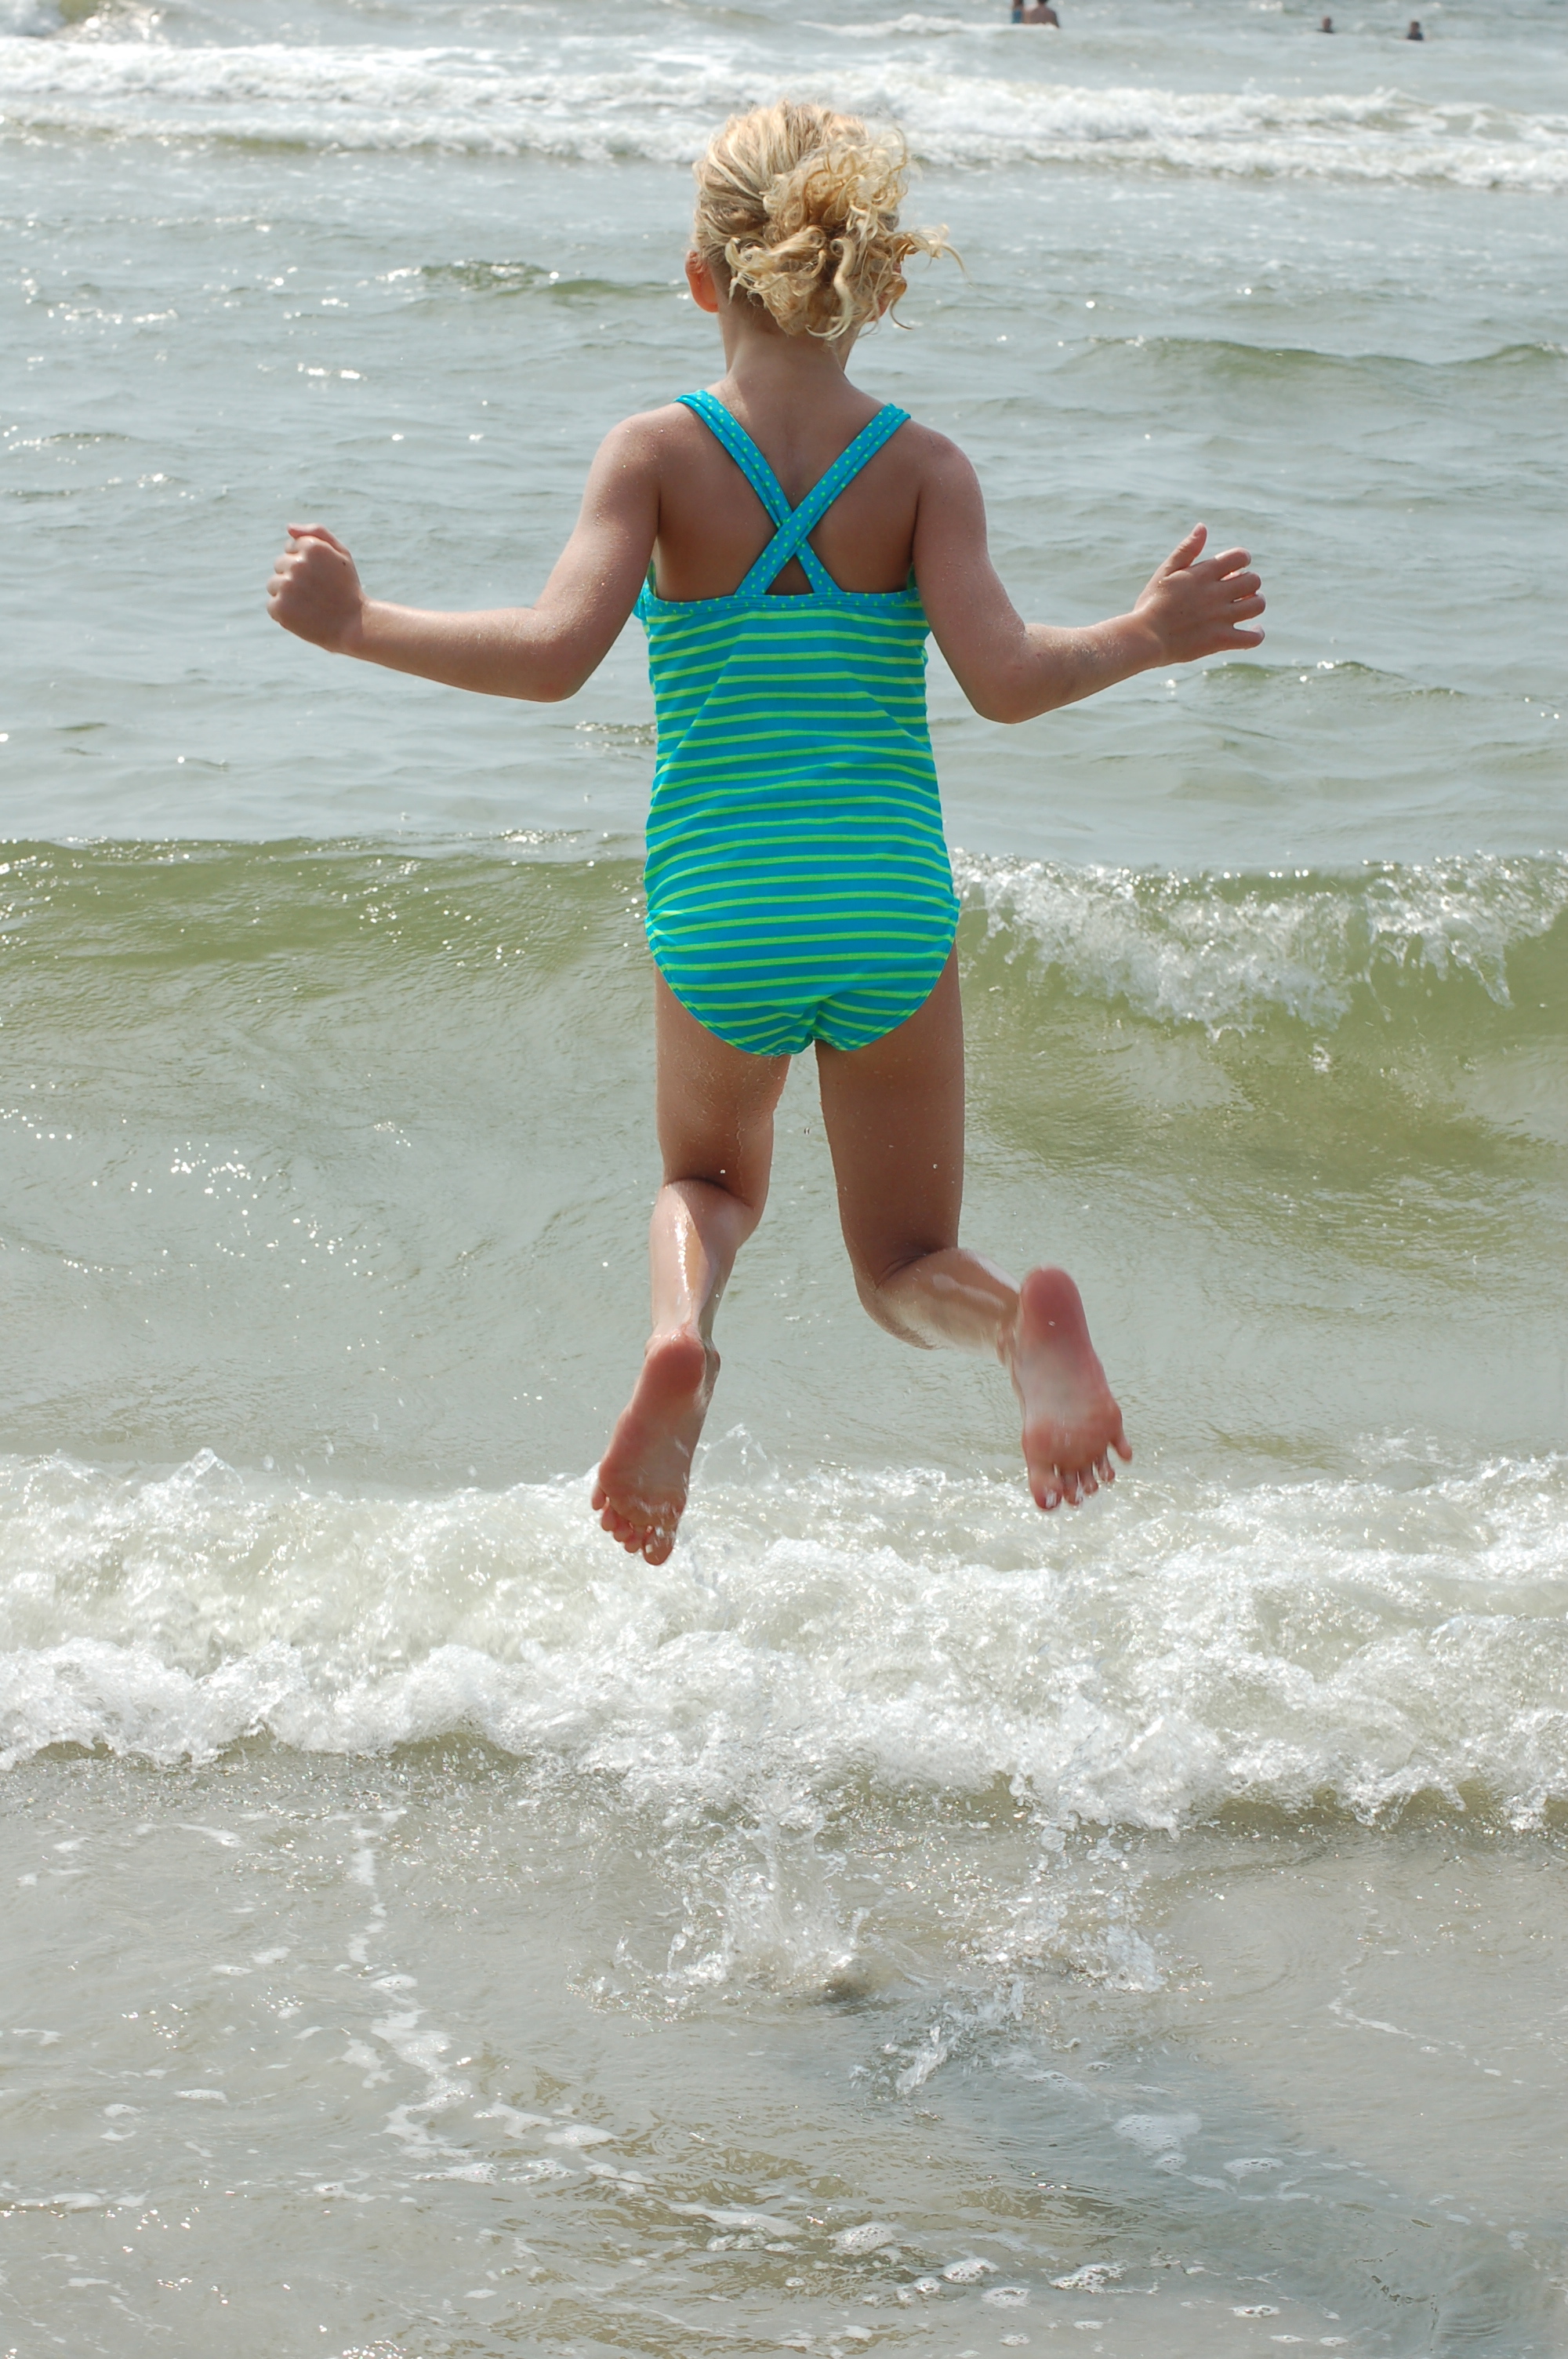
I realized I’m the one perfectly happy sitting in the beach chair watching the little ones play with purple dump trucks in the sand. Loving their little bouncy ponytails and happy feet in the waves.

DSC_0224 DSC_0259DSC_0191

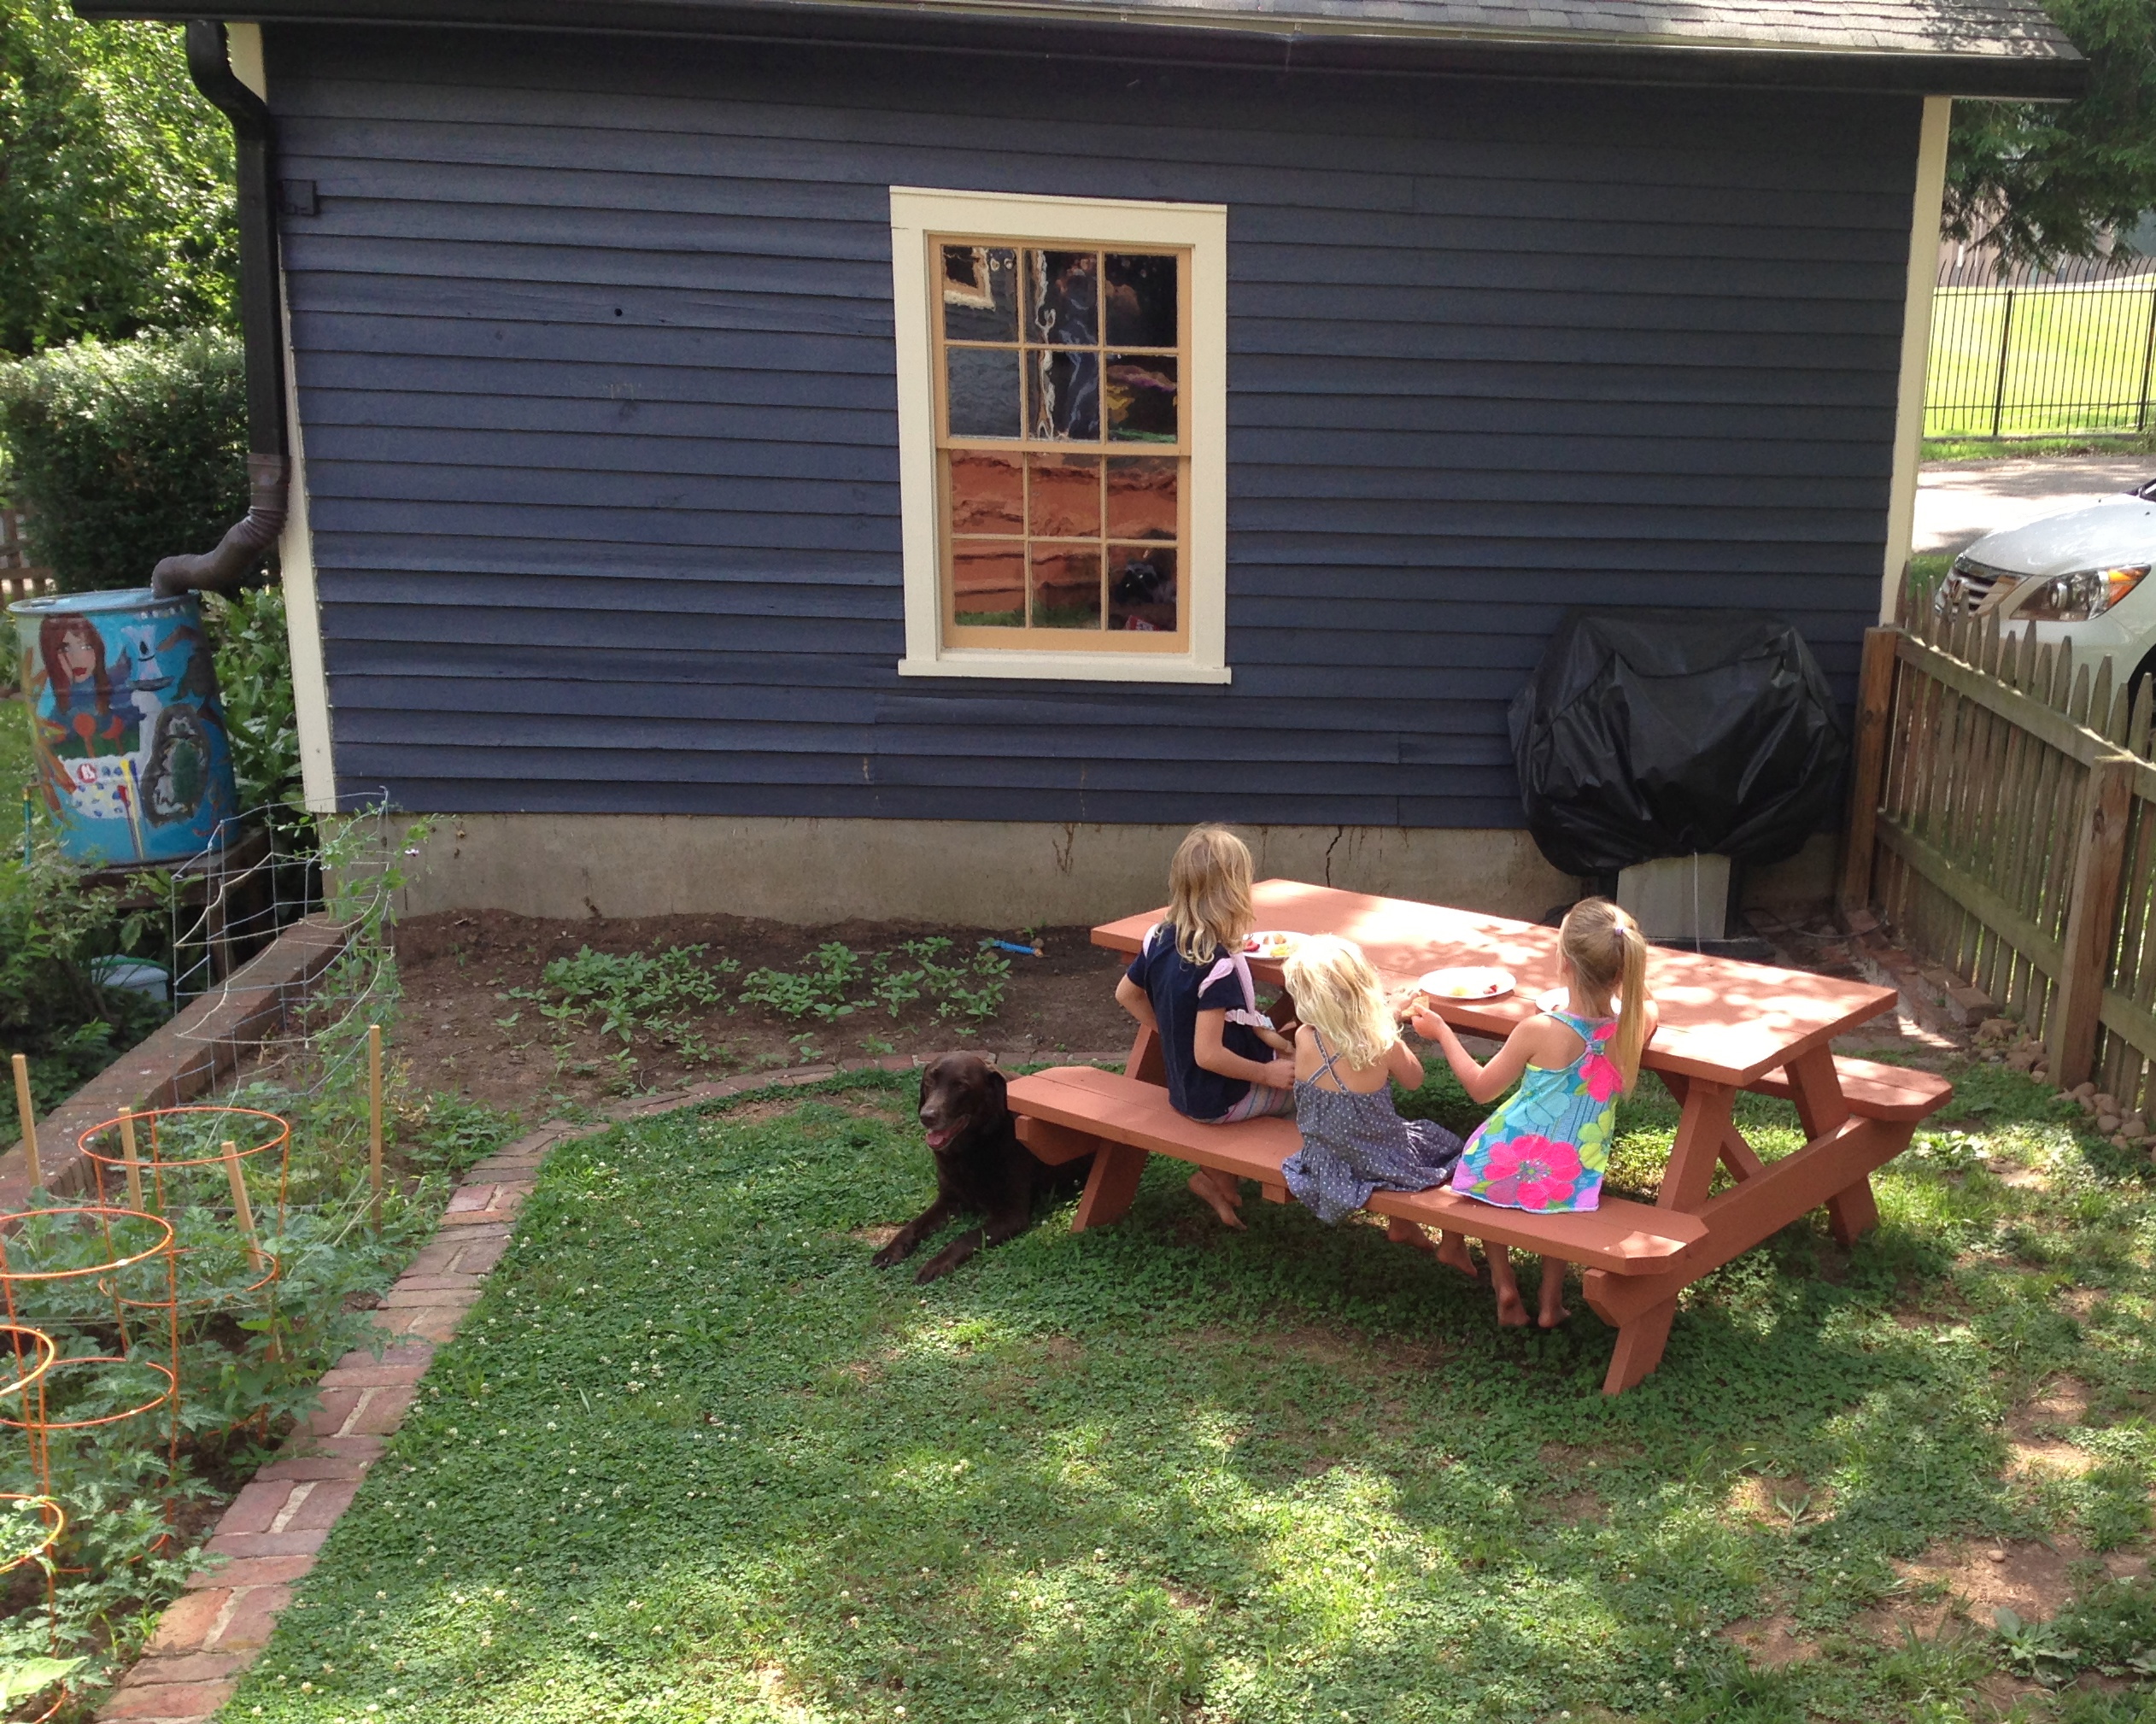
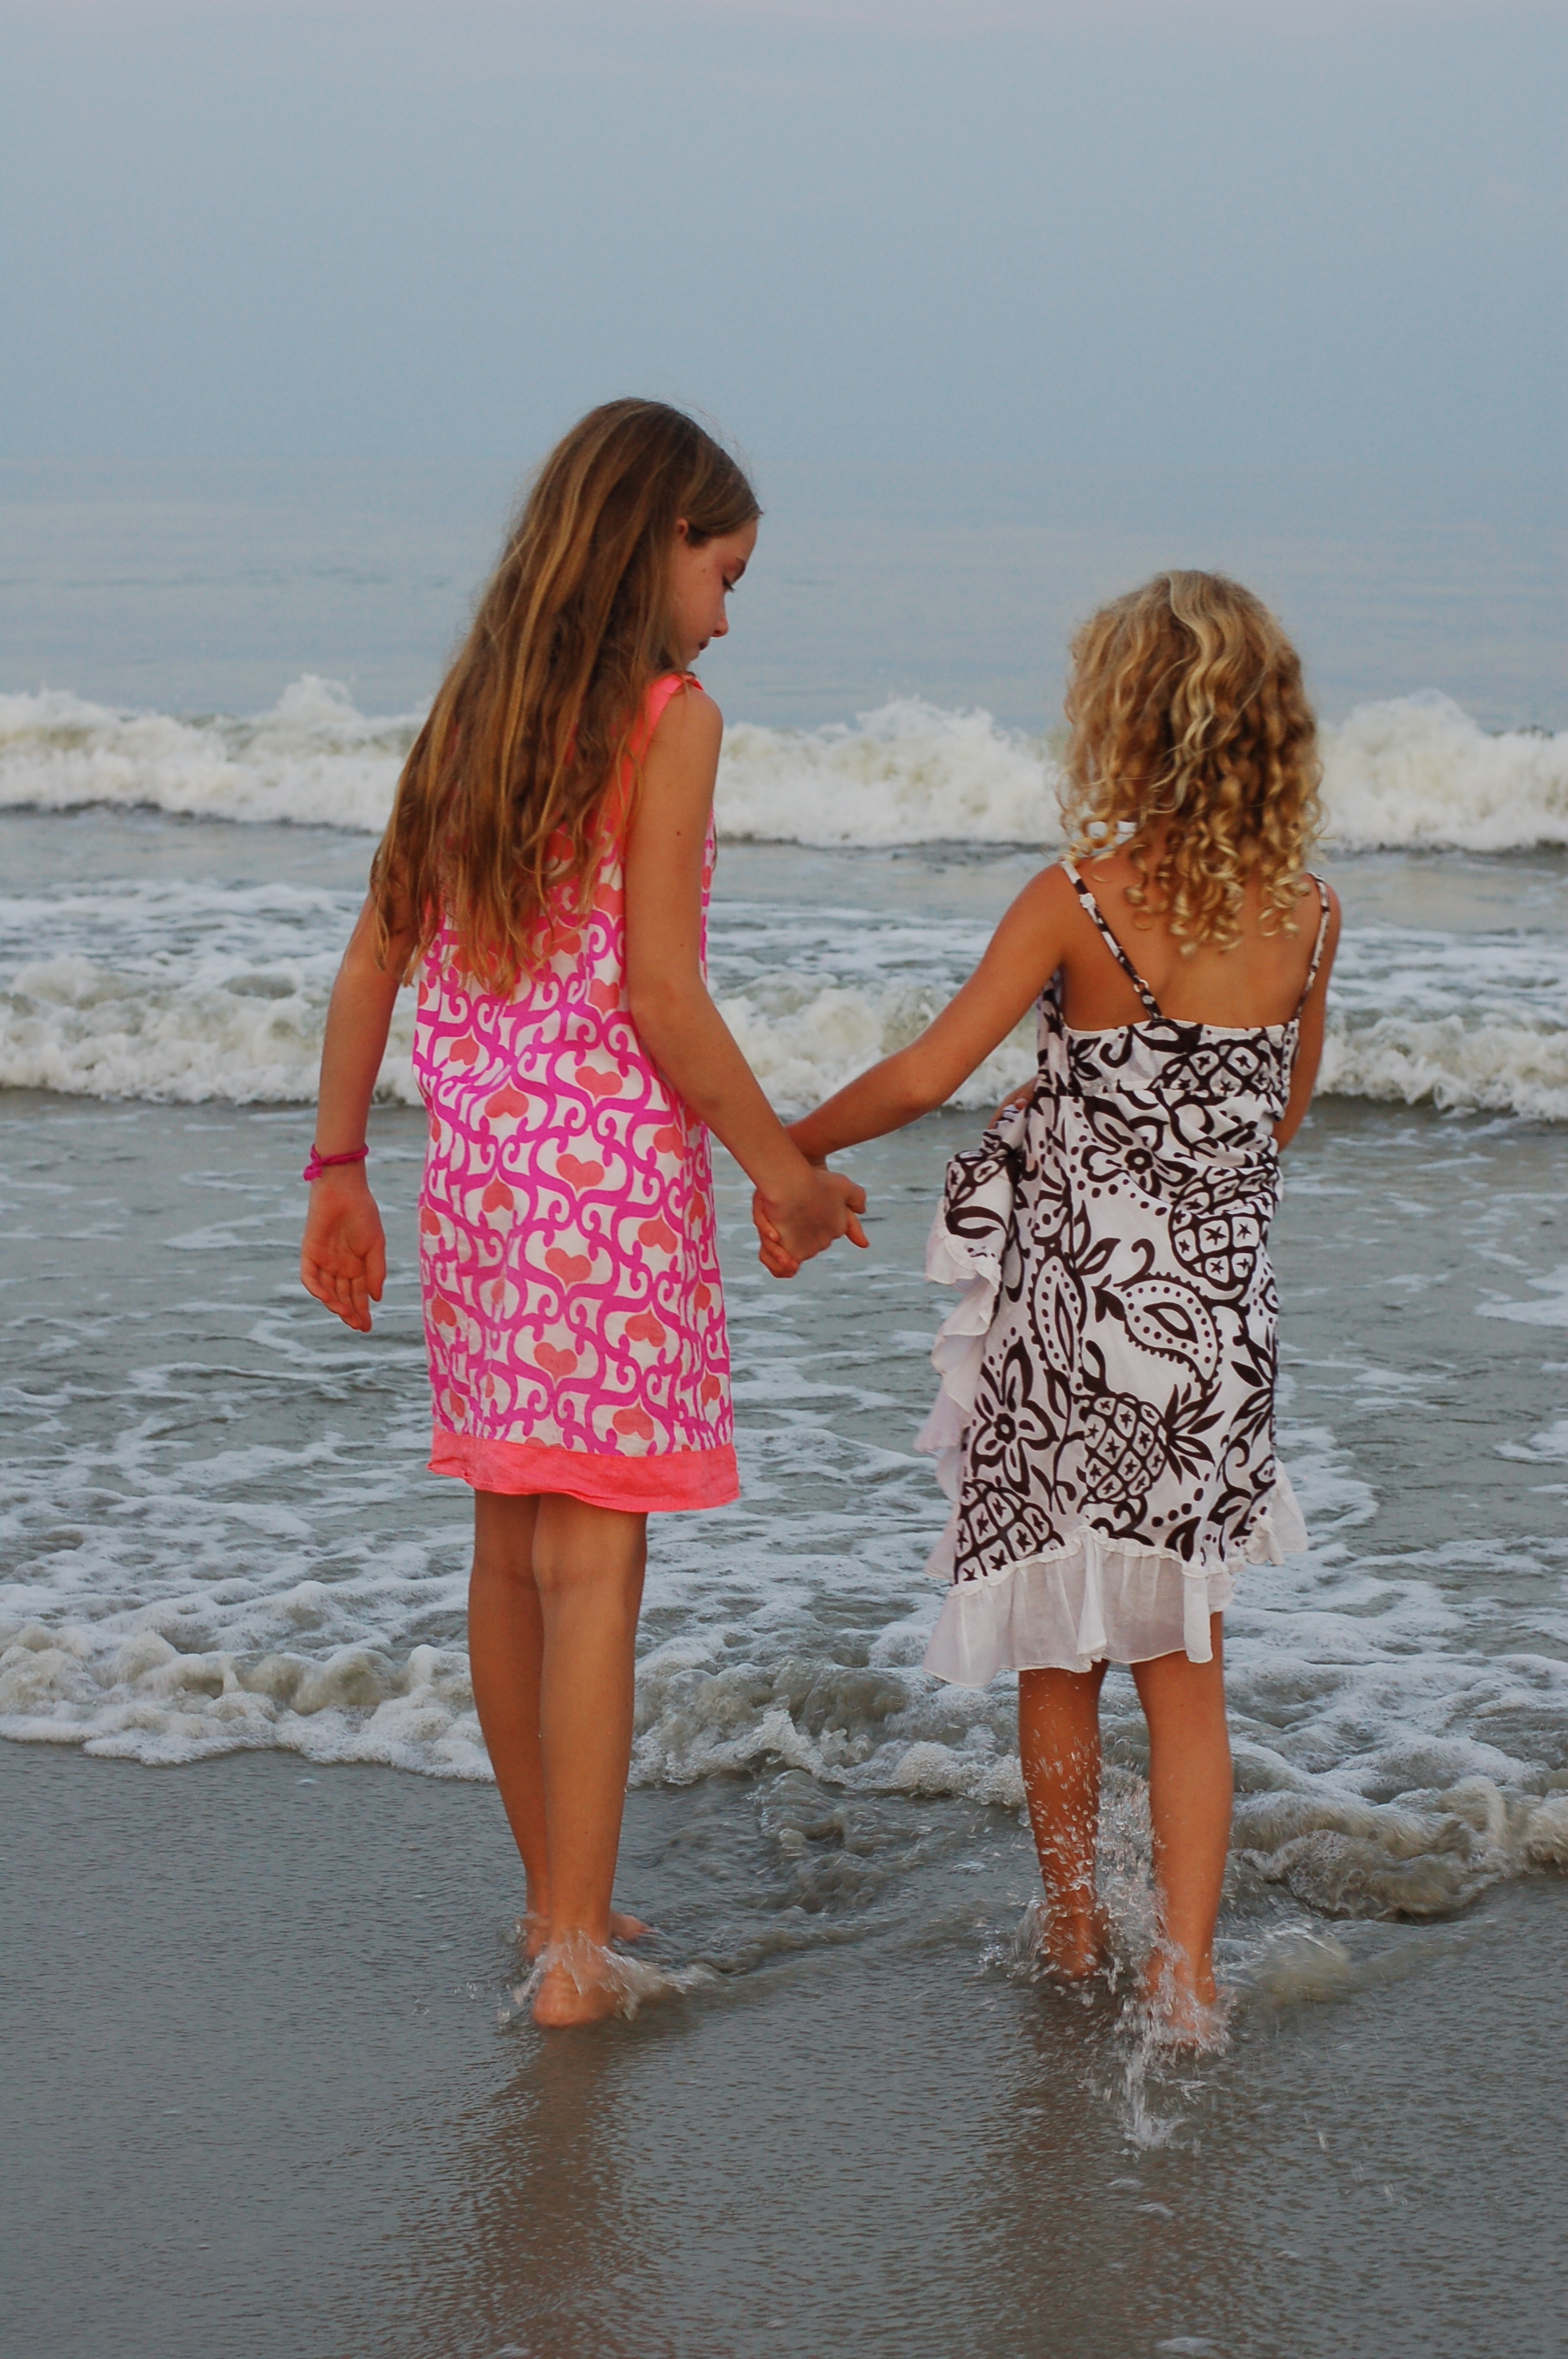
I love the next picture because it shows these sisters really DO love each other. Before summer the older two were acting very sassy towards each other. And it reminds me summer has magical powers of bonding families back together. I love that!

They are going to be in the same class next year. And I really hope them being together, will continue the bond they recreated this summer. At least until fall break. When I can force them to spend another week together.

DSC_0073

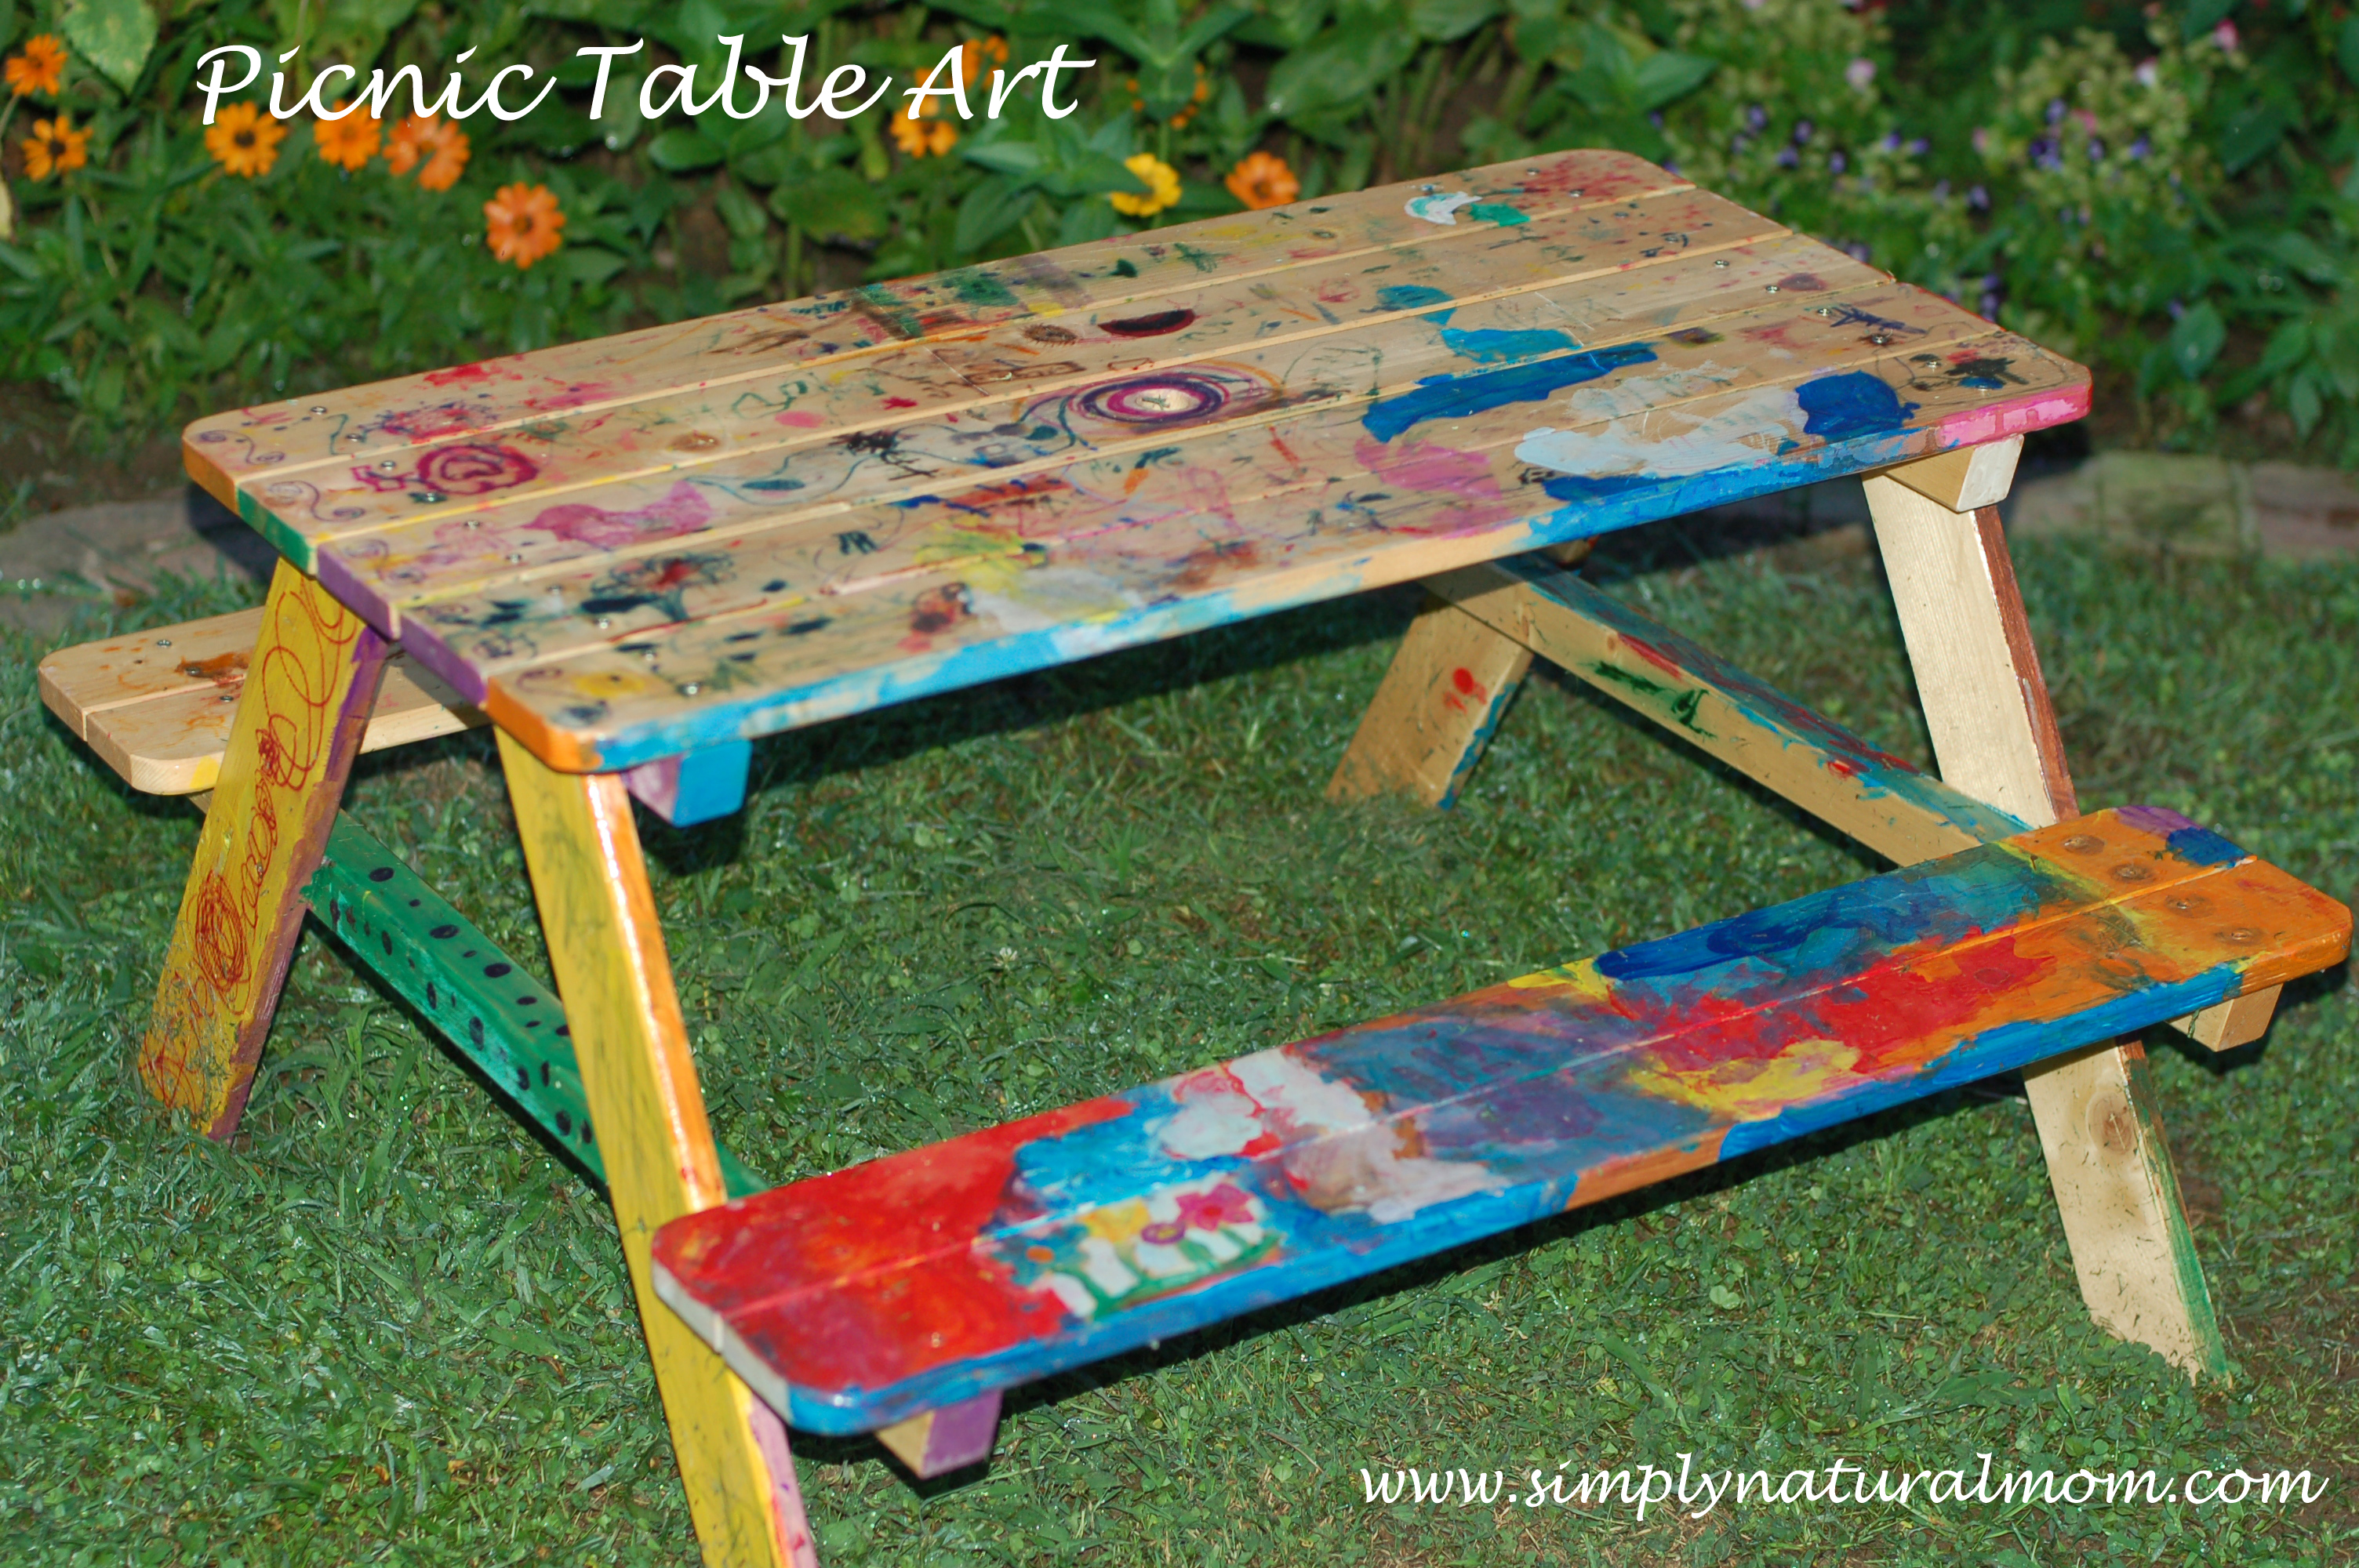
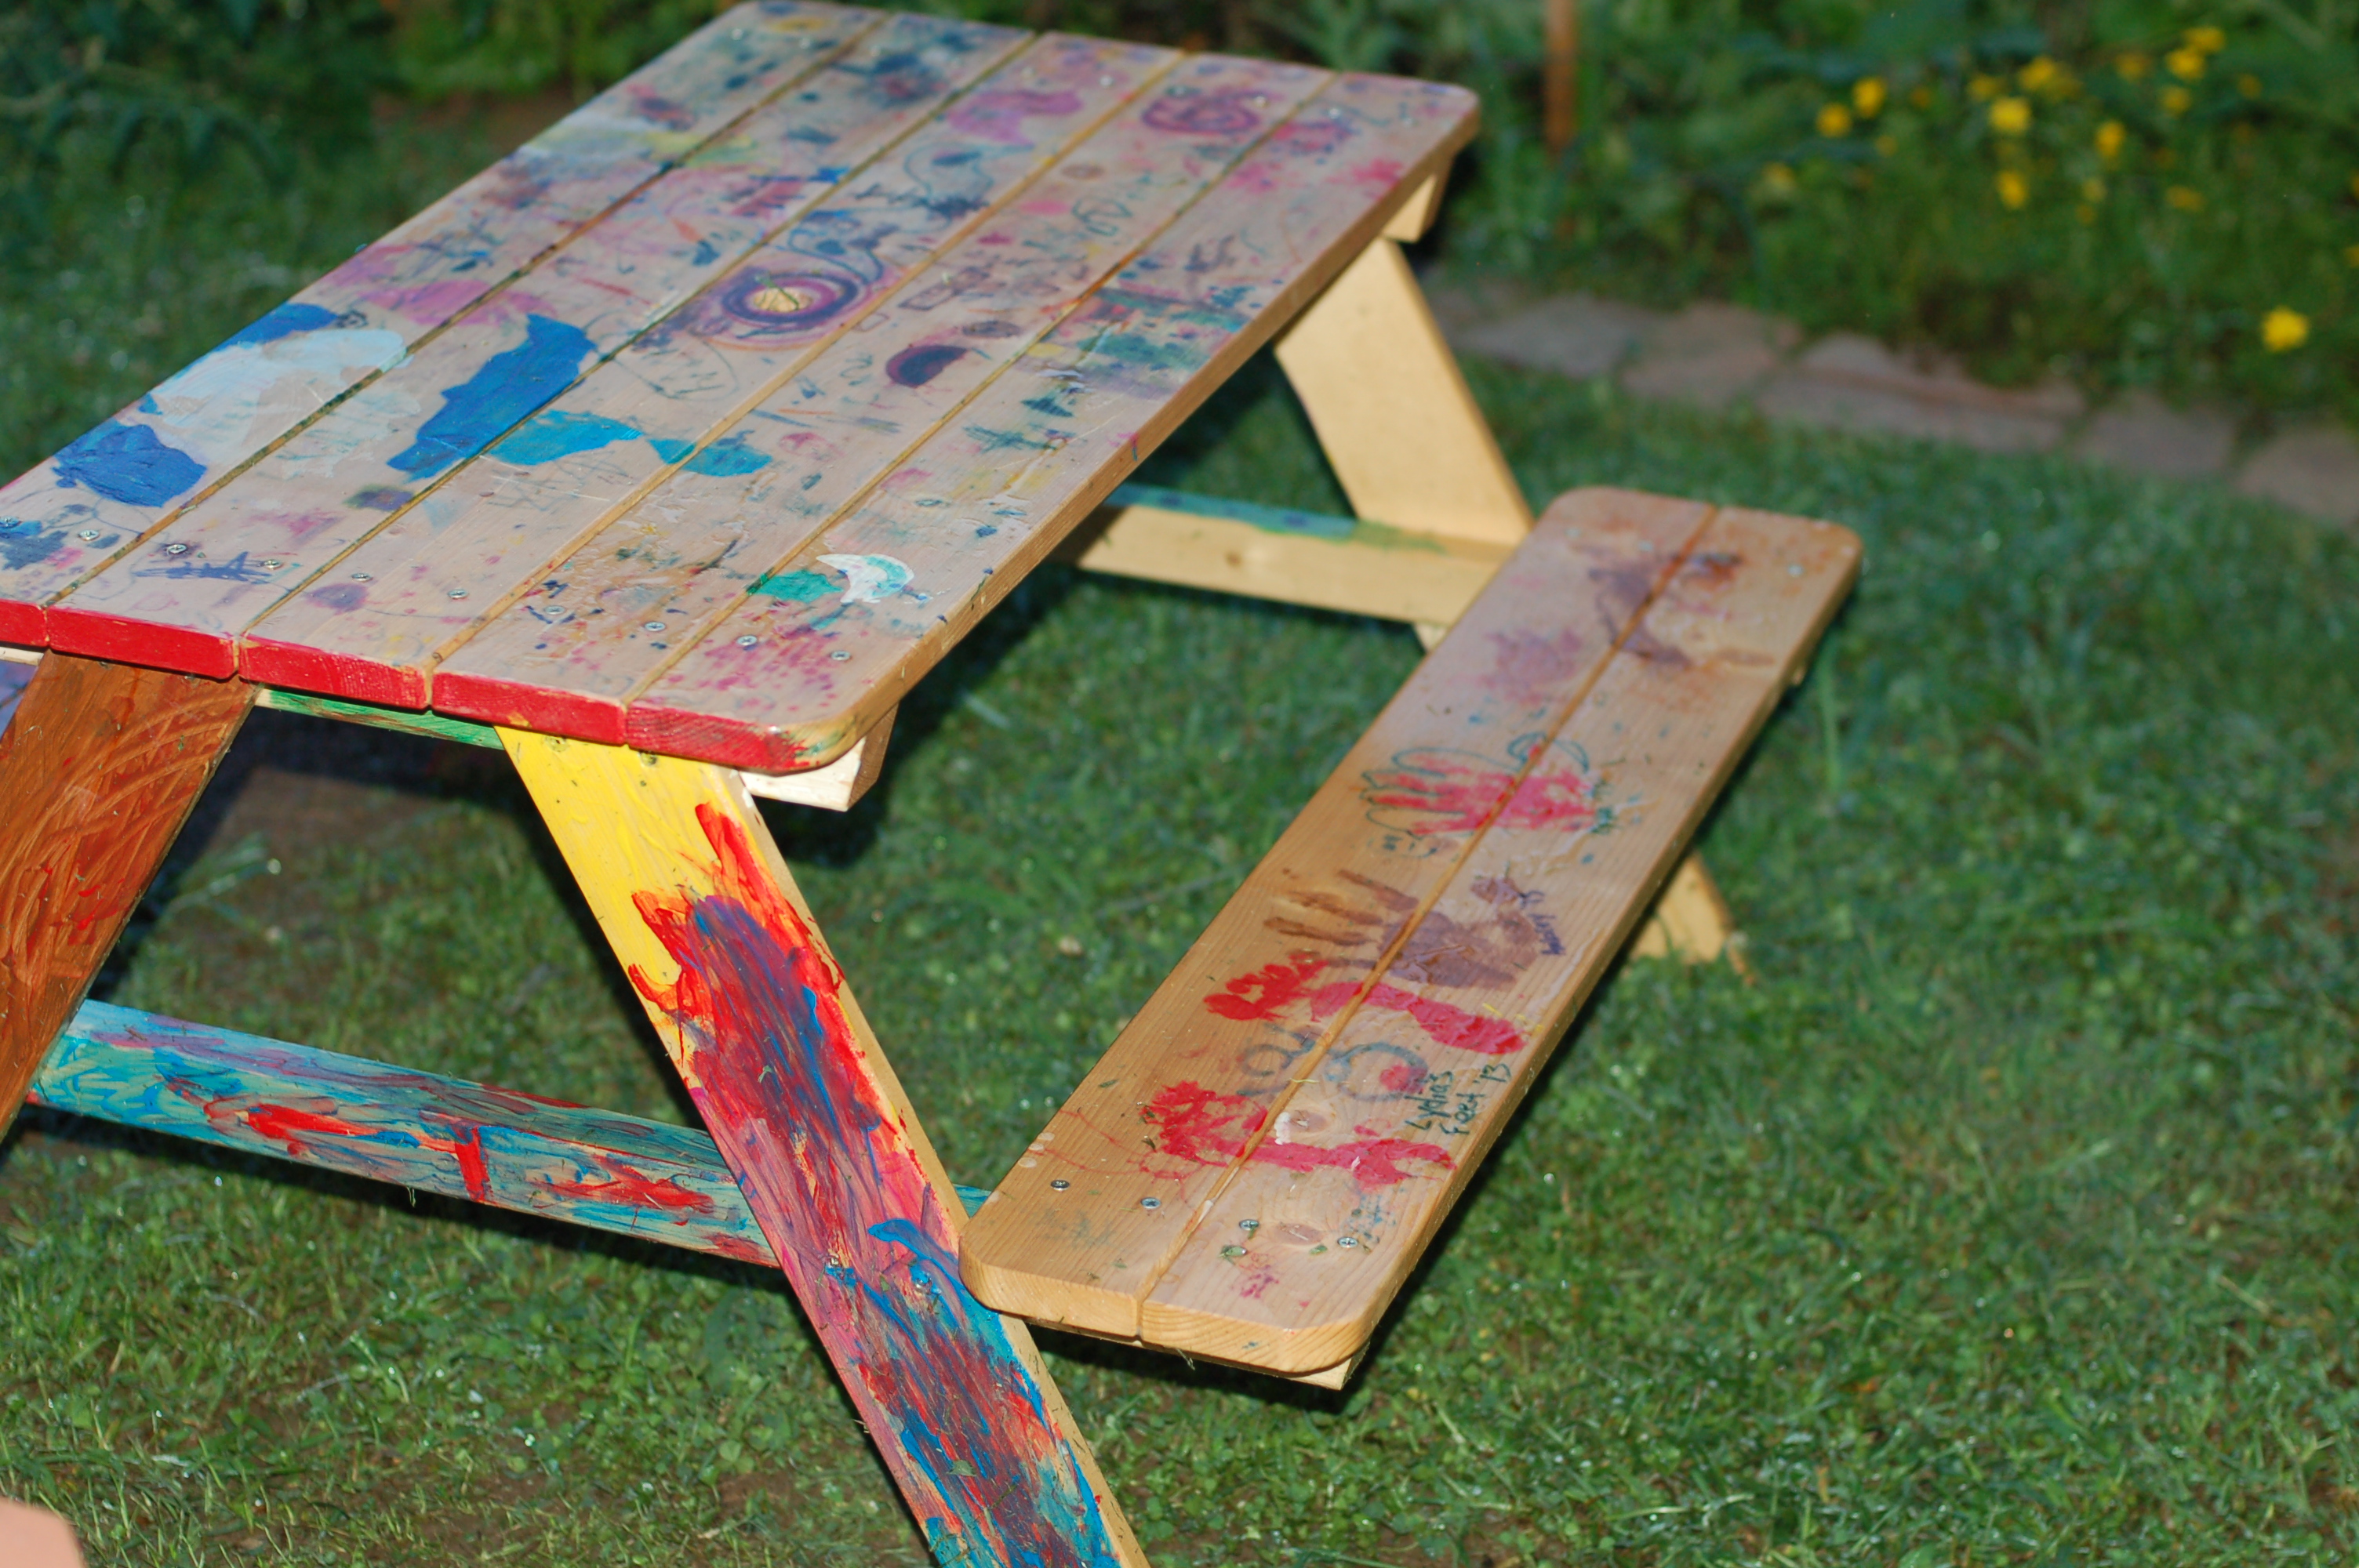
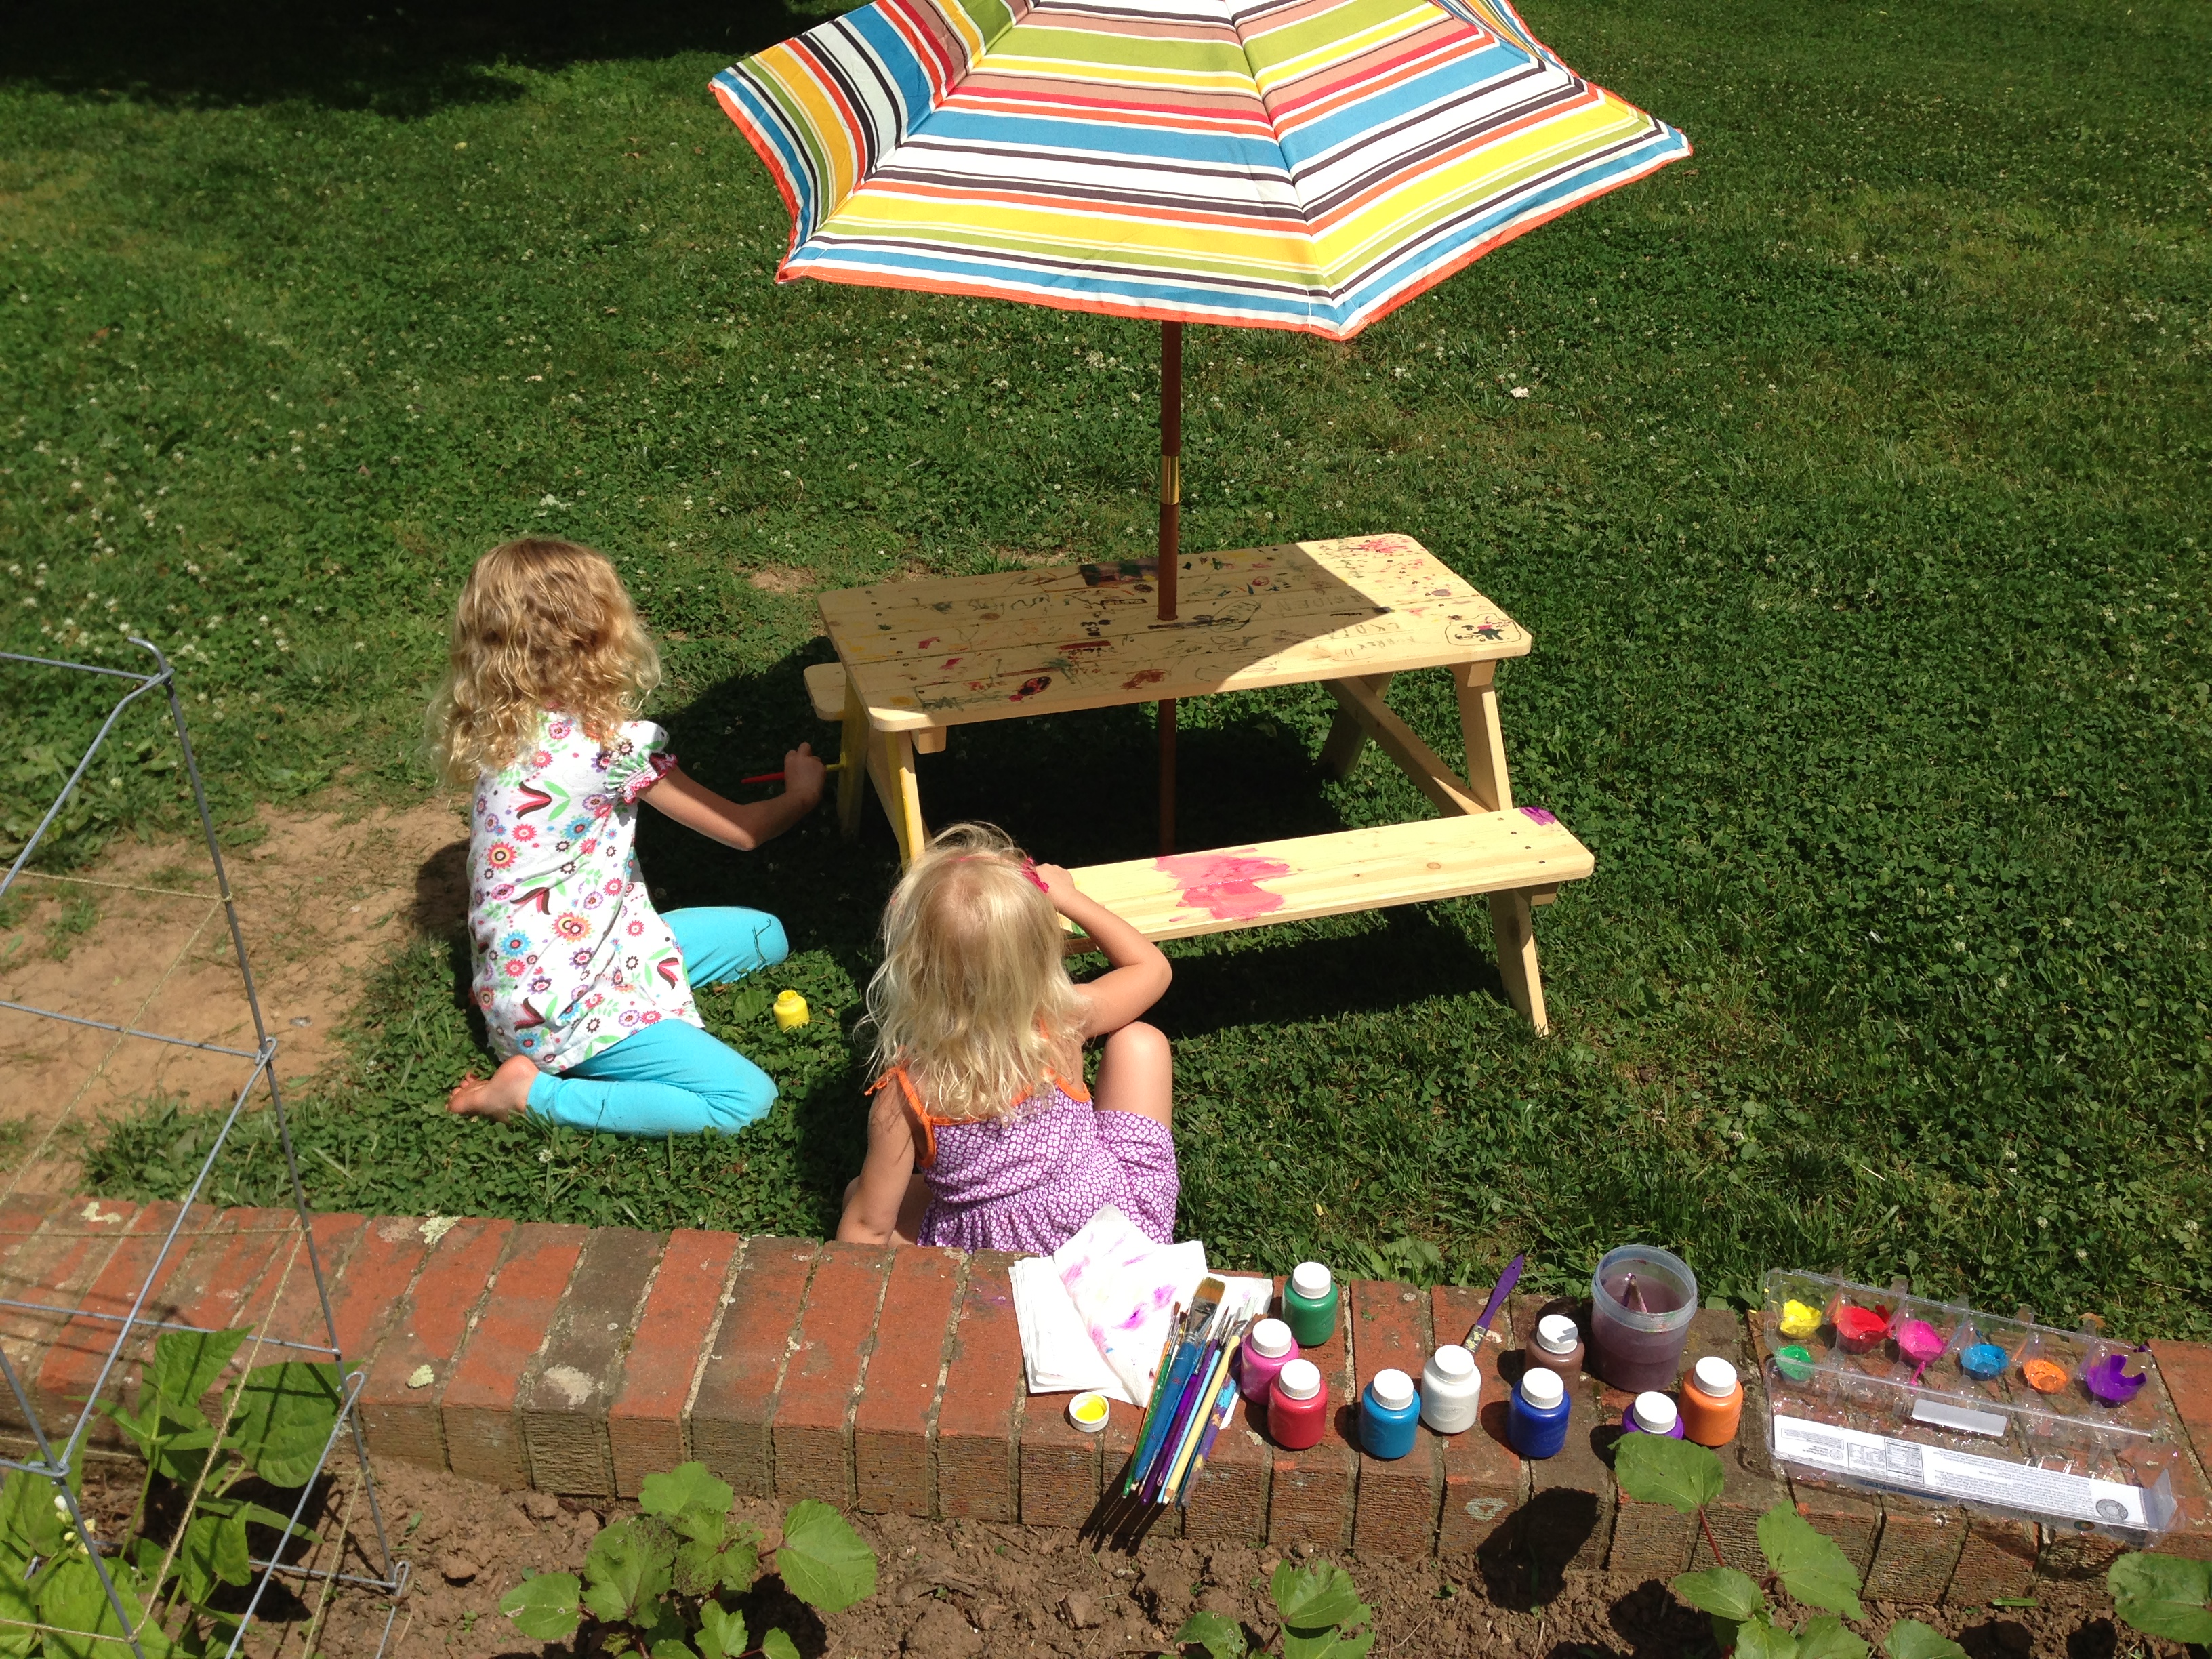
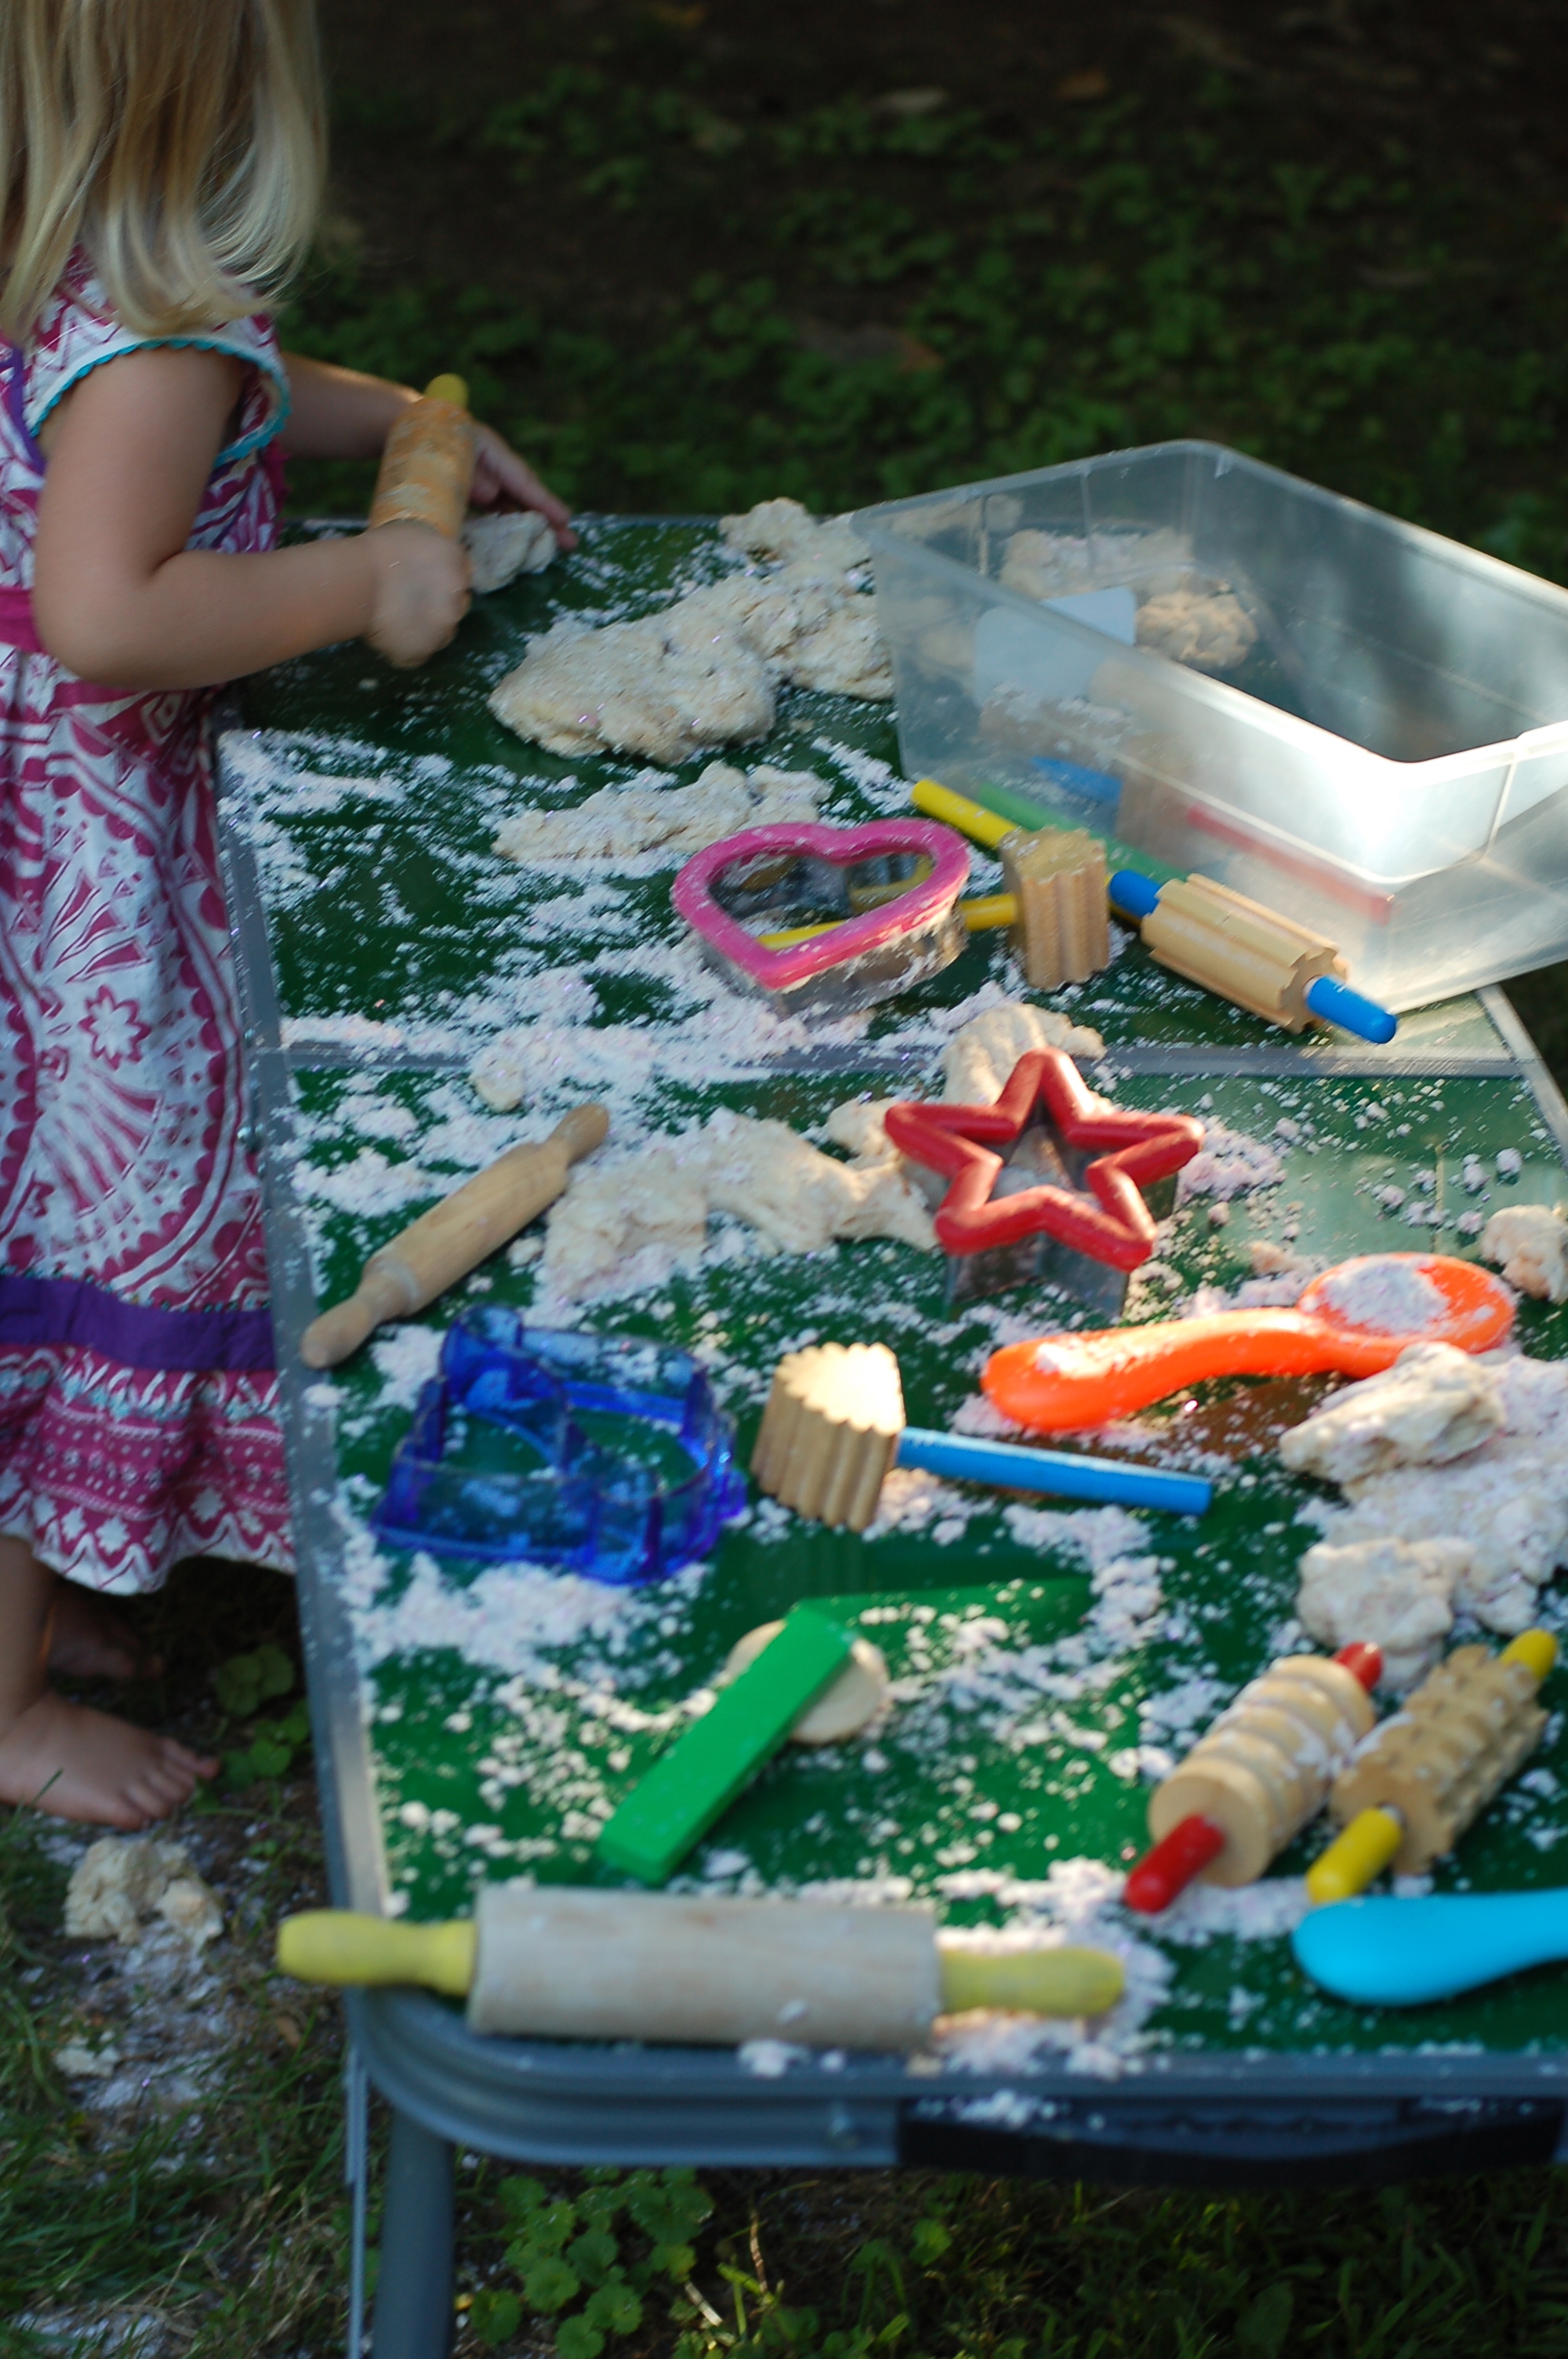
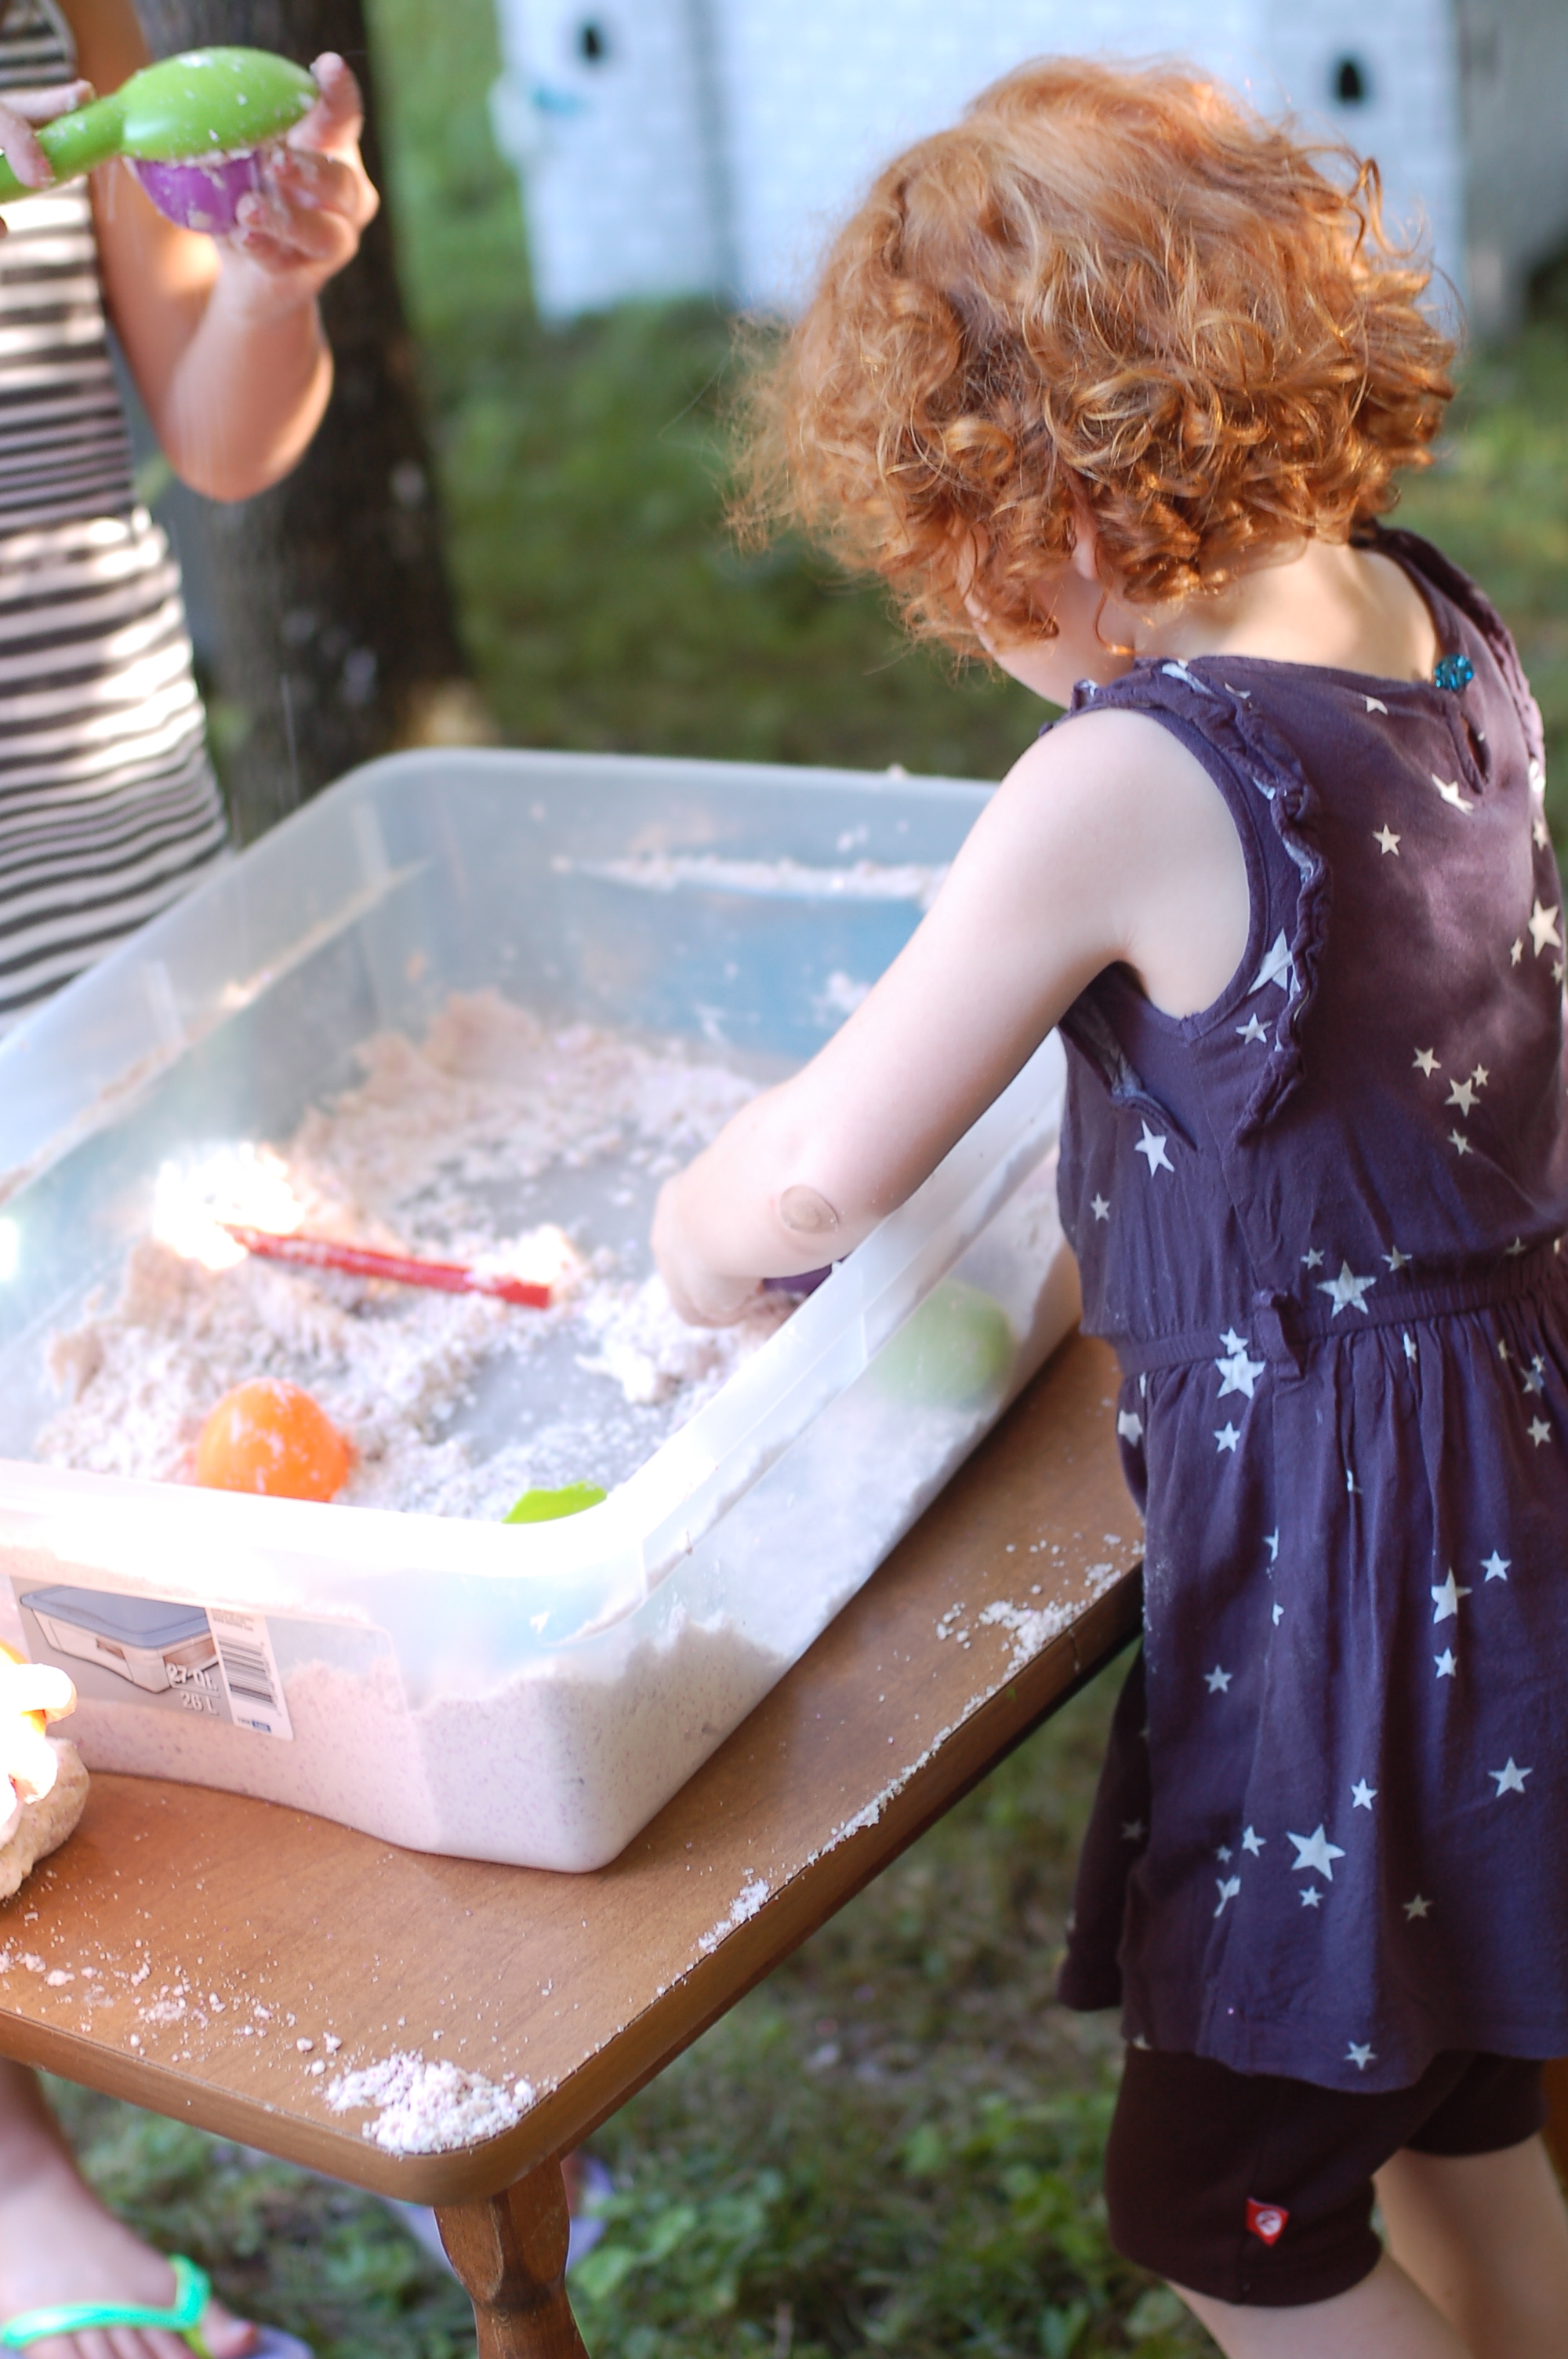
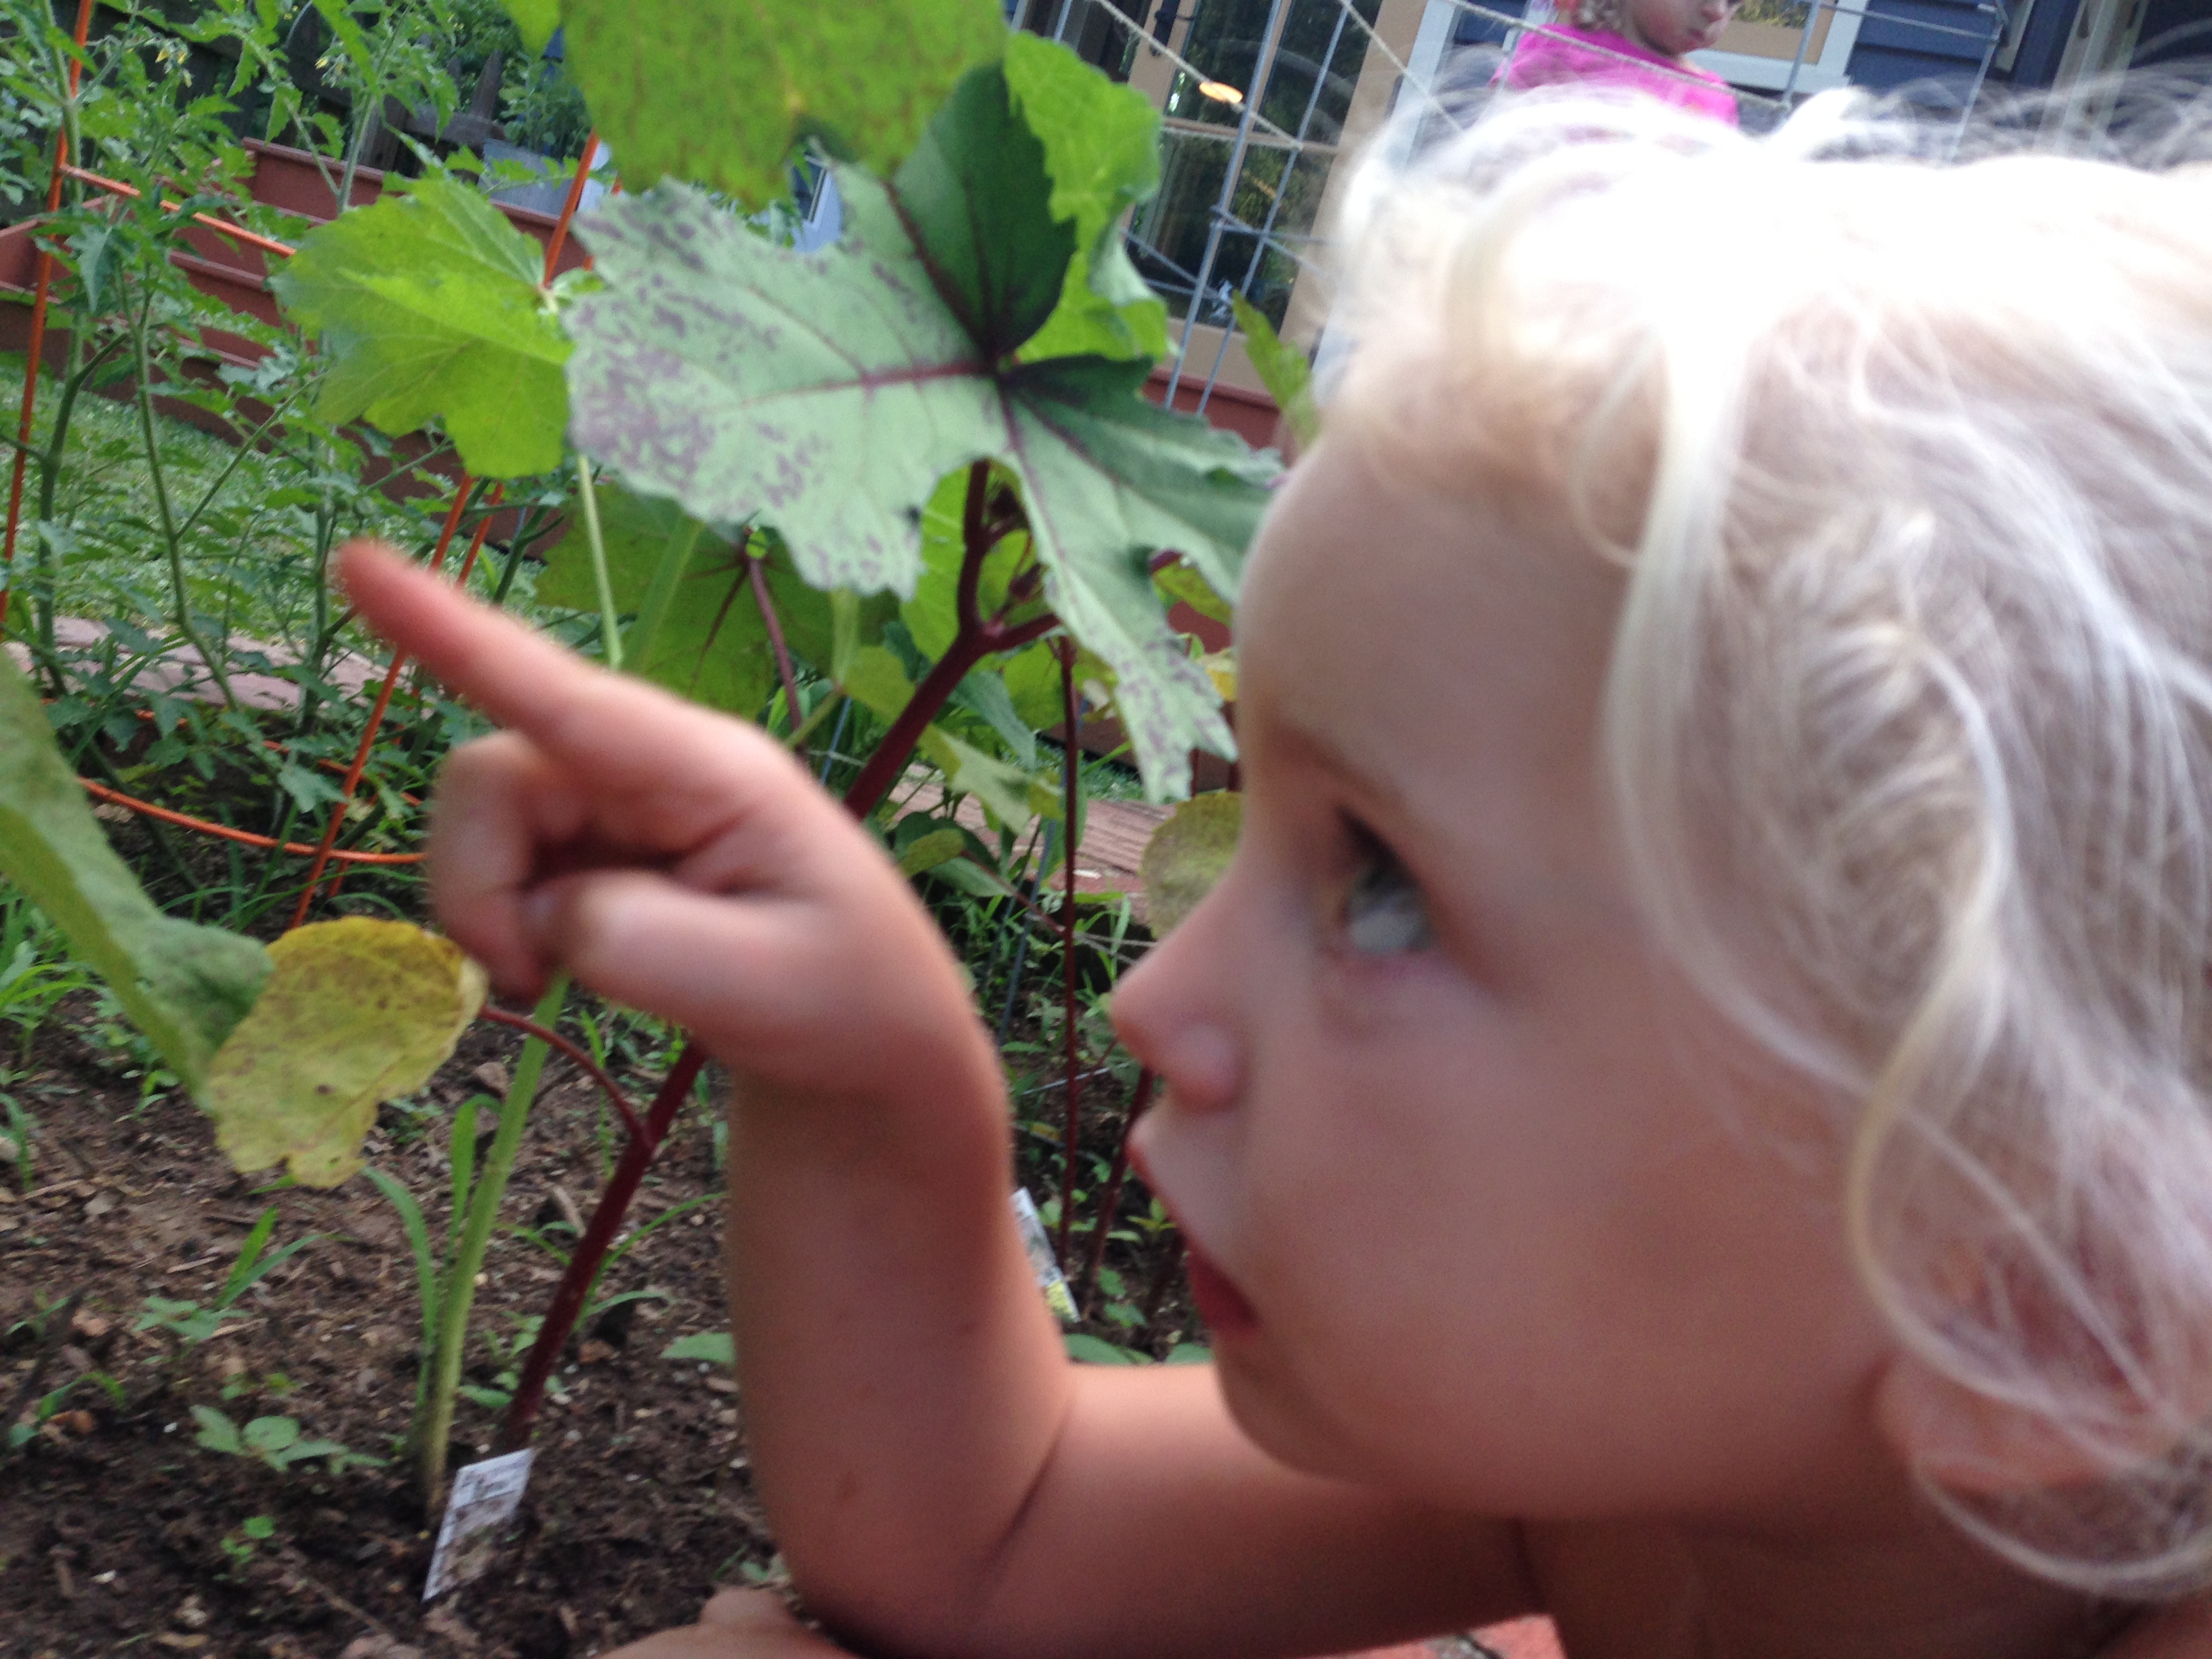
I love that summer gives a child full-on freedom to discover, explore and stretch their imaginary minds with no boundaries or strict schedules to follow. I will miss lazy mornings that are a result of later bedtimes.

While at the beach my pre-school girl became a super fish. It was after dark, during a night swim, when she really found her fins.

She’s loved the water all summer, and for all the winter months she was taking swim lessons. But during this trip she really got it. She went from fearlessly dog paddling around the pool looking like she might drown any second. To full on swimming under water from – I kid you not – one end of the pool to the other in 4 feet water.

There was one night where her and her big sister stayed in the pool till 9:30. Until the little one finally declared, “lets go to bed now.”DSC_0135

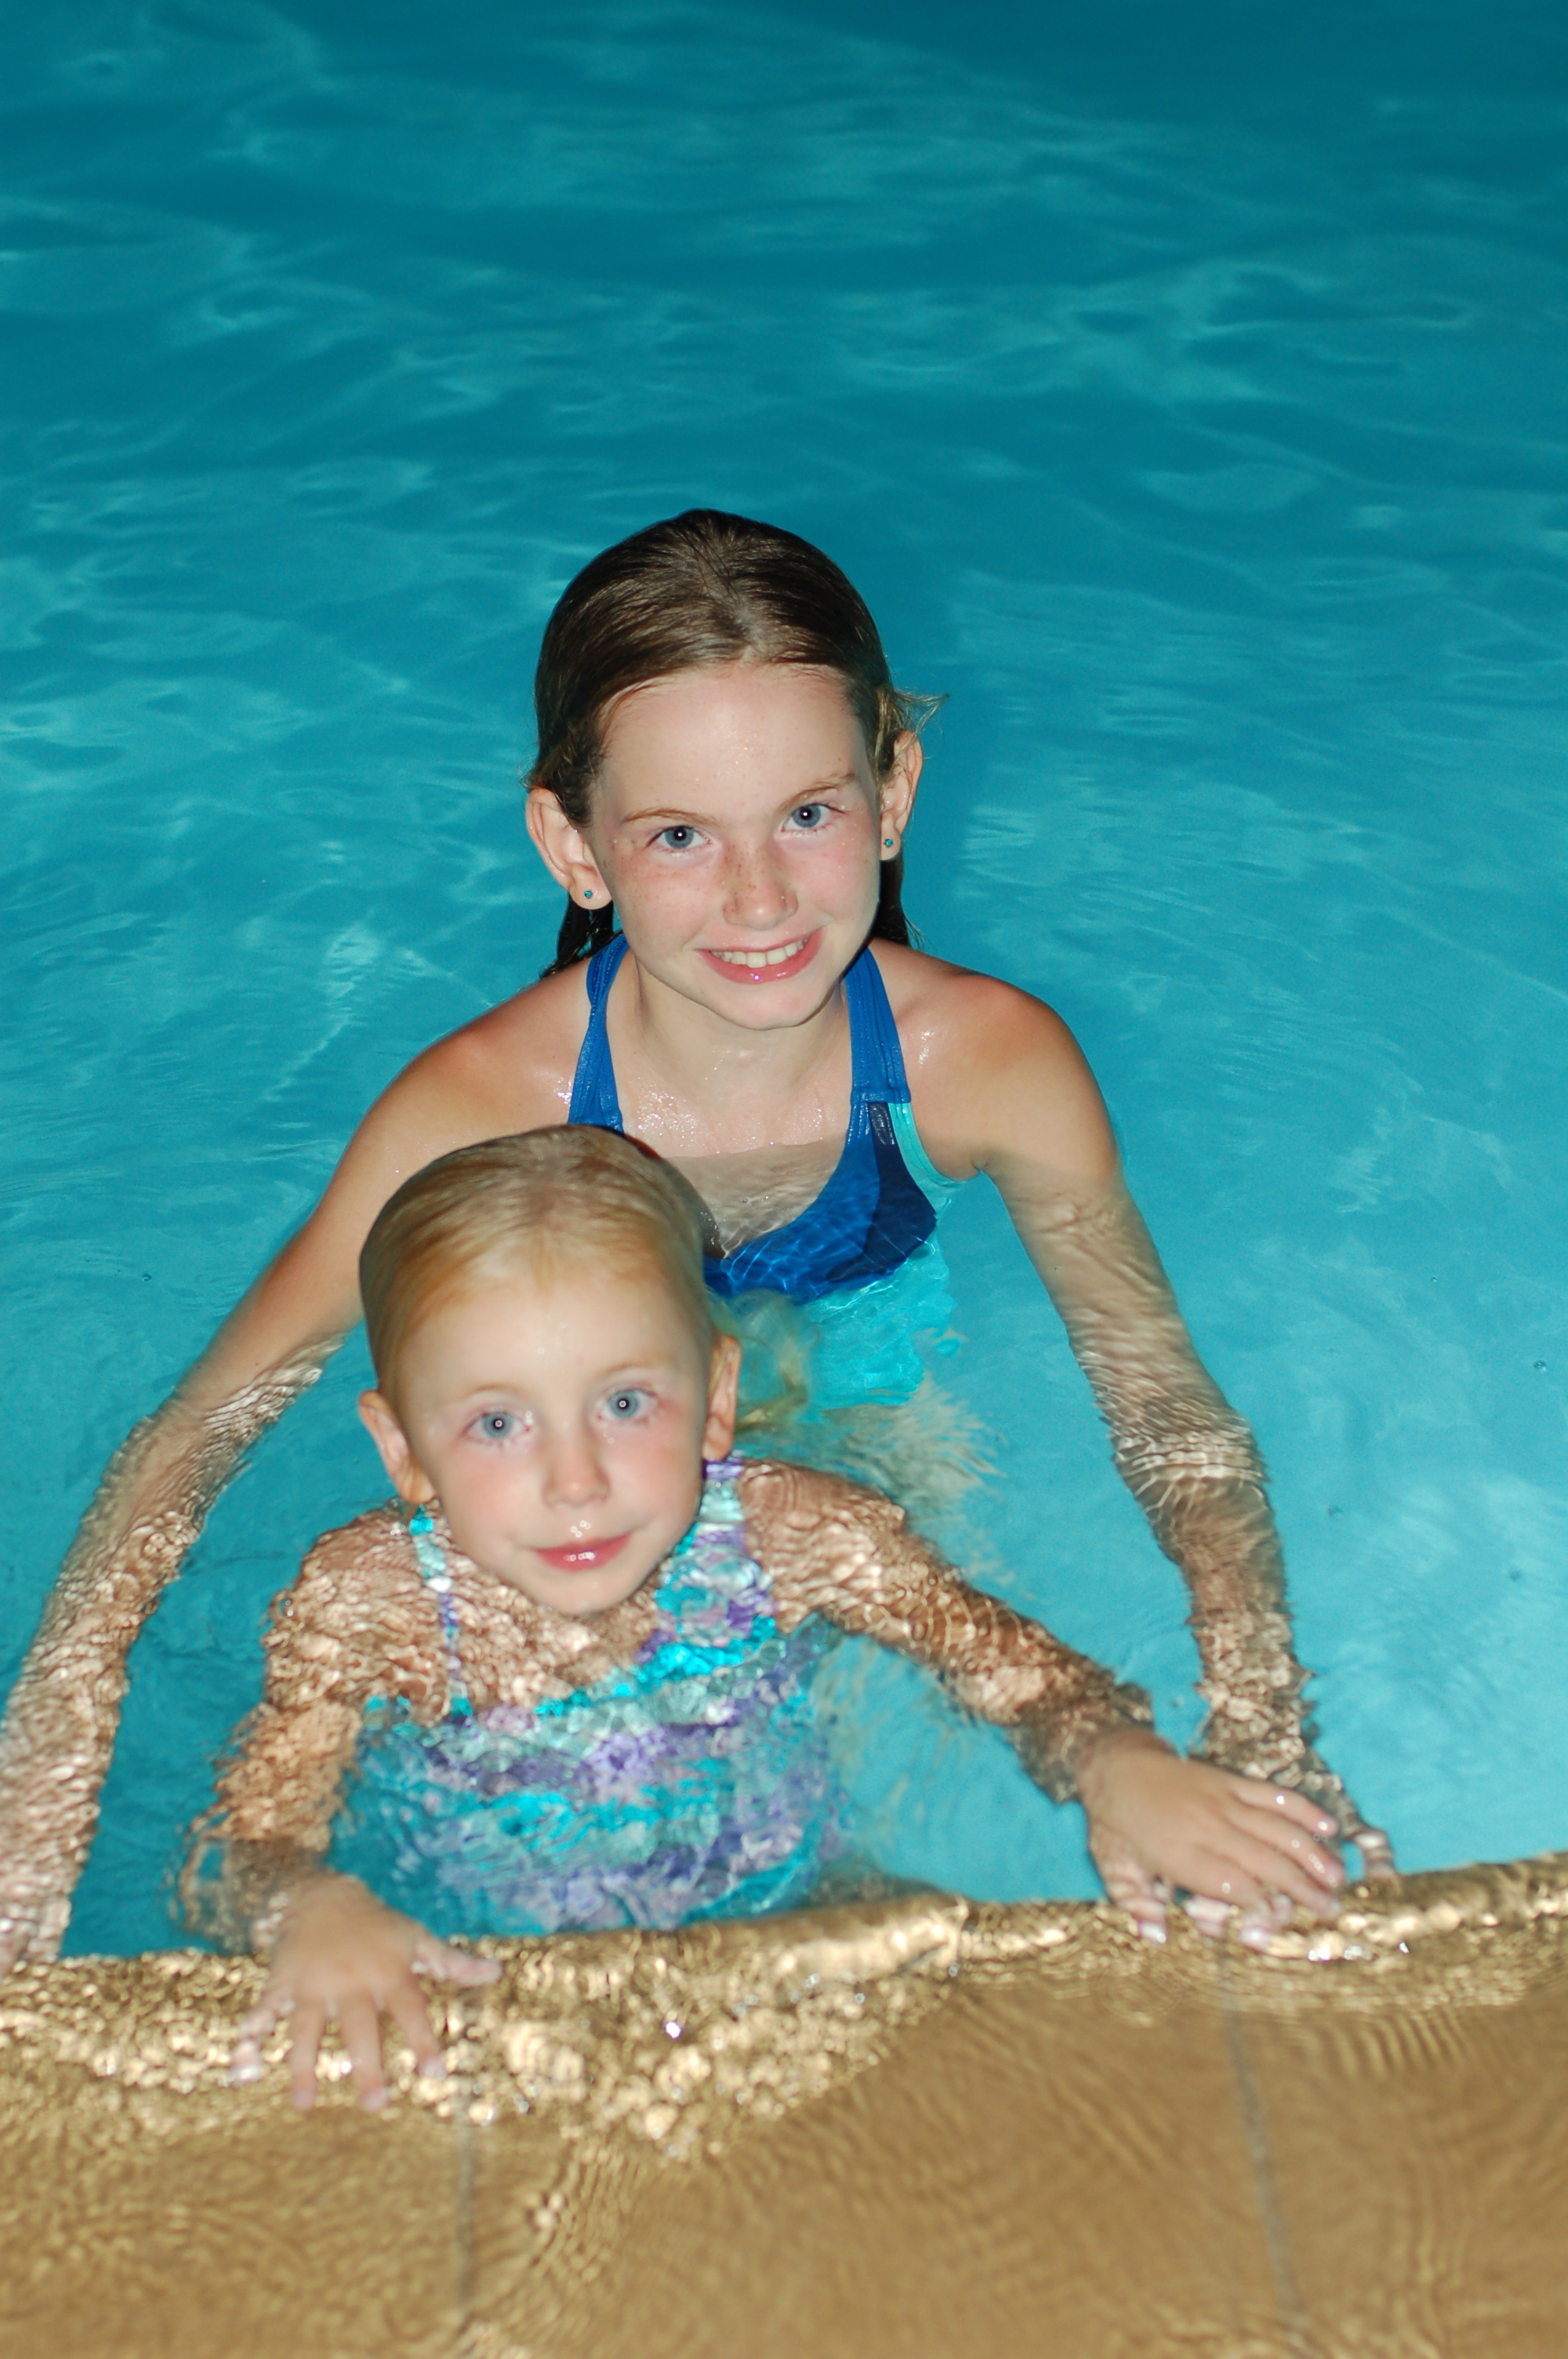
Goodbye summer. I will miss sharing my late nights and lazy coffee mornings with these bright eyed girls, giving me a million kisses a day. And an endless supply of laughs with all their silly ways.

DSC_0085

DSC_0047

I’ll try and remember these bright summer smiles come school mornings at 7:50 when I’m trying not to sound like a drill sergeant getting everyone out the door on time. Sigh. I will miss you summer.

Filed Under: Mothering, Summer, Travel

posted on August 2, 2013 by Rebecca Simmons

No back to school hoopla here. We’ll just jump in.

We don’t like that school starts in 10 days. Not one bit. We did the essential pencil box buying and eraser purchases today. With a much bigger shopping list on hand for the beach.  We’ll be making the most out of our last 10 days. And I’ll embark on my first ever solo trip to the beach with the girls. Husband has to work. But that’s not stopping us girls from enjoying every last minute of summer.

Usually by now I’m ready for school to start, to get back to a routine, and get the girls out of the house. But not this year. We’ve had great summer. At first I was worried, that with them getting older they would get bored. The oldest would want to do things the youngest can’t do…and so on. But they proved they love being home, playing with friends, with neighbors, with mom. With simple things like cardboard boxes and forts in the living room. Sleepovers included.

They went to zero camps because they I could not convince them to go – anywhere. Except the pool and out for lunch or to pick up a new game or outdoor toy.

But it’s coming. The end of summer. And there is hardly any back to school hoopla happening here. Backpacks are issued by the school. My youngest girl’s teachers are just asking for gift cards to get the things they need – LOVE THAT. Eassssssssssssssyyyyy. And the same lunch lunch systems will apply this year. Reusing all the same stuff.

Including the same Plastic free lunch packing containers and systems. And the same Ideas for avoiding plastic cups, from babies to adults. Both posts are receiving a record number of hits during these back to school days. YEAH. And incase you are new around here and looking for lunch ideas, there is more. Like Waste free lunches, made easy and fun from two years ago. And A week of simple, fresh food lunches for school from last year.

Then there was the post about getting the girls to pack their own lunches. So there is not much more more I can say about packing school lunches.

So we are off to the beach. I’m skipping parent meetings and info sessions. It’s our 7th year at that school. So I don’t feel like a bad parent one bit. We know the drill. And so do our kids.

I’m off to enjoy the last 10 days of summer…. And then, just as fast as summer passed. We’ll jump right back into school.

IMG_1373

Filed Under: Mothering

posted on August 2, 2013 by Rebecca Simmons

Banners

Banners brighten up everything. And there is no need to have a party to have one. Even though having a party last week  DID inspire me to stay up  until 3 am one night sewing/making three banners. I can not explain it. There was a part of me that needed to create. So I did.

Since the party they have found homes in my house. Hanging on doorways, indoor windows adding a boost of happiness in my laundry room.

Incase you didn’t catch them in the last few posts. Here’s a little more detail on them.

DSC_0392

The first was made with vintage burlap coffee sacks, cut in strips and hand sewn on a piece of twine using the end of an awl  – a sewing notion that is a metal stick with a round end for poking out the inside corners of things sewn inside out, and an end like a large needle for threading elastic through waists. I tried a large blunt needle that I use to teach my girls to sew but it didn’t work as smoothly as the awl.

After I sewed all the burlap pieces I laid it on a table and tied the other pieces of fabric around the twine. SO easy.

DSC_0339

I had been waiting for several weeks to share our new Mud Pie Sink, until I made the proper banner to finish off the fun.

To make this one I first cut the blue fabric in long enough strips to sew the tops over, to thread the twine through the tops. There is two layers, contrasting on the back and front, which are sewn together. I did not do the rest in the order that would have been suggested by the fabric crayon manufactures. Because next I used heat’n’bond to iron on the white fabric. Then sewed a zig-zag stitch around the white edges. The last thing I did was used fabric crayons to write out the letters. Risky I know – no margin for error at that point! But I had planned to use fabric paint and I didn’t have time for it to dry before I sewed it all together. Then I found the crayons in my stash and I liked them better. The green strips were leftover from another project. I hope that made sense. 

DSC_0369

This banner turned out to be my favorite. It is yarn, about 1/2 yard of fabric (two different types) cut into strips – long enough to tie and still be long on both sides – leftover lace given to us and ribbons from my scrap bin. It was all tied on. No sewing required.

Filed Under: Handmade Tagged With: banners, letter banners, no sew banners, scrap fabric banners, tie on banners

posted on August 1, 2013 by Rebecca Simmons

Mud pie sink and wash station

When we renovated our kitchen last year I had a vision for the old cast iron sink with the washboard. When the contractors asked where I wanted them to put it (meaning the trash or the curb) – I said “Put in the garage. I have a plan for it.”

I wasn’t sure how or when, or if, I would ever see it come to life again. But recently, with a little handy work from my dad and my sweet husband’s willing to help configure hoses and pieces and parts – they worked magic.

We now have a running water sink in our backyard that uses water from the spigot. I can’t tell you exactly how it happened. The splicing and splitting of water hoses and diverters is beyond me. And it will be different for everyone who tries this depending on your sink and your backyard spigot. But it was not expensive. It just took a little trial and error. And only two trips to Home Depot.

Our system is not perfect yet, and we do have some water causing pressure and spewing in places of hoses that is not ideal. But it can all be turned off when kids are not playing it. Which is the important part, to save water.

And either way they love it. It makes me smile as well. It is a great extension of our Mud Pie Cafe.

DSC_0339

Filed Under: Family Tagged With: backyard play sink, mud pie sink, turn an old sink into an outdoor sink

posted on August 1, 2013 by Rebecca Simmons

Picnic Table Art – such a fun kid art project!

During my savor-the-little-girl-times around here this summer, I was in search of a small picnic table for the yard. For the little people to sit at. Yes we have a big picnic table that works just fine, especially to hold the masses. But since the little people are dwindling (getting bigger)  around here, I really want to keep all the little people furniture around as long as possible.  Because YES, they grow too darn fast.

So I bought this cute table at a local ACE hardware store and stuck in the yard. It was not my idea to graffiti it, and paint it and leave such a cool mark on it. It was totally the kids idea! And once the first pictures were drawn, without my knowledge of it happening, I embrased the idea. It was their table. Let them make it their own.

The drawings continued, with other kids from other visiting families making their mark too.

Then one sunny afternoon, it seemed it had been too long since I let the girls paint all over something, and themselves! Using kid’s non-toxic paint, came the next step of the Picnic Art Table – paint.

We LOVE the book I Ain’t Gonna Paint No More! So I went in to that painting session knowing my pre-school girl would get naked and paint not only the table but her whole self too. And she did. Even down to the part of her body where in the book they run out of paint. Not here. Her butt was blue. And I was so glad I still have a little one willing to do such silly things with me. So this table will be forever special to me.

DSC_0318DSC_0320DSC_0308

This is what the painting process started out like. And the rest of my photos are censored for me only. With a naked little girl covered in paint from head to toe.

IMG_0880

But I will add, a baby pool full of soap outside is ONE fun way of getting clean. Even with a blue butt.

NOTE – To preserve the table and the artwork, I covered it with three coats of water based (non yellowing) polyurethane. And must to keep the art from washing away in the rain and sun.

Filed Under: Handmade, Summer Tagged With: kids picnic table, paint a picnic table with kids, Picnic table art

posted on July 30, 2013 by Rebecca Simmons

DIY comforter featuring Kaffe Fassett fabrics

Coming from a self-taught sewer who still relies on you-tube to sew a zipper – this comforter/slash sort of quilt is totally doable for beginning sewers. It takes some patience knowing you have to work in steps when time allows, determination to finish, attention to detail yet attitude that forgives imprefecions. And a good sewing machine, big enough to fit the whole quilt through it. But it can totally be a DIY project.

And the best part is the completely one-of-a-kind outcome.

I sewed two comforters for the girls shared room about three years ago, with 20 18″x18″ squares, which are now on the beds in the room my middle and youngest girls now share. To make those, I had an inspiration and a little advice and encouragement from a friend with a lot of sewing experience. It was enough of a success that this time, I was up to the challenge of putting together 80 9″x9″ inch squares.

My oldest daughter choose all the fabrics, from our locally owned fabric store. A year ago. That’s how long it’s been sitting my project bin. Quite a lesson on patience for her I must say, and resisting the urge to just go buy something new. But this special girl values something homemade by her mom. She knew it would be worth the wait. And when she finally started complaining about the given-to-us Laura Ashley fairy comforter on her bed that has been passed about the sisters the last seven years – I knew I couldn’t make her wait much longer.

That day at the fabric store her eye was driven to the Kaffe Fassett collection. And she chose 10 different fabrics, with no rhyme or reason. She just liked them. That’s the beauty of Kaffe Fassett. You can do that. And it works!

I have to say I had my doubts when I was laying it all out, with all those different colors going different ways. But I trusted her. She has a good eye for design. And I wanted her to love it. So it didn’t matter that questioned the colors and patterns. It’s what she wanted.

While she was away at her grandparent’s house last week I finally finished it for her.

DSC_0003

The pink and purple curtains are also Kaffe Fassett fabrics. The curtians finally replaced the tie-dye sheet hanging in the window. Which was also a surprise waiting for her when she came home. And now a year after the room was renovated with the upstairs of the house, her room is finally complete.

The throw pillow cover was made using the scraps cut from the 9″x9″ squares. DSC_0414

I made three smaller coordinating throw pillows for the sofa in her room. The backing fabric is the same as the purple curtains. The throw pillows all have zippers on the bottom to insert the pillow filling. I sewed the scrap strips together because I didn’t want them to go waste. It was a total DIY idea. I watched a zipper tutorial for throw pillows on YouTube and viola. Done. They are not perfect but they are already well loved.

DSC_0420DSC_0423

Here’s the back of one, showing the contrast. DSC_0421


Steps for sewing the 80 square comforter. 

1) Pick 10 fabrics, each 1/2 yard long. Do not pre-wash your fabric! So it will have more of puckered quilt look in the end. Use a cutting board with wheel blade to cut each piece into 8, 9″x9″ squares. I folded the fabric and cut all 8 squares from one fabric at one time.

DSC_0192 IMG_1244

2) Lay them all out in a random design then move the squares around to your liking. Take a photo incase they get unorganized, or in my case the dog gets let in and runs through the living room. I put the photo on my computer and it was very helpful to look at, especially if you don’t have time to sew them all together in one siting.

3) Sew each horizontal row together, one square at time. And then sew the rows together (which I did on a different day). Be very mindful when you do the rows, matching up the corners of each squares.  And then forgive yourself if it’s not absolutely perfect because in the end you won’t notice the tiny imperfections.

In a way, embracing those imperfections is a lesson of life. When I accidentally cut one set of squares to be 8″x9″ and had to sew the inch back on each square, my daughter was disappointed (so was I). But I said sometimes we make mistakes, we make the best of it and move on. So it’s not perfect. And neither are we. For my perfectionist daughter, that is a lesson we point out whenever we can.IMG_1302

4) Sew the quilt top to a twin size piece of natural fiber batting. Which comes 72″ by 90″ and can be purchased at JoAnn’s. I sewed mine inside out but you don’t have to. Cut the excess batting that is a result of the 1/4 inch seam allowances from the squares.

5) Sew the backing together for the quilt. I used 5 yards of fabric, cut into 2 halves at 7.5 feet each. Leave one strip whole. Cut one of the 7.5 feet strips in half width wise, and sew each half to the either side of the one whole strip – making the back wide enough for the quilt.

6)Lay out back on the a large open floor space with quilt top/batting on top. Cut the excess from edges and fold over to make edges of quilt. Pin them all around. Also put one pin in the center of every square to hold it all in place.
DSC_0249

DSC_0250


7) Sew all the edges with a straight stitch, all the way around.

IMG_1383

8) Run the whole quilt through the sewing machine at every diagonal angle, so that every square has four triangles of stitching, totally 32 seams throughout the entire comforter. This give the comforter the pucker quilt look when it is finished, and hold it all in place.

IMG_1384

9) Wash and dry on regular settings, in cold water and low heat to achieve the final pucker quilt look. And surprise your child by what you can do!

Filed Under: Handmade Tagged With: easy to sew comforter, easy to sew quilt, homemade quilt for girls room, kaffe fassett quilt, sew a girls comforter

posted on July 29, 2013 by Rebecca Simmons

Rainbow of Popsicles – new yellow and green recipes

This summer one of the freezer drawers in our kitchen fridge has been designated for popsicles. It gets added to almost daily, as we pour our leftover smoothie concoctions into molds, freeze and make them available for anytime snacks. All the kids that float through these doors knows about this freezer drawer and our habit of popsicles here. They have become a staple and we keep a plentiful supply.

This summer we’ve been trying new recipes, and I’ve been filling requests from the girls for different color popsicles.

Our stand by recipe is always lots of strawberries. Then someone asked for Orange. And someone asked for something sweet. Next up was yellow, green and more sweet.

Following are new additions to our freezer drawer, as well as some new popsicle molds we added to our collection.

DSC_0279

Beachy Bannana Popsicles is frozen peaches, bananas, pineapple, tangerine juice and greek yogurt – with one scoop of vanilla whey protein powder that makes it like a shake, with an added dose of protein since my kids eat little or no meat. I fill my food processor (my blender broke and I have yet to replace it) up with as much frozen fruit that will fit it in, then use about 1 cup of yogurt and as much juice as I need for it blend without being too thick.

That’s pretty much the process to all our popsicles, when making large batches to keep the freezer drawer full.

Green was the next color we added to the mix. It’s my middle girl’s favorite color so she was perfectly fine with using spinach to make them green.

Green Popsicles is frozen spinach, pineapples, green fruit juice, vanilla yogurt, and vanilla whey protein powder. She loved the smoothies as much as the popsicles. And I used 1/2 bag of frozen spinach! I swear, the secret ingredient is the whey protein powder. 

DSC_0286

In search of some more popsicle ideas I ordered the book Perfect Pops. The first thing the girls wanted to try was the Neapolitan pops.

IMG_1385

The ingredients for Neo-Neopolitan Pops are yogurt with chocolate syrup, frozen for 30 minutes in order to make the layers. Then vanilla yogurt for the middle layer. And strawberries (we used rasberries) blended with yogurt for the last layer.

I was surprised the girls didn’t care for the chocolate layer and requested I cut it off! Seriously. Anyhow, these new ice cream cone molds were a hit!

I think purple might be next……


Filed Under: Real Food

posted on July 29, 2013 by Rebecca Simmons

Flourless Chocolate Cake with Orange & Cardamon

Sharing this recipe has been on my mind since I hosted a girls night last month. Since I’m in party sharing mode, I’m finally getting around to posting it.

It is SO very yummy! I’ve had in cake form too. But this time I made bite-size mini cakes for a low key gathering. The recipe came from a fellow chocolate-loving friend.

DSC_0147

Flourless Chocolate Cake with Orange & Cardamon 

Ingredients

10 oz. bittersweet chocolate

1/2 cup butter

1/2 cup sugar

4 eggs

1/2 tsp cardamon

zest of one orange

Directions

Melt 10 oz. bittersweet chocolate & cool. Cream 1/2 cup of butter (at room temperature) and 1/2 cup surge and beat till light and fluffy. Add 4 eggs, 1 at a time and blend in each thoroughly. Add 1/2 tsp. cardamon, 1 whole orange zested, and cooled chocolate; add till just combined. Pour into greased springform pan or tart pan (or into mini cup cake pan). Bake at 350 degrees for 25-30 minutes. (If doing mini cupcakes bake for about 10 minutes, watching them.)

Filed Under: Real Food Tagged With: flour less chocolate cake, flourless chocolate cake

posted on July 29, 2013 by Rebecca Simmons

Welcome Home Zinser 5! With a backyard shindig

Our friends/neighbors we visited in Norway came back home this week, after living a year abroad. It sure is nice having them back!

Zinser homecoming

As a thank you for hosting us in their Norway home for a week, we promised a big welcome home party. Turned out there were a host of other people in our neighborhood who wanted to help and do the same for them. It turned out to be quite the shindig! Our backyard was a flurry with natural mom loveliness, children of all ages, little ones in the sand box and big boys running the streets with water guns. And good friends! We grown ups all talked about how amazingly wonderful our little “village” is.

Here’s a few snapshots of our Americana welcome home party for the Zinser 5, complete with a blue grass band and BBQ.IMG_1401 IMG_1402 DSC_0351 DSC_0359DSC_0366 DSC_0356 DSC_0355 DSC_0354 DSC_0363DSC_0367


Filed Under: Family, Summer

posted on July 15, 2013 by Rebecca Simmons

Our little garden

Beginning of summer we took out about a dozen bushes that were old, constantly over grown and hogging the best sun our yard receives. They lined the space just steps from our kitchen back door, an old, lovely brick retaining wall and our garage that sits within our fenced yard. I was hesitant, because removing the shrubs held the same guilt as cutting down an old tree. But the only time of they year they were enjoyed were at Christmas to cut a few holly berries. And even those were dwindling, as they aged.

In the space I wanted to plant only things we could eat or flowers that would make us happy to look at. It’s a little space. But it doesn’t take a lot of garden to have fun. And the smaller the space, the less overwhelming for amateurs like myself. The things we planted are things my girls like to eat, pick and even prepare themselves.

A month ago, the view looked like this (that’s the neighbor’s dog incase you are wondering if we added a furry member to our family).

IMG_1167

With all the rain we have had – nearly every day for a solid month – things took off. We had green beans that were harvested, enjoyed and NOW – guess what – my kids actually ask for green beans. Whereas before they requested them from a can, as they have enjoyed when served elsewhere.  But now they are gone.

What is growing is cherry tomatoes, okra and watermelons. The cherry tomatoes will never see my kitchen before they get eaten. I’m certain of that.

My youngest daughter loves going outside everyday to sees how much things are growing.

IMG_1203

And they are growing…..IMG_1336 IMG_1343 DSC_0210

It was my middle girl’s request to put “lots” of cherry tomatoes where she can pick them when she wants, opposed to our garden and herb space that is outside the fence of our backyard.  We have that space agin this year too. And our blueberries are doing ok (just ok) this year.

Aside from eating, I love sending my girls out to pick fresh flowers and arrange them in vases. Zinnias were in order for that. I planted enough seeds to line the whole back side of the garage with flowering zinnias. But sadly, I have to say our dog did some digging and we were left with half the sunflowers and zinnias that I planted. But what’s here is coming in beautifully.

DSC_0207

The sunflowers are yet to pop. But look how tall they are! The cat sun bathing is an added dose of summertime smiles.

DSC_0222

There would have been more sunflowers. Good thing she is so cute, this luny Lulu dog of ours who leaves the grass in her dust on every running trail she creates along the backyard fence. Good thing she is 3 and finally calming down – just a bit. Good thing she uses her crazy barking ways to our advantage – because she is the BEST backyard guard dog for the kids. EVER. No one is coming in that yard without the whole neighborhood hearing about it. Even if she does dig up the flowers.

DSC_0204

Filed Under: Family, Spring

  • « Previous Page
  • 1
  • …
  • 13
  • 14
  • 15
  • 16
  • 17
  • …
  • 48
  • Next Page »

Subscribe


Archives

Copyright © 2026 | Fabricated theme by The Pixelista | Built on the Genesis Framework
[footer_backtotop]